
Introduction
This manual provides detailed instructions for the installation, operation, and maintenance of your Maxxair Vent Corp 00-05301K Maxxfan DLX Vent 12V White. The Maxxfan DLX is designed to provide efficient ventilation for various recreational vehicles, including camping trailers, travel trailers, 5th Wheels, and motorhomes. It features a built-in rain shield, allowing for use in all weather conditions.
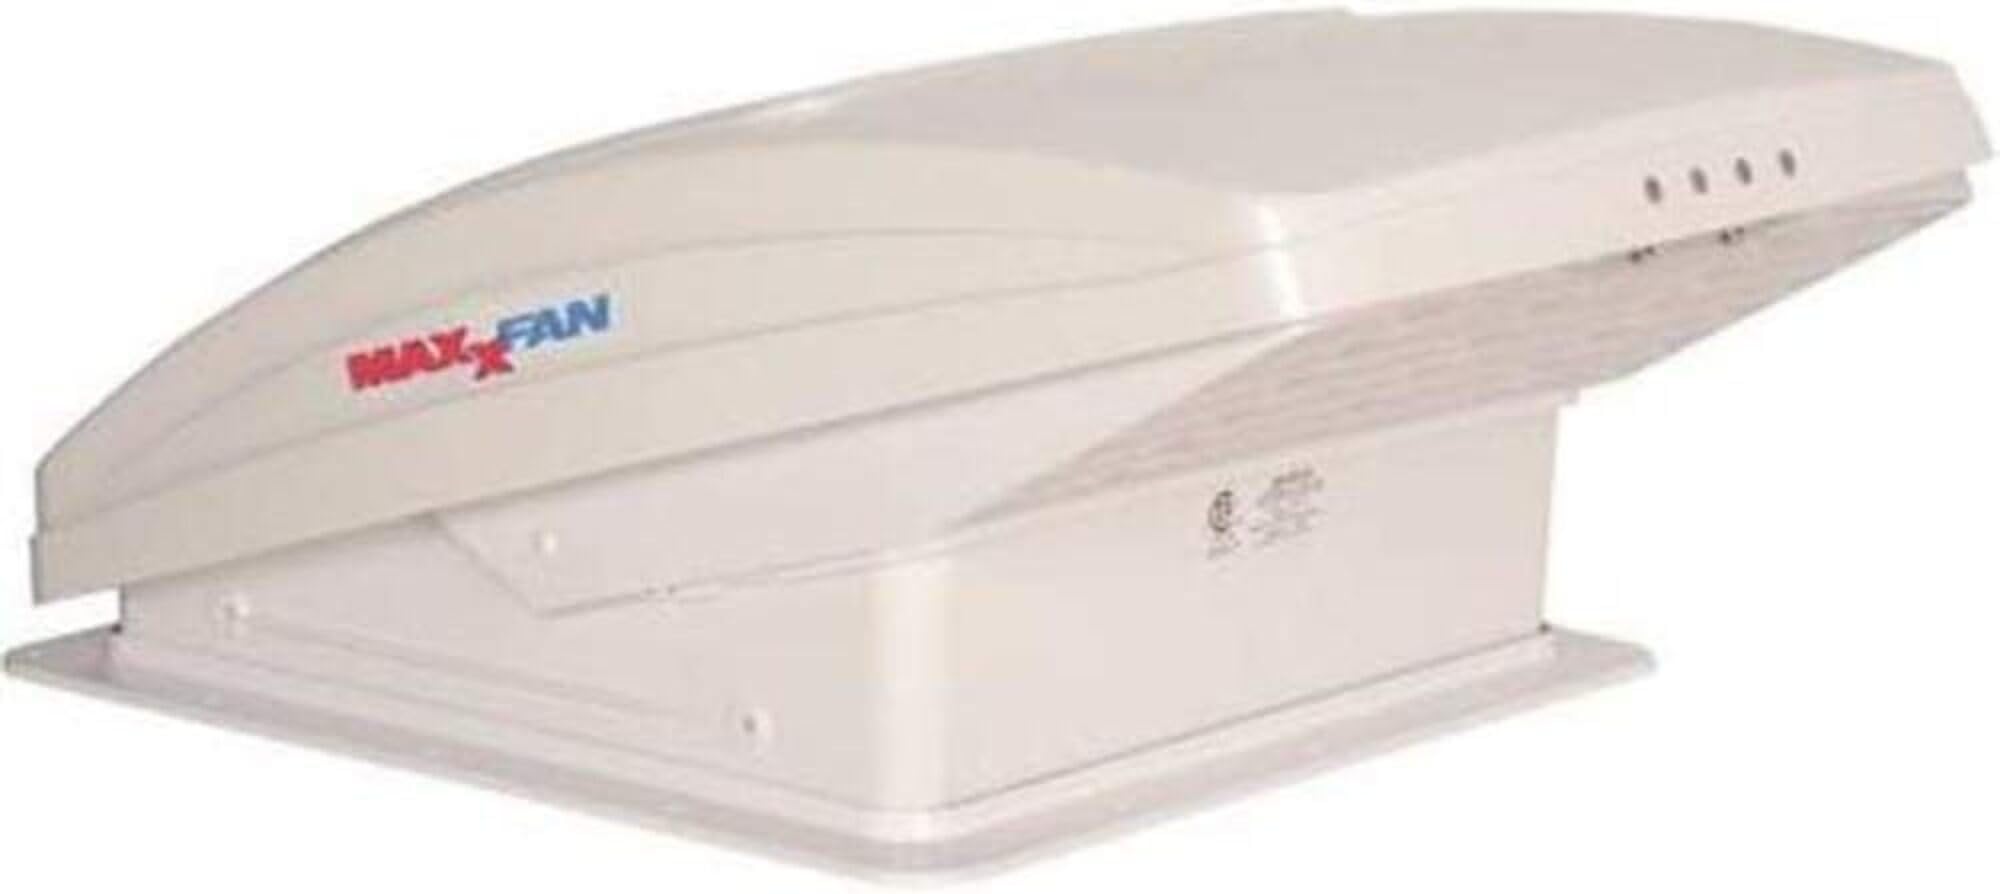
Image: The Maxxair Maxxfan DLX Vent 12V White unit, showcasing its design and integrated rain shield.
Safety Information
- Always disconnect power before performing any installation, maintenance, or troubleshooting.
- Wear appropriate personal protective equipment (PPE) during installation, including eye protection and gloves.
- Ensure proper sealing to prevent water leaks into the vehicle.
- Verify correct wiring polarity: the BLACK wire is POSITIVE. Incorrect wiring can damage the unit or electrical system.
- Consult a qualified technician if you are unsure about any part of the installation process.
Setup and Installation
The Maxxfan DLX Vent is designed for installation into a standard 14-inch by 14-inch roof opening. While the unit itself does not require complex assembly, proper installation into your vehicle's roof is crucial for performance and longevity.
- Prepare the Opening: Carefully measure and cut a 14-inch by 14-inch opening in the vehicle's roof. Ensure the area is clear of obstructions and structural components.
- Create a Mounting Frame: For optimal stability and sealing, it is recommended to construct a square frame (e.g., from 2x2 wood) to provide a solid backing for the fan to attach to, especially on corrugated roofs.
- Apply Sealant: Apply a generous amount of butyl tape or a suitable RV sealant around the perimeter of the roof opening to create a watertight seal between the fan flange and the roof surface.
- Position the Fan: Carefully place the Maxxfan DLX unit into the prepared opening, ensuring it is properly aligned.
- Secure the Unit: Fasten the fan to the roof and the internal mounting frame using appropriate screws. Do not overtighten.
- Wiring: Connect the fan's 12V DC wiring to your vehicle's electrical system. Pay close attention to polarity: the BLACK wire is POSITIVE. Secure all connections and ensure they are insulated.
- Install Interior Trim: Attach the interior trim bezel to complete the installation, covering any exposed wiring or rough edges.
Note: Always double-check measurements and consult your vehicle's specific structural diagrams if available. Proper sealing is critical to prevent water intrusion.
Operating Instructions
The Maxxfan DLX Vent 12V White offers straightforward operation for effective ventilation.
- Lid Opening: The fan lid is opened and closed manually. Locate the control knob or lever on the ceiling unit and turn or slide it to raise or lower the lid.
- Fan Speed: The unit features a 4-speed fan. Use the control switch located on the ceiling unit to select your desired fan speed. Start with lower speeds for quiet operation and increase as needed for greater airflow.
- Exhaust Function: This model is designed for exhaust only, meaning it draws air out of your vehicle. This helps to remove hot air, odors, and moisture.
- Built-in Rain Shield: The integrated rain shield allows the fan to operate even during rain, preventing water from entering your vehicle. You can leave the lid open without concern for weather conditions.
Maintenance
Regular maintenance ensures the longevity and optimal performance of your Maxxfan DLX Vent.
- Cleaning: Periodically clean the fan blades and screen to remove dust and debris. Use a soft cloth and mild soap solution. Ensure the fan is off and power is disconnected before cleaning.
- Lid Mechanism: Inspect the manual lid opening mechanism for smooth operation. If it becomes stiff, a small amount of silicone lubricant can be applied to moving parts, avoiding electrical components.
- Seals: Regularly check the roof sealant around the fan for cracks or deterioration. Reapply sealant as necessary to maintain a watertight seal.
Troubleshooting
| Problem | Possible Cause | Solution |
|---|---|---|
| Fan does not turn on. | No power, incorrect wiring, blown fuse. | Check 12V power supply. Verify wiring connections, especially polarity (black wire is positive). Check vehicle's fuse box. |
| Fan operates but lid does not open/close. | Manual lid mechanism is stuck or damaged. | Inspect the lid opening mechanism for obstructions. Lubricate moving parts with silicone spray. If damaged, contact Maxx Air support for replacement parts. |
| Excessive noise during operation. | Debris on fan blades, loose mounting, motor issue. | Disconnect power and clean fan blades. Ensure the unit is securely mounted to the roof. If noise persists, contact support. |
| Water leaks around the fan. | Improper sealing during installation, deteriorated sealant. | Inspect the roof sealant around the fan. Clean the area and reapply a suitable RV sealant to ensure a watertight seal. |
Specifications
- Model Number: 00-05301K
- Brand: Maxx Air
- Power: 12V DC
- Fan Speed: 4 Speed settings
- Lid Opening: Manual
- Controls: Located at Ceiling
- Function: Exhaust Only
- Features: Built-in Rain Shield
- Product Dimensions: 25.5 x 18 x 12 inches (L x W x H)
- Item Weight: 15.55 pounds
- Manufacturer: MAXXAIR VENT
Warranty and Support
Warranty: Please contact Maxx Air if you experience any issues within 30 days of receipt of your Maxxfan DLX Vent. This warranty covers manufacturing defects and ensures your satisfaction with the product.
Customer Support: For technical assistance, replacement parts, or warranty claims, please visit the official Maxx Air website or contact their customer service department. Refer to your purchase documentation for specific contact details.