
Introduction
The Hoover CA2IN1D 011 Steam Capsule is a versatile 2-in-1 steam cleaner designed for efficient cleaning of various surfaces. It functions as both a steam mop for large floor areas and a detachable handheld steam gun for targeted cleaning of hard-to-reach spots and vertical surfaces. This appliance utilizes steam to clean without the need for chemical detergents, promoting a hygienic environment.
The electronic control on the handle allows for adjustable steam output, making it suitable for different surface types: low for delicate surfaces like parquet, medium for tiles and vinyl, and high for marble and stone. The handheld steam gun comes with a comprehensive accessory kit to tackle stubborn dirt effectively.

Figure 1: Overview of the Hoover CA2IN1D 011 Steam Capsule 2-in-1 Steam Cleaner.
Included Components
Before assembly, ensure all components are present:
- Hoover CA2IN1D 011 Steam Cleaner Unit
- Triangular Brush
- Rectangular Brush
- 2 Microfiber Mop Pads
- Carpet Gliders
- Instruction Manual
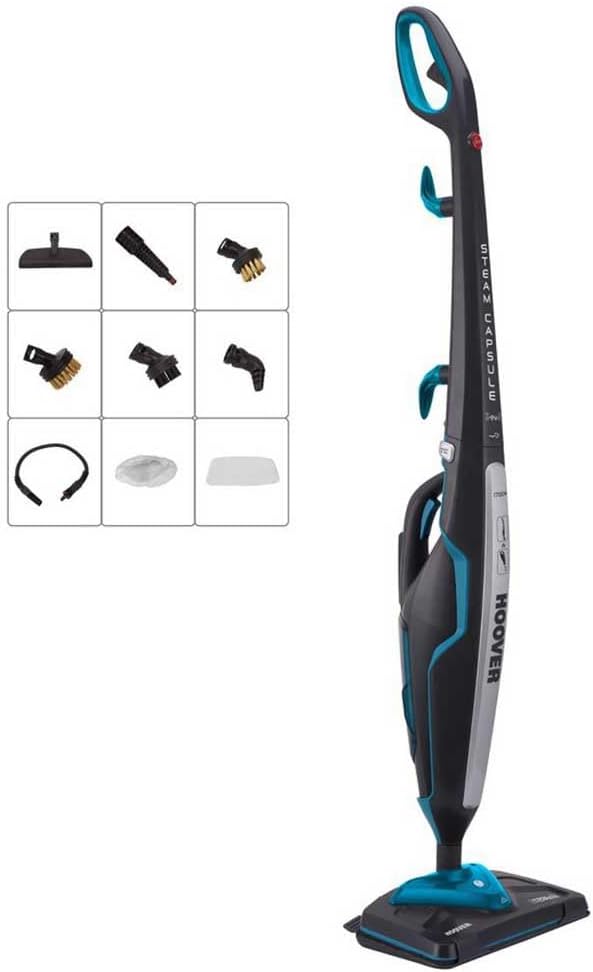
Figure 2: The Hoover CA2IN1D 011 Steam Capsule shown with its various cleaning accessories.
Setup and Assembly
- Attaching the Mop Pad: Securely attach a microfiber mop pad to the base of the steam cleaner. The pads are designed to adhere firmly for effective cleaning.
- Filling the Water Tank: Detach the water tank from the main unit. Open the cap and fill the tank with clean tap water. Do not overfill. Close the cap securely and reinsert the tank into the unit.
- Power Connection: Unwind the power cord and plug the appliance into a suitable electrical outlet.
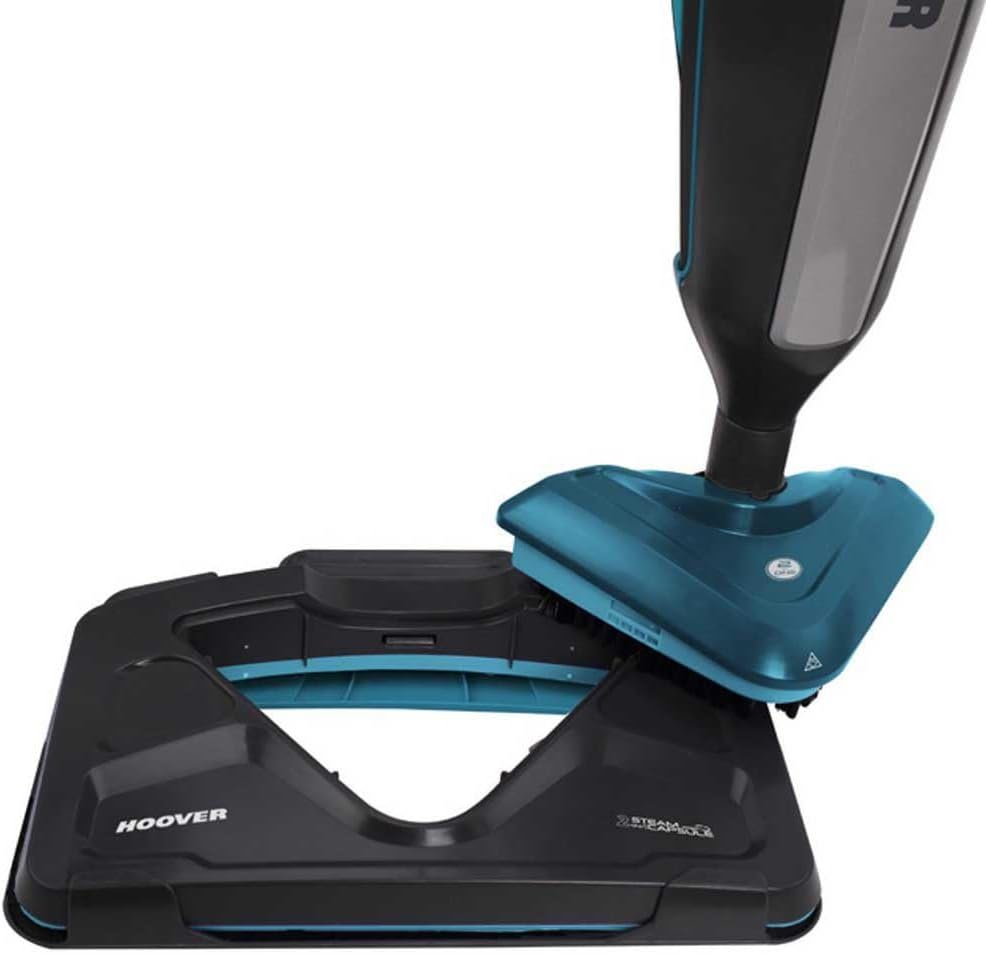
Figure 3: The mop pad being attached to the steam cleaner's base.

Figure 4: The handheld steam unit being detached from the main body of the steam cleaner.

Figure 5: A hand pressing the release button to separate the handheld unit.
Video 1: This video demonstrates the assembly of the Hoover Steam Capsule, including attaching accessories, detaching the handheld unit, and filling the water tank. It also shows the steam cleaner in operation.
Operating Instructions
- Power On: Press the power button to turn on the steam cleaner. The indicator light will illuminate.
- Heating Time: Allow approximately 20 seconds for the unit to heat up and generate steam. The indicator light will change or stop flashing when ready.
- Adjusting Steam Output: Use the electronic controls on the handle to select the desired steam level:
- Low: For delicate surfaces such as sealed hardwood or parquet floors.
- Medium: For general cleaning of tiles, vinyl, and other hard floors.
- High: For deep cleaning of durable surfaces like marble and stone.
- Steam Mopping: For floor cleaning, guide the steam mop across the surface in a steady motion. The steam will sanitize and clean as you move.
- Handheld Steam Gun Use: Detach the handheld unit (refer to Setup). Attach the appropriate accessory (e.g., triangular brush, rectangular brush, or other nozzles) for specific cleaning tasks. Direct the steam towards the area to be cleaned, maintaining a safe distance.
- Carpet Glider Use: For refreshing carpets, place the carpet glider over the mop head and move the steam cleaner across the carpeted area. This is for refreshing, not deep cleaning.

Figure 6: A foot pressing the release pedal to unlock the steam cleaner's base for operation.

Figure 7: The Hoover Steam Capsule standing upright, ready for use or storage.
Maintenance
Regular maintenance ensures optimal performance and extends the life of your steam cleaner.
- Emptying the Water Tank: After each use, unplug the appliance and allow it to cool. Remove the water tank and empty any remaining water.
- Cleaning Mop Pads: The microfiber mop pads are washable. Remove them from the base and wash them according to their care instructions. Allow them to dry completely before reuse or storage.
- Cleaning Accessories: Clean all accessories with a damp cloth and mild detergent if necessary. Ensure they are dry before storing.
- Descaling: Periodically descale the unit to prevent mineral buildup, especially in hard water areas. Refer to the full manual for specific descaling procedures.
- Storage: Store the steam cleaner in a dry, safe place. Wrap the power cord neatly around the designated cord wraps.
Troubleshooting
| Problem | Possible Cause | Solution |
|---|---|---|
| No steam produced | Water tank empty; Unit not heated; Power not connected | Refill water tank; Wait for heating indicator; Check power plug and outlet |
| Low steam output | Mineral buildup; Incorrect steam setting | Descale the unit; Adjust steam setting to higher level |
| Water leaking | Water tank cap not secured; Tank not properly inserted | Ensure tank cap is tight; Reinsert water tank correctly |
Specifications
- Brand: Hoover
- Model Name: Hoover CA2IN1D 011
- Part Number: CA2IN1D 011
- Wattage: 1700 watts
- Water Tank Capacity: 0.35 liters
- Weight: 3 Kilograms
- Power Source: Electric with cord
- Cord Length: 7 meters
- Special Features: Detachable nozzle, Swivel heads
- Recommended Surfaces: Door, Window, Sink, Carpet, Tiles, Floor, Wall, Washbasin, Sealing
- Color: Grey Blue
Warranty and Support
This Hoover product is covered by a standard manufacturer's warranty. For detailed information regarding warranty terms, conditions, and duration, please refer to the warranty card included with your purchase or visit the official Hoover website.
For technical support, spare parts, or service inquiries, please contact Hoover customer service. Contact details can typically be found in the product packaging or on the official Hoover support page.
Online Support: www.hoover.com


