
Introduction
Thank you for purchasing the Nordlux 21509929 GU10 Downlight. This manual provides essential information for the safe installation, operation, and maintenance of your new lighting fixture. Please read these instructions carefully before installation and retain them for future reference.
Safety Instructions
- Always disconnect the power supply before installation, maintenance, or bulb replacement to prevent electric shock.
- Installation should be performed by a qualified electrician in accordance with local wiring regulations.
- Ensure the mounting surface can support the weight of the fixture.
- Do not exceed the maximum wattage specified for the bulb (max. 35W GU10 halogen).
- This product is rated IP54, making it suitable for outdoor and indoor use where protection against dust and splashing water is required.
- Do not cover the fixture with insulating material unless specifically designed for it.
- Keep packaging materials out of reach of children.
Package Contents
Verify that all components are present before beginning installation:
- Nordlux 21509929 GU10 Downlight fixture (1 unit)
- Mounting hardware (screws, wall plugs)
- Instruction Manual (this document)
Note: GU10 bulb is not included and must be purchased separately.
Product Overview
The Nordlux 21509929 is a modern downlight designed for versatile indoor and outdoor applications. It features a durable aluminum housing with a white finish, providing a sleek and contemporary aesthetic. The fixture is designed for a GU10 bulb, allowing for easy replacement and compatibility with various light sources up to 35W. Its IP54 rating ensures protection against dust and splashing water, making it suitable for bathrooms, covered outdoor areas, and other environments requiring enhanced durability.
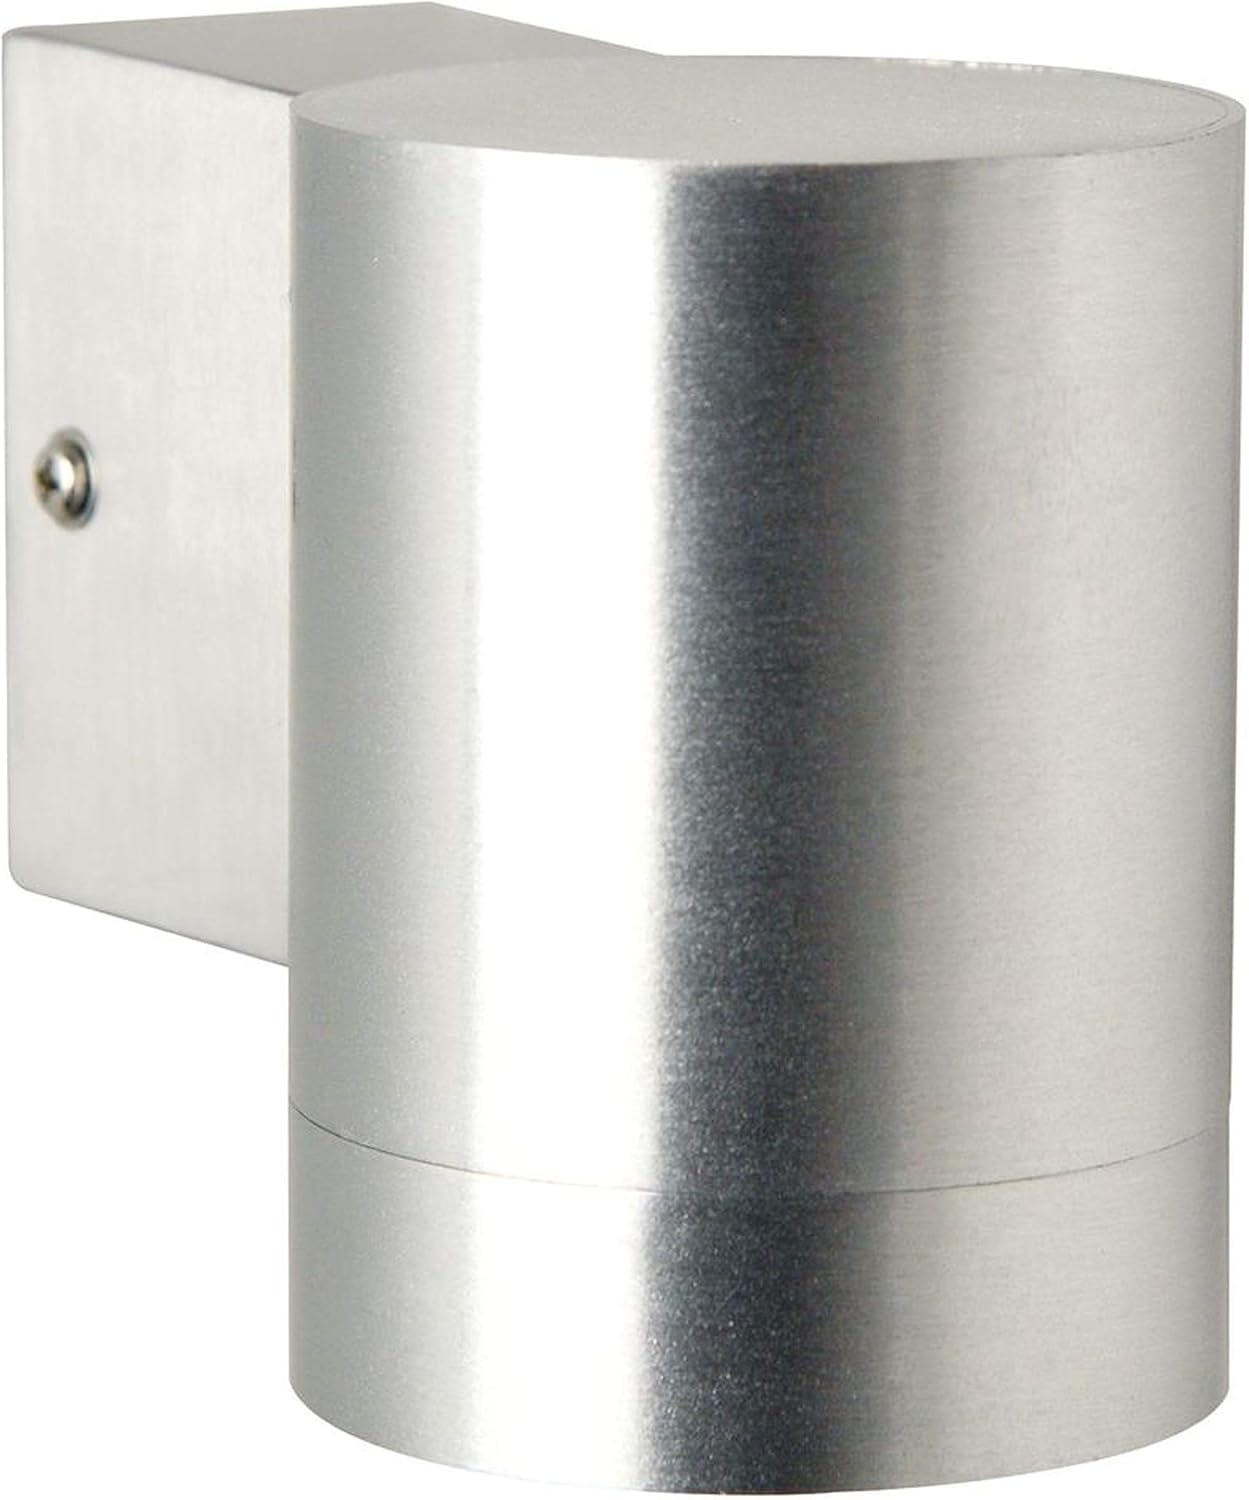
An image showing the Nordlux 21509929 GU10 Downlight. It features a cylindrical white aluminum housing attached to a rectangular mounting base. The light is designed for ceiling or wall installation.
Setup and Installation
Professional installation by a qualified electrician is strongly recommended.
- Preparation: Turn off the main power supply at the circuit breaker before starting any electrical work.
- Mounting Location: Choose a suitable location on a wall or ceiling. Ensure there is sufficient space for wiring and that the surface is stable.
- Marking and Drilling: Hold the mounting base of the fixture against the desired surface and mark the drilling points. Drill holes using an appropriate drill bit for the provided wall plugs.
- Wiring: Connect the electrical wires from the power supply to the terminal block inside the fixture. Ensure correct polarity (Live, Neutral, Earth) according to local wiring standards. Secure all connections firmly.
- Mounting the Fixture: Secure the mounting base to the wall or ceiling using the provided screws and wall plugs. Ensure the fixture is firmly attached.
- Insert Bulb: Carefully insert a GU10 bulb (max. 35W) into the lamp holder. Twist to secure it in place.
- Final Assembly: Attach the main cylindrical housing to the mounting base, ensuring it is securely fastened.
- Power On: Restore power at the circuit breaker and test the light fixture.
Operating Instructions
The Nordlux 21509929 Downlight operates via your standard wall switch or connected power source. Once installed and powered, simply use the switch to turn the light on or off.
- Turning On/Off: Use the connected wall switch to control the light.
- Bulb Type: This fixture uses a GU10 bulb. Ensure any replacement bulb does not exceed 35W.
Maintenance
- Cleaning: Disconnect power before cleaning. Wipe the fixture with a soft, dry, or slightly damp cloth. Do not use abrasive cleaners or solvents, as these may damage the finish.
- Bulb Replacement:
- Turn off the power supply at the circuit breaker.
- Allow the old bulb to cool completely if it was recently in use.
- Carefully remove the old GU10 bulb by pushing it in and twisting counter-clockwise.
- Insert the new GU10 bulb by aligning the pins with the socket holes, pushing it in, and twisting clockwise until secure.
- Restore power and test the new bulb.
- Inspection: Periodically inspect the fixture for any signs of damage or wear. If any damage is found, disconnect power and consult a qualified electrician.
Troubleshooting
| Problem | Possible Cause | Solution |
|---|---|---|
| Light does not turn on. |
|
|
| Light flickers. |
|
|
If the problem persists after attempting these solutions, please contact a qualified electrician or Nordlux customer support.
Specifications
| Feature | Detail |
|---|---|
| Brand | Nordlux |
| Model Number | 21509929 |
| Material | Aluminum |
| Colour | White |
| Bulb Base | GU10 |
| Max. Wattage | 35 watts |
| Voltage | 230 Volts |
| Protection Class | IP54 |
| Dimensions (L x W x H) | 12.5 x 7.6 x 10.5 cm |
| Weight | 0.31 Kilograms |
| Specific Uses | For outdoor and indoor use |
| Installation Type | Ceiling/Wall Mounting |
| Special Feature | Waterproof (Vattentät) |
Warranty and Support
Nordlux products are manufactured to high-quality standards. For information regarding warranty terms and conditions, please refer to the warranty card included with your purchase or visit the official Nordlux website. For technical support or inquiries, please contact your retailer or Nordlux customer service.
You can find more information on the official Nordlux website: www.nordlux.com