Introduction
This manual provides detailed instructions for the installation, operation, and maintenance of the GIGABYTE GA-H110M-S2H GSM Micro ATX Motherboard. This motherboard supports LGA 1151 CPUs, DDR4 memory, and features SATA3 and USB 3.0/2.0 connectivity. Please read this manual thoroughly before proceeding with installation to ensure proper setup and functionality.
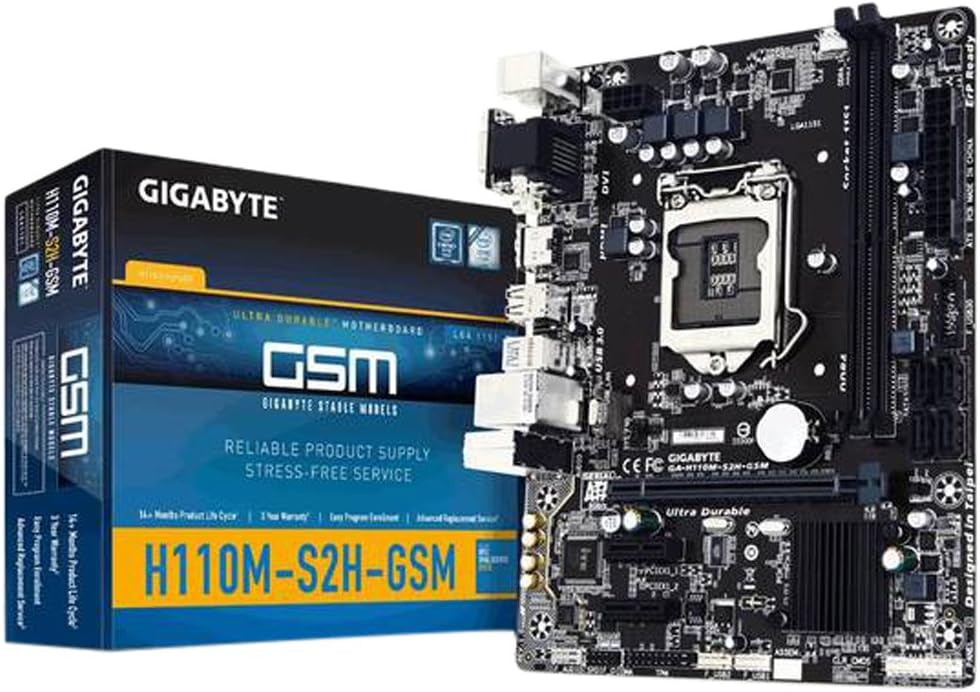
Figure 1: GIGABYTE GA-H110M-S2H GSM Motherboard and its retail packaging.
Setup and Installation
Follow these steps for proper installation of your motherboard and components.
1. Motherboard Overview

Figure 2: Top-down view of the GIGABYTE GA-H110M-S2H GSM Motherboard, highlighting component placement.
2. CPU Installation (LGA 1151)
- Carefully open the CPU socket retention lever.
- Align the CPU with the socket, ensuring the gold triangle on the CPU matches the indicator on the socket.
- Gently place the CPU into the socket without forcing it.
- Close the retention lever to secure the CPU.
- Apply thermal paste and install the CPU cooler according to its manufacturer's instructions.
3. Memory (RAM) Installation
The motherboard features 2 DDR4 DIMM slots, supporting dual-channel, ECC, Non-ECC, unbuffered memory up to a maximum capacity of 32GB.
- Open the clips at both ends of the DIMM slot.
- Align the memory module with the slot, ensuring the notch on the module matches the key in the slot.
- Press down firmly on both ends of the memory module until the clips snap into place.
4. Motherboard Mounting
- Install the I/O shield into your computer case.
- Align the motherboard with the standoffs in the case.
- Secure the motherboard with screws, ensuring it is firmly seated.
5. Power Connections
- Connect the 24-pin ATX main power connector from your power supply to the motherboard.
- Connect the 8-pin (or 4-pin) ATX 12V power connector to the motherboard.
6. Storage Device Connections
The motherboard includes 4 SATA3 ports for connecting storage devices.
- Connect SATA data cables from your storage devices (HDDs, SSDs) to the SATA3 ports on the motherboard.
- Connect SATA power cables from your power supply to the storage devices.
7. Expansion Card Installation
The motherboard provides 1 PCI-Express 3.0 x16 slot and 2 PCI-Express 2.0 x1 slots.
- Select an available PCI-Express slot.
- Remove the corresponding slot cover from your computer case.
- Insert the expansion card firmly into the slot until it is fully seated.
- Secure the card with a screw to the case.
8. Front Panel and USB Connections
- Connect the front panel headers (power switch, reset switch, HDD LED, power LED) to the corresponding pins on the motherboard. Refer to the motherboard diagram for pin assignments.
- Connect front panel USB 2.0/1.1 and USB 3.0/2.0 headers to the motherboard.
- Note: There is only one case fan connection on the motherboard. Additional fans may require a fan controller or molex connection to the PSU.
9. Rear I/O Panel Connections

Figure 3: Rear I/O panel of the GIGABYTE GA-H110M-S2H GSM Motherboard, showing various ports.
Connect your peripherals to the appropriate ports on the rear I/O panel:
- PS/2 Ports: For PS/2 keyboard and mouse.
- VGA Port: For analog display connection.
- DVI-D Port: For digital display connection.
- HDMI Port: For high-definition audio/video output.
- USB 3.0/2.0 Ports: For high-speed USB devices (2 rear ports).
- USB 2.0/1.1 Ports: For standard USB devices (4 rear ports).
- RJ45 LAN Port: For network cable connection.
- Audio I/O Jacks: For speakers, headphones, and microphones.
Operating Instructions
1. Initial Boot and BIOS Access
- After completing all hardware connections, connect the power cord and turn on your system.
- During the boot process, press the Delete key repeatedly to enter the BIOS Setup Utility.
- The GIGABYTE BIOS offers various options for system configuration. Navigate using the keyboard arrow keys and Enter key.
2. Operating System Installation
Once in the BIOS, configure the boot order to prioritize your operating system installation media (USB drive or optical drive). Save changes and exit BIOS to begin the OS installation process.
3. Driver Installation
After installing the operating system, install the necessary drivers from the GIGABYTE support website or the included driver CD (if applicable). Essential drivers include chipset, graphics (if using integrated), audio, and LAN drivers for optimal performance.
Maintenance
Regular maintenance helps ensure the longevity and stable operation of your motherboard.
- Dust Removal: Periodically clean dust from the motherboard and components using compressed air. Ensure the system is powered off and unplugged before cleaning.
- BIOS Updates: Check the GIGABYTE website for the latest BIOS updates. Update the BIOS only if necessary and follow the instructions carefully to avoid system instability.
- Component Checks: Ensure all cables are securely connected and no components are loose.
Troubleshooting
If you encounter issues, consider the following troubleshooting steps:
- No Display: Verify that the monitor is connected correctly to the appropriate video output (VGA, DVI-D, or HDMI) and that the monitor is powered on. Check if the CPU and RAM are properly seated.
- System Not Booting: Ensure all power connectors (24-pin ATX, 8-pin/4-pin ATX 12V) are securely attached. Check RAM modules and CPU installation. Try booting with minimal components (CPU, one RAM stick, GPU if no integrated graphics).
- Peripheral Issues: If USB devices or other peripherals are not working, ensure they are connected to the correct ports and that their drivers are installed.
- System Instability: This can be caused by incompatible RAM, overheating, or outdated drivers. Check component temperatures and ensure all drivers are up to date.
- BIOS Reset: If system settings prevent booting, clear the CMOS by removing the motherboard battery for a few minutes or using the CLR_CMOS jumper (refer to the motherboard diagram for location).
For further assistance, refer to the GIGABYTE official support website.
Specifications
Below are the technical specifications for the GIGABYTE GA-H110M-S2H GSM Motherboard:
| Feature | Specification |
|---|---|
| CPU Socket | LGA 1151 |
| Chipset | Intel H110 Express |
| Memory | 2 x DDR4 DIMM slots, Dual Channel, Max 32GB, DDR4-2133 MHz |
| Expansion Slots | 1 x PCI-Express 3.0 x16, 2 x PCI-Express 2.0 x1 |
| Storage | 4 x SATA3 6Gb/s connectors |
| USB Ports | 4 x USB 3.0/2.0 (2 rear, 2 via header), 8 x USB 2.0/1.1 (4 rear, 4 via headers) |
| Video Outputs | 1 x VGA, 1 x DVI-D, 1 x HDMI |
| LAN | Gigabit Ethernet (GbE) |
| Audio | High Definition Audio |
| Form Factor | Micro ATX |
| Dimensions | 23 x 12 x 11 inches (Product Dimensions) |
| Weight | 1.45 pounds |
Warranty and Support
For warranty information and technical support, please visit the official GIGABYTE website. Warranty terms and conditions may vary by region and retailer. It is recommended to register your product and retain your proof of purchase.
GIGABYTE Support: https://www.gigabyte.com/support


