
1. Introduction
Thank you for choosing the Walimex Pro Ring Flash HS 400. This powerful ring flash is designed for shadow-free illumination and can also function as a strobe flash for creative lighting effects. It features a replaceable 4500 mAh lithium battery and adjustable LED light, making it suitable for both photography and video lighting. Please read this manual carefully before use to ensure proper operation and to maximize the performance of your device.
Safety Instructions
- Do not expose the device to water or high humidity.
- Avoid direct eye contact with the flash light.
- Do not attempt to disassemble or repair the unit yourself. Refer to qualified service personnel.
- Keep out of reach of children.
- Use only the specified battery and charger.
2. Package Contents
Please check that all items listed below are included in your package:
- 1 x Walimex pro Ring Flash HS 400
- 1 x Walimex pro Battery Charger
- 1 x Mounting Rail
- 1 x Guide Rail
- 1 x Instruction Manual
3. Product Overview
Familiarize yourself with the main components of the Walimex Pro Ring Flash HS 400.
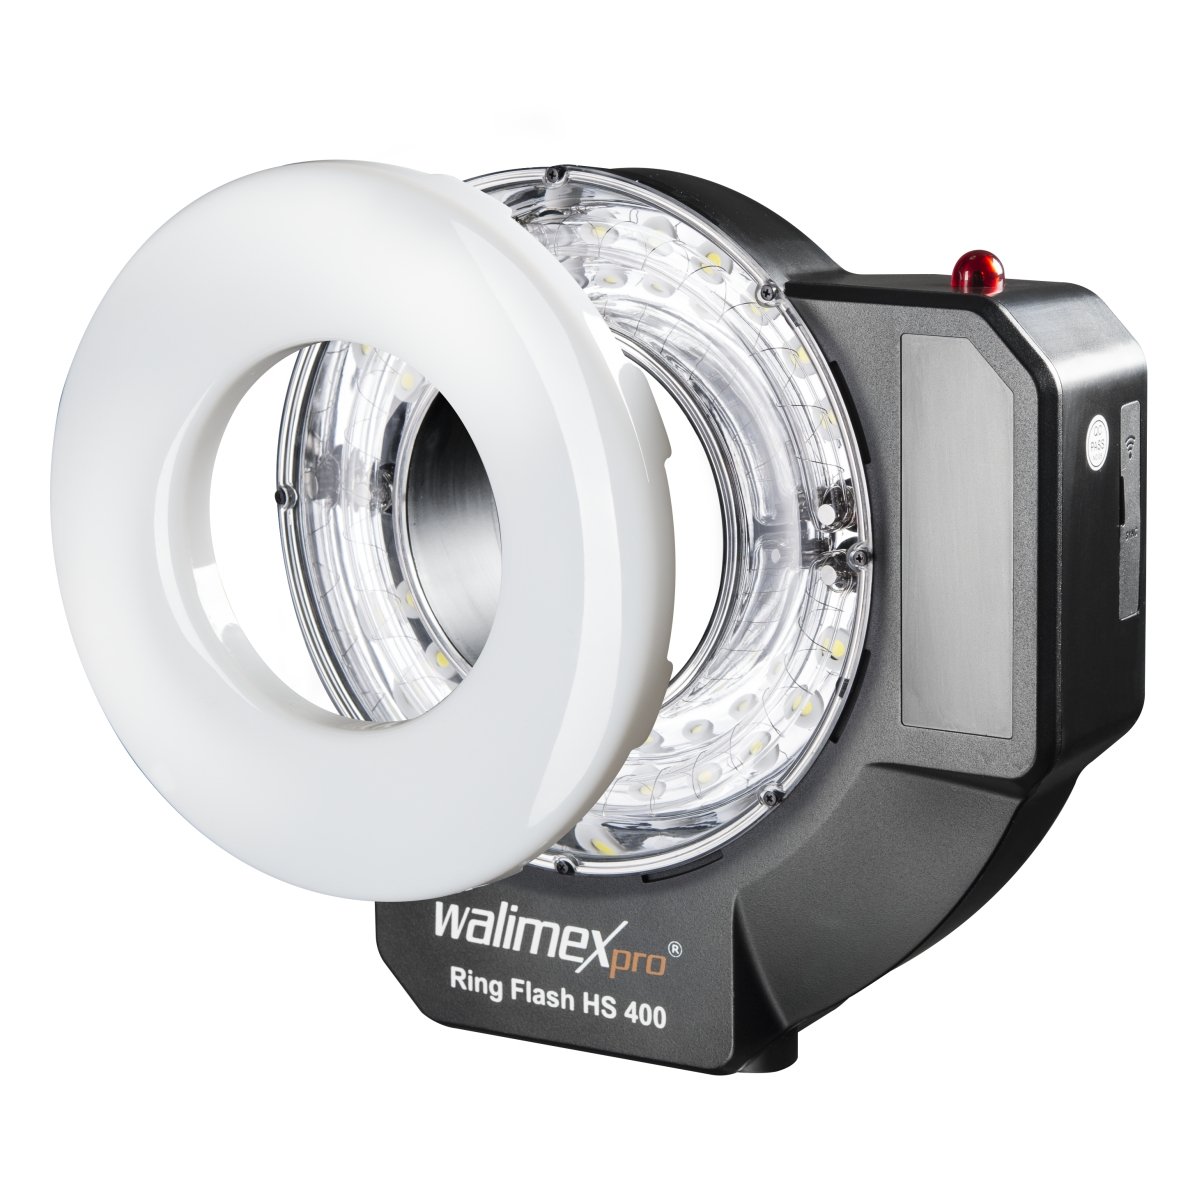
Figure 3.1: Front view of the Walimex Pro Ring Flash HS 400, showing the ring light and control panel area.

Figure 3.2: Rear view of the Walimex Pro Ring Flash HS 400, highlighting the battery compartment and ventilation.

Figure 3.3: Close-up of the control panel, showing the display, power buttons, mode selection, and adjustment dial.
4. Setup
4.1 Battery Installation
- Ensure the flash unit is powered off.
- Locate the battery compartment on the rear of the flash unit.
- Press the "BATT. OPEN" button or slide the latch to open the battery cover.
- Insert the Walimex pro 4500 mAh lithium battery, ensuring correct polarity.
- Close the battery cover securely until it clicks into place.

Figure 4.1: Proper insertion of the lithium battery into the Walimex Pro Ring Flash HS 400.
4.2 Mounting the Ring Flash
The Walimex Pro Ring Flash HS 400 can be mounted on a camera via a hot shoe or on a light stand.
Mounting on Camera (Hot Shoe)
- Attach the provided mounting rail to the flash unit.
- Slide the camera's hot shoe into the mounting rail's hot shoe adapter.
- Secure the flash to the camera by tightening the locking mechanism on the mounting rail.

Figure 4.2: The Walimex Pro Ring Flash HS 400 attached to a mounting rail, ready for camera attachment.
Mounting on a Light Stand
- Attach the guide rail to the bottom of the flash unit.
- Mount the flash unit with the guide rail onto a standard light stand stud.
- Tighten the locking knob on the guide rail to secure the flash.

Figure 4.3: The Walimex Pro Ring Flash HS 400 mounted on a light stand, demonstrating its use with a light modifier.
5. Operation
5.1 Power On/Off
Press the OFF/ON button on the control panel to power the unit on or off. The display will illuminate when the unit is on.
5.2 Adjusting Flash Power
The flash power can be adjusted in 22 levels, from 1/1 (full power) down to 1/128. Use the Min/Max dial to select the desired power output. The current setting will be displayed on the LCD screen.
5.3 LED Light / Video Lamp Function
The ring flash features an adjustable LED light that can be used as a modeling lamp or as a continuous light source for video recording. Press the dedicated LED light button (often marked with a sun icon) to activate and adjust the brightness of the LED lights.
5.4 Synchronization Modes
The Walimex Pro Ring Flash HS 400 supports high-speed synchronization (HSS) up to 1/8000 seconds. This allows for shooting with fast shutter speeds, useful for freezing action or overpowering ambient light. Consult your camera's manual for specific instructions on activating HSS with external flashes.
5.5 Test Flash
Press the TEST button to fire a test flash. This is useful for checking flash output and coverage before taking a picture.
5.6 Buzz Function
The BUZZ button activates or deactivates an audible beep that indicates when the flash is fully recycled and ready to fire again.