
Nilight NI-WA 04
Nilight 16AWG Off-Road LED Light Bar Wiring Harness Kit NI-WA 04 Instruction Manual
Model: NI-WA 04 | Brand: Nilight
Introduction
This manual provides detailed instructions for the installation, operation, and maintenance of your Nilight 16AWG Off-Road LED Light Bar Wiring Harness Kit. Please read this manual thoroughly before installation and use to ensure proper function and safety.
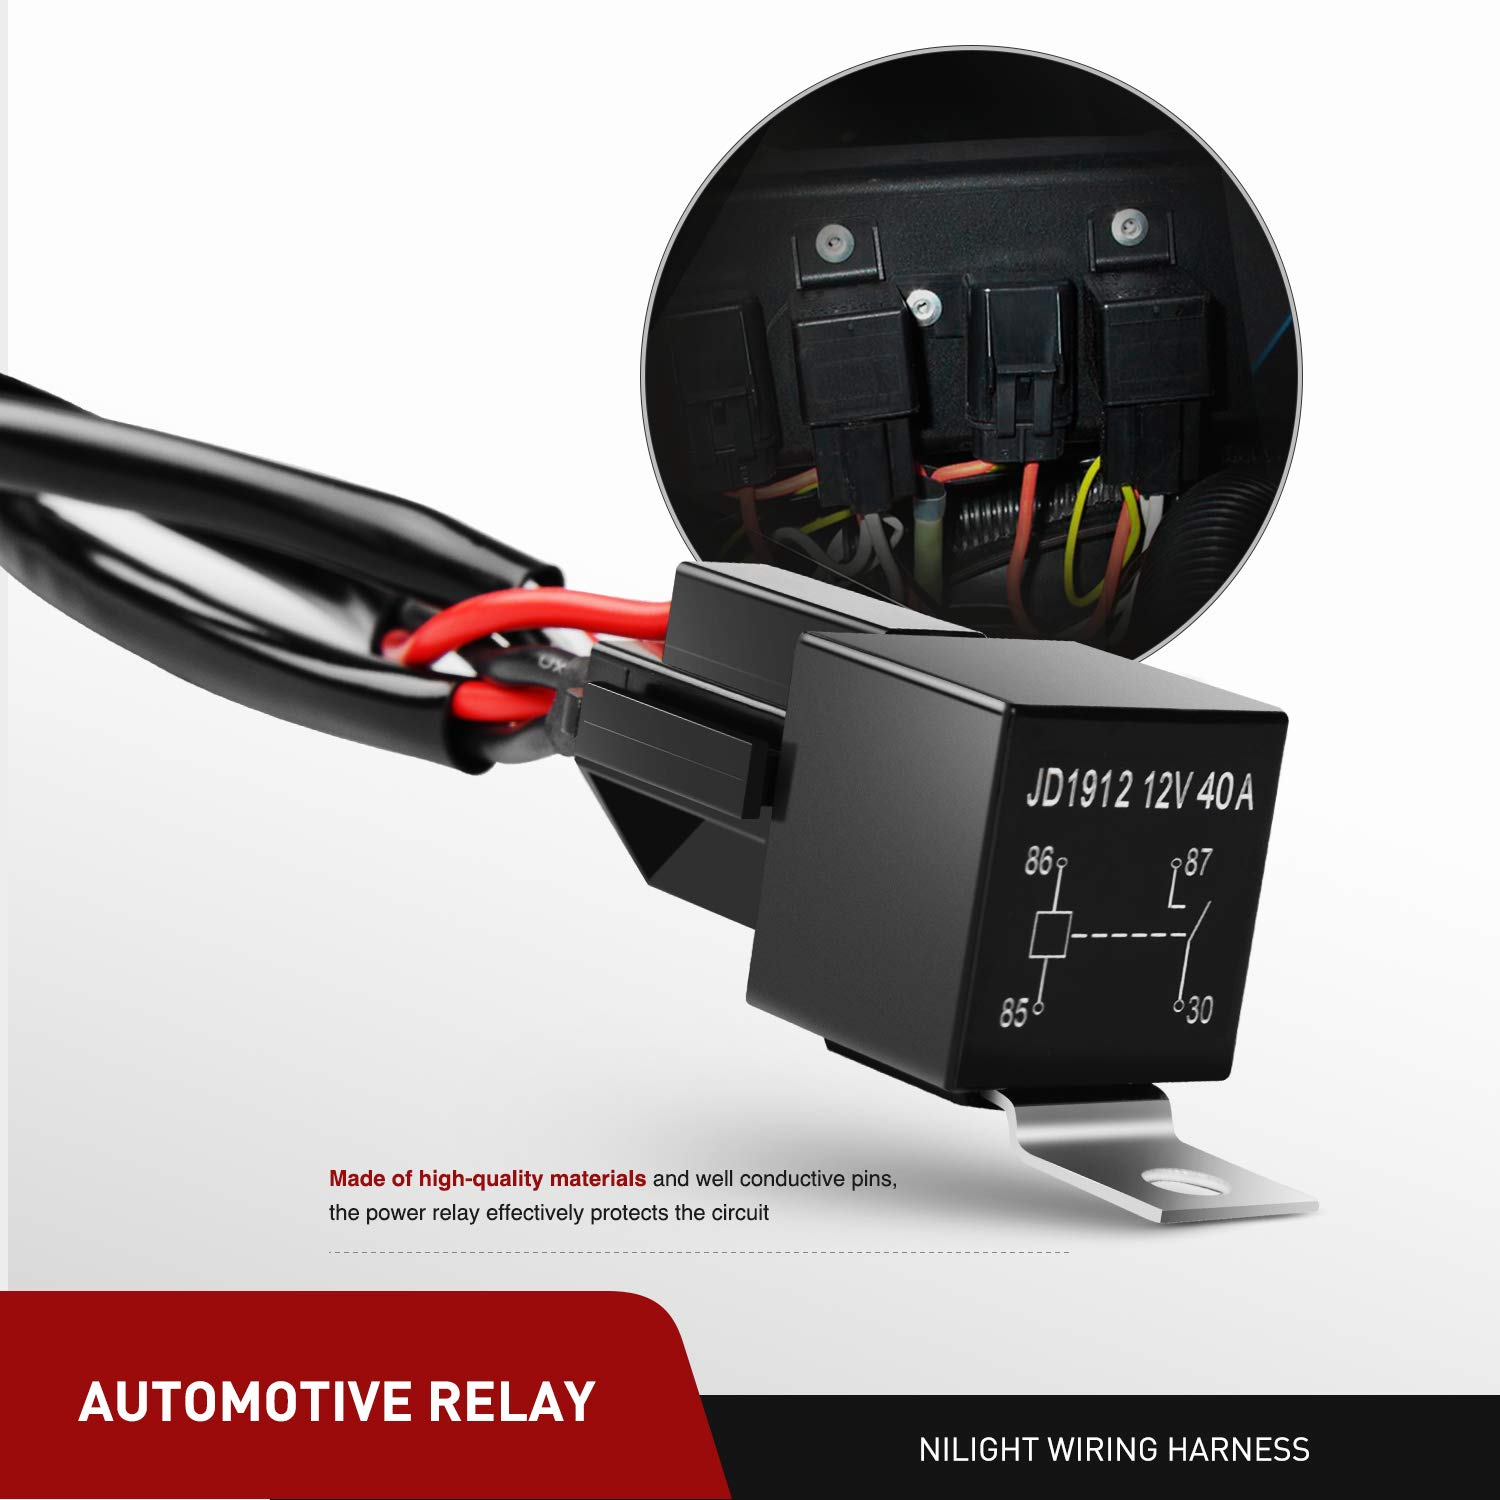
Image: Overview of the Nilight 16AWG Off-Road LED Light Bar Wiring Harness Kit, showing the main components such as the switch, relay, and fuse holder.
Safety Information
- Always disconnect the vehicle's battery before performing any electrical work.
- Ensure all connections are secure and properly insulated to prevent short circuits.
- Do not exceed the maximum wattage capacity of 200W for this wiring harness.
- Consult a professional if you are unsure about any installation steps.
- Wear appropriate personal protective equipment (PPE) during installation.
Package Contents
The Nilight 16AWG Off-Road LED Light Bar Wiring Harness Kit includes the following:
- Wiring Harness
- On/Off Rocker Switch
- 40A Power Relay
- 40A Blade Fuse (pre-installed)
- Additional Blade Fuses (10A, 15A)
- Added Connectors for safe connection
Specifications
| Brand | Nilight |
| Model Number | NI-WA 04 |
| Operating Voltage | 12V DC |
| Power Relay | 40A |
| Blade Fuse | 40A (with additional 10A, 15A options) |
| Maximum Wattage | 200W |
| Cord Length | Approximately 2.5 meters (8.2 feet) |
| Material | High Quality PVC, Copper, Metal |
| Item Dimensions (L x W x H) | 8.9 x 5 x 2.6 inches |
| Item Weight | 14 ounces |
Setup and Installation
Follow these steps to properly install your Nilight wiring harness:
1. Connect to Power Source (Battery)
- Locate your vehicle's 12V battery.
- Connect the red wire from the harness to the positive (+) terminal of the battery.
- Connect the black wire from the harness to the negative (-) terminal of the battery.
- Ensure connections are tight and secure.

Image: Illustration showing the red wire connected to the positive battery terminal and the black wire to the negative terminal.
2. Mount the Relay
The 40A power relay protects the circuit. Mount it securely in the engine compartment, away from excessive heat or moving parts. The relay has a mounting tab for easy installation.

Image: Example of a relay mounted within a vehicle's engine compartment.

Image: Close-up of the automotive relay, highlighting its high-quality materials and conductive pins for circuit protection.
3. Connect LED Light Bar(s)
The harness features two light output connectors for LED light bars up to 180W. Connect your LED light bar(s) to these connectors. Ensure a secure fit.

Image: Illustration showing how to connect LED light bars to the harness's output connectors using the provided added connectors.

Image: Close-up of the two light output connectors and additional connectors for secure attachment to LED light bars.
4. Install the On/Off Switch
Route the switch wire from the engine compartment into your vehicle's cabin. The switch features adhesive backing for easy, drill-free mounting. Choose a convenient location within reach of the driver.

Image: Step-by-step guide demonstrating the easy mounting of the on/off switch with its adhesive backing, eliminating the need for drilling.

Image: Close-up of the mouse-style switch, showing its red and green indicator lights and the adhesive backing for mounting.
5. Wiring Diagram Overview
Refer to the following diagram for a complete overview of the wiring connections.

Image: Comprehensive wiring diagram illustrating the connections from the battery to the relay, switch, and two LED light bars.
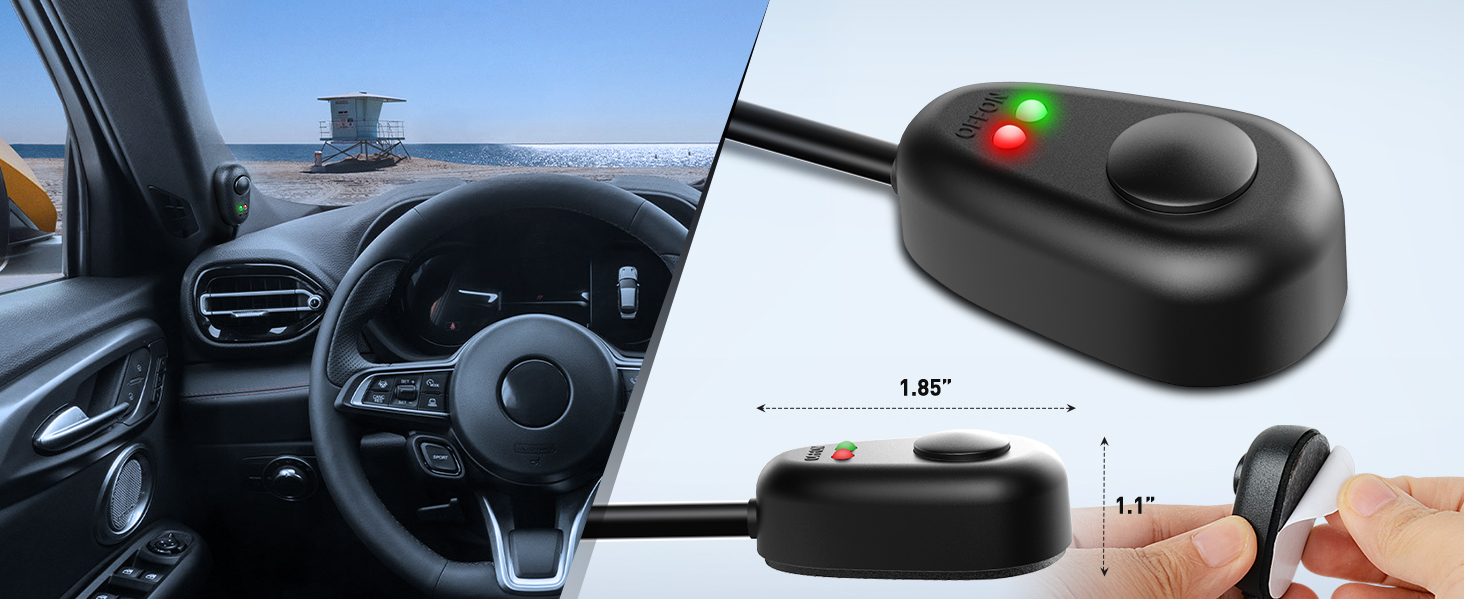
Image: Detailed wiring diagram showing the extended power to switch (6.56FT), extended to battery (2.76FT), and extended to light bar (6.7FT and 10FT) connections.
Installation Video Guide
Video: An official Nilight video demonstrating the installation process of a wiring harness for an LED light bar. This video covers connecting to the battery, routing wires, and operating the switch.
Operating Instructions
Once the wiring harness is correctly installed, operating your LED light bar is straightforward:
- Ensure all connections are secure and the vehicle's battery is connected.
- Press the "ON" button on the rocker switch to activate the connected LED light bar(s). The switch will illuminate to indicate power.
- Press the "OFF" button to turn off the LED light bar(s).
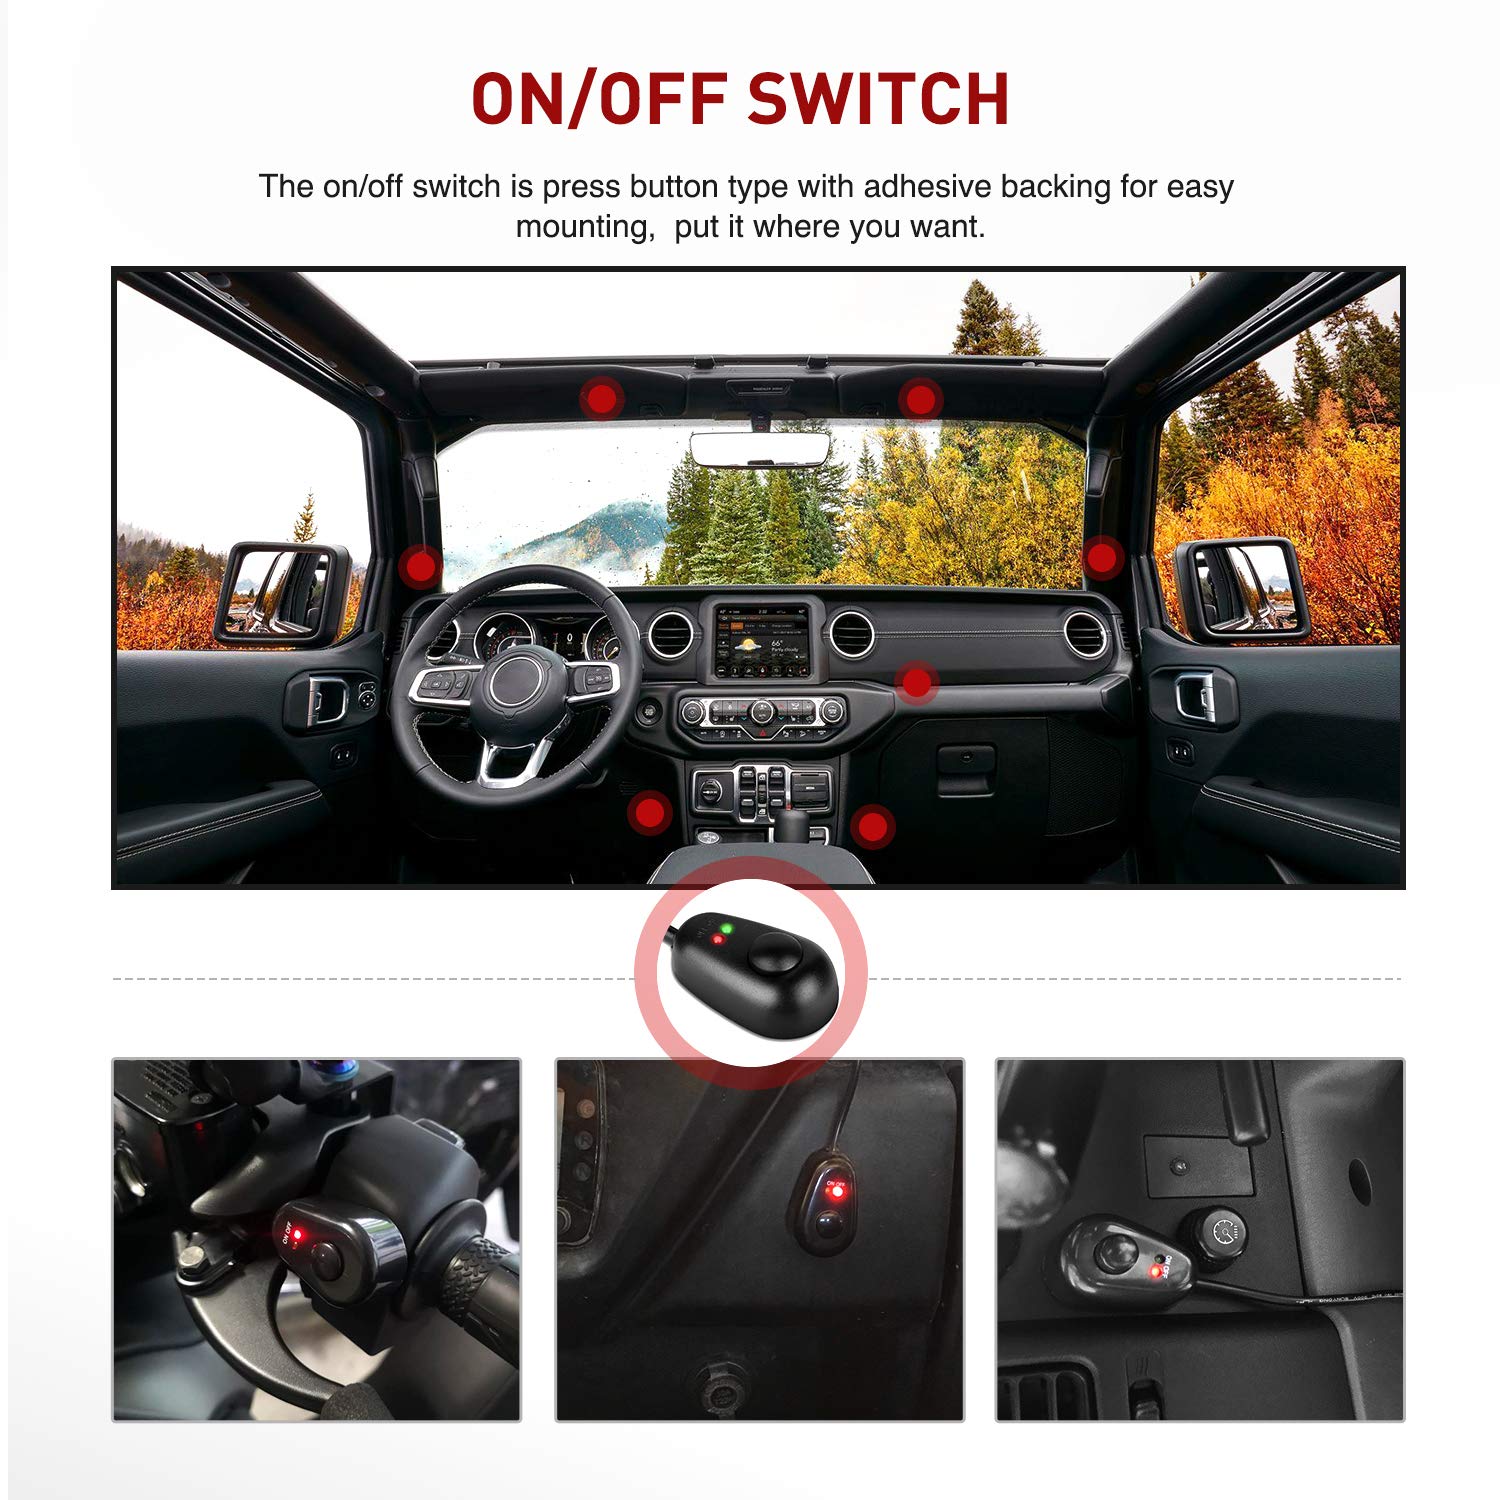
Image: Examples of the on/off switch mounted in different vehicle interiors, demonstrating its versatility and ease of access.
Maintenance
To ensure the longevity and optimal performance of your wiring harness, consider the following maintenance tips:
- Regular Inspection: Periodically check all wiring connections for corrosion, fraying, or loose terminals. Tighten any loose connections.
- Fuse Check: The harness includes an in-line blade fuse for circuit protection. If your light bar stops working, check the fuse first. Replace it with a fuse of the same amperage (40A, or 10A/15A if you've replaced it with a lower rating for specific applications).
- Cleaning: Keep the relay and fuse holder free from dirt and moisture. The fuse holder is water-resistant.
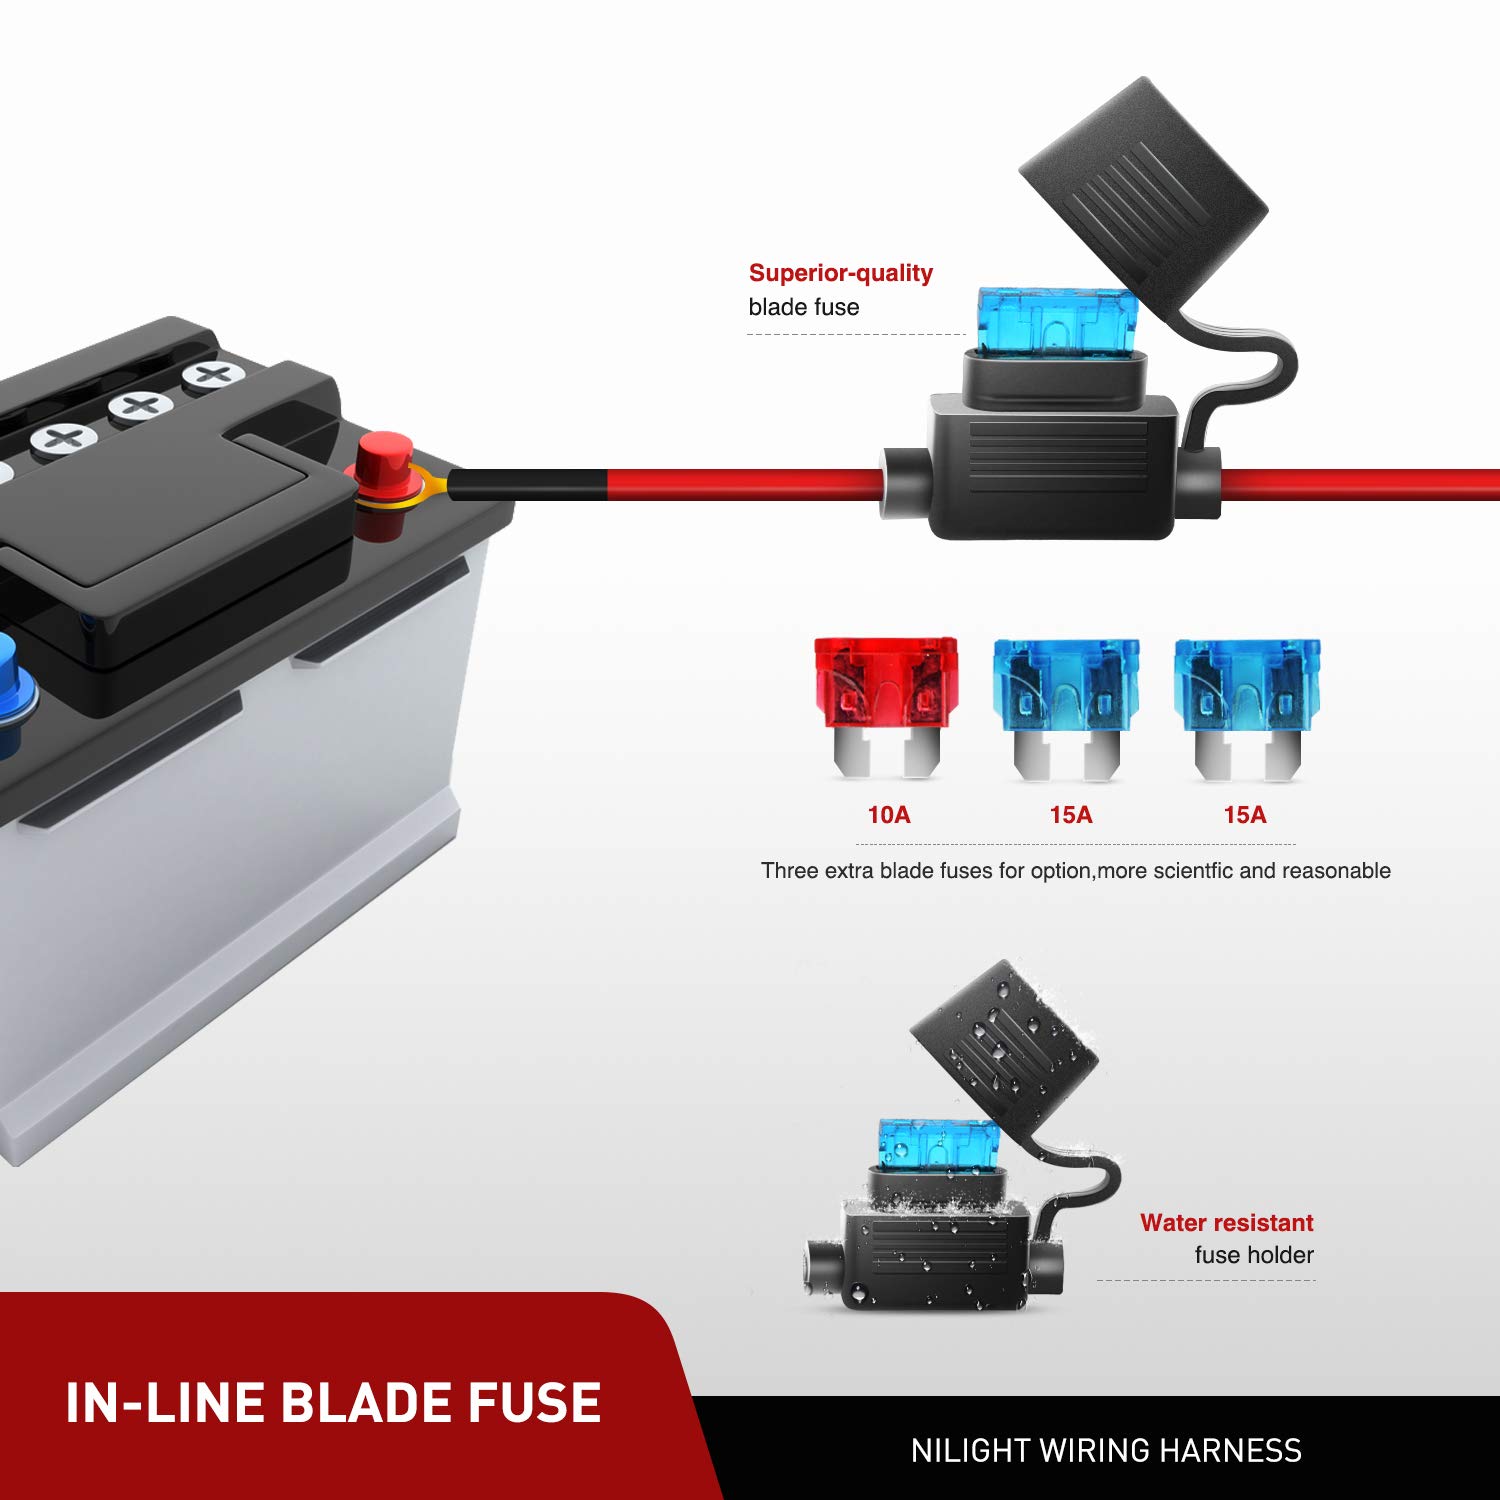
Image: The in-line blade fuse holder, demonstrating its design for easy fuse replacement and protection against current overload. Includes spare 10A and 15A fuses.
Troubleshooting
If you encounter issues with your Nilight wiring harness, refer to the following common solutions:
- Light Bar Not Turning On:
- Check battery connections: Ensure the red and black wires are securely attached to the correct battery terminals.
- Inspect the fuse: Verify the in-line blade fuse is not blown. Replace if necessary.
- Check switch connection: Ensure the switch is properly connected and functioning.
- Verify light bar connection: Confirm the light bar(s) are securely plugged into the harness connectors.
- Intermittent Power:
- Check for loose connections at the battery, relay, switch, and light bar.
- Inspect wiring for any damage or frayed sections.
- Light Bar Stays On (even with switch off):
- This is highly unlikely with a properly functioning relay. Re-check all wiring according to the diagram. Ensure the relay is correctly installed.
Note: Some users prefer to wire the switch to an ignition-switched power source to prevent accidental battery drain when the vehicle is off. This requires advanced electrical knowledge and may involve using a fuse tap on an appropriate fuse in your vehicle's fuse box. Consult your vehicle's manual or a professional for such modifications.
Warranty
This Nilight Wiring Harness Kit comes with a 2-year warranty. For warranty claims or further details, please refer to the official Nilight website or contact customer support.
Customer Support
For any questions, technical assistance, or support regarding your Nilight product, please visit the official Nilight Store on Amazon or contact Nilight customer service directly.
Related documentsNI-WA 04


Ask a question about this manual
Ask about setup, troubleshooting, compatibility, parts, safety, or missing instructions. Manuals+ will review the question and use this page’s manual context to help answer it.