
Product Overview
The XREXS YS355 Digital Kitchen Timer is a versatile device designed to assist with various timing needs in the kitchen and beyond. It features a large LCD display, multiple independent timer channels, and flexible placement options, making it an essential tool for managing multiple tasks simultaneously.

Image: Front view of the XREXS YS355 Digital Kitchen Timer, showing the large LCD display and control buttons.
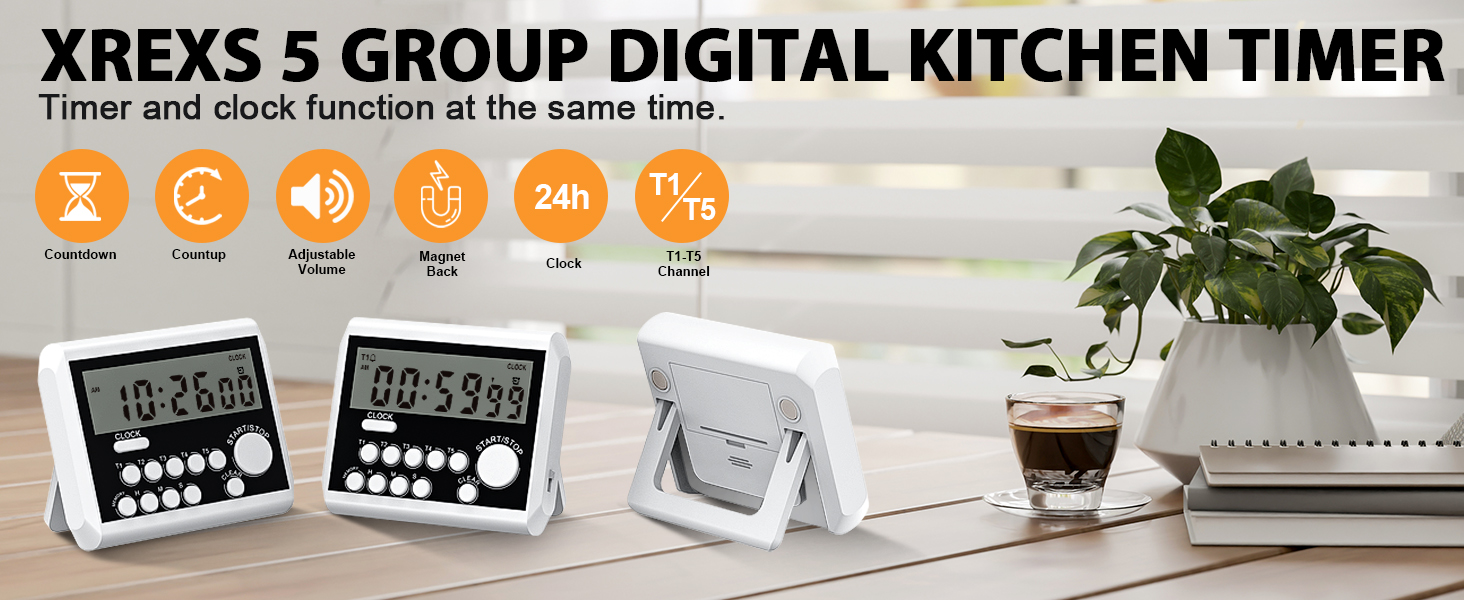
Image: The XREXS YS355 timer highlighting its multifunctional capabilities, including clock mode, countdown, and various placement methods.
Setup
1. Battery Installation
The XREXS YS355 timer requires two AAA batteries for operation. These batteries are typically included with the product.
- Locate the battery compartment on the back of the timer.
- Slide open the battery compartment cover.
- Insert two AAA batteries, ensuring the correct polarity (+ and -) as indicated inside the compartment.
- Close the battery compartment cover securely.
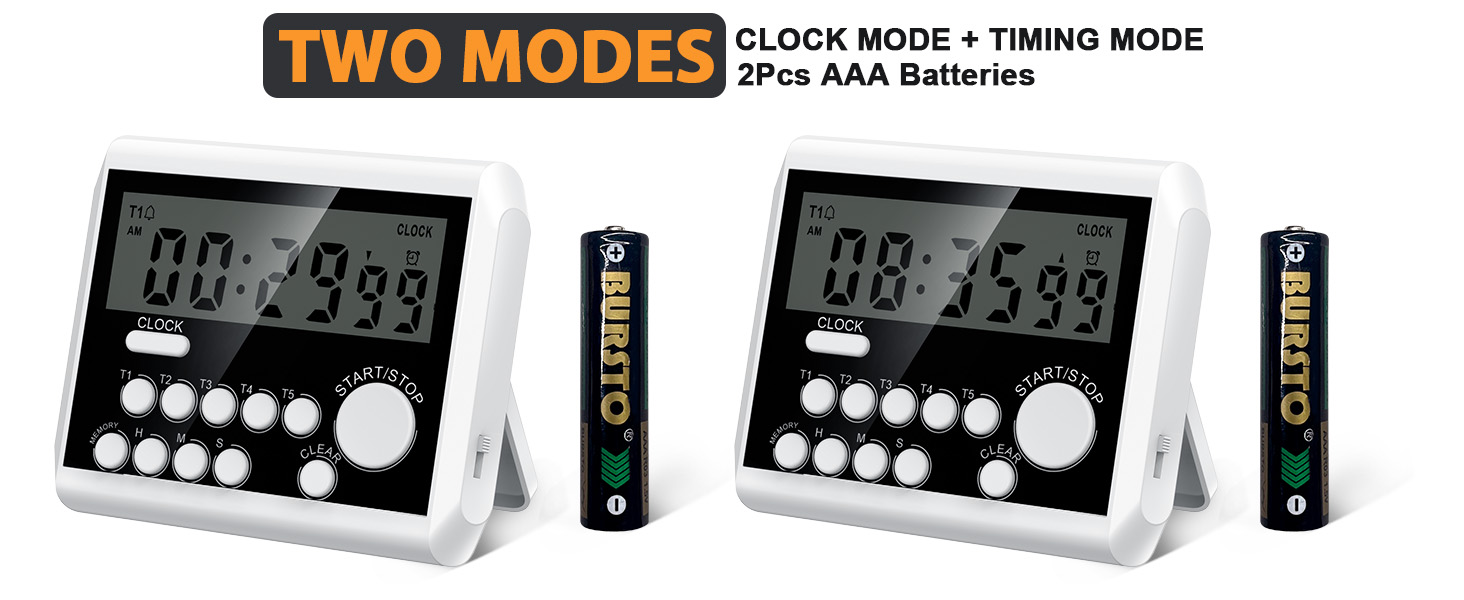
Image: The XREXS YS355 timer displaying its two modes (clock and timing) and indicating the use of 2 AAA batteries.
2. Initial Clock Setting
Upon battery installation, the timer will typically default to clock mode. If not, press the CLOCK button to switch to clock display.
- In Clock Mode, press and hold the CLOCK button for 3 seconds to enter setting mode. The hour digits will flash.
- Use the H (Hour), M (Minute), and S (Second) buttons to adjust the time.
- Press the CLOCK button again to confirm the setting and exit setting mode.
Operating Instructions
1. Switching Modes
The timer has two main modes: Clock Mode and Timer Mode. Press the CLOCK button to toggle between these modes.
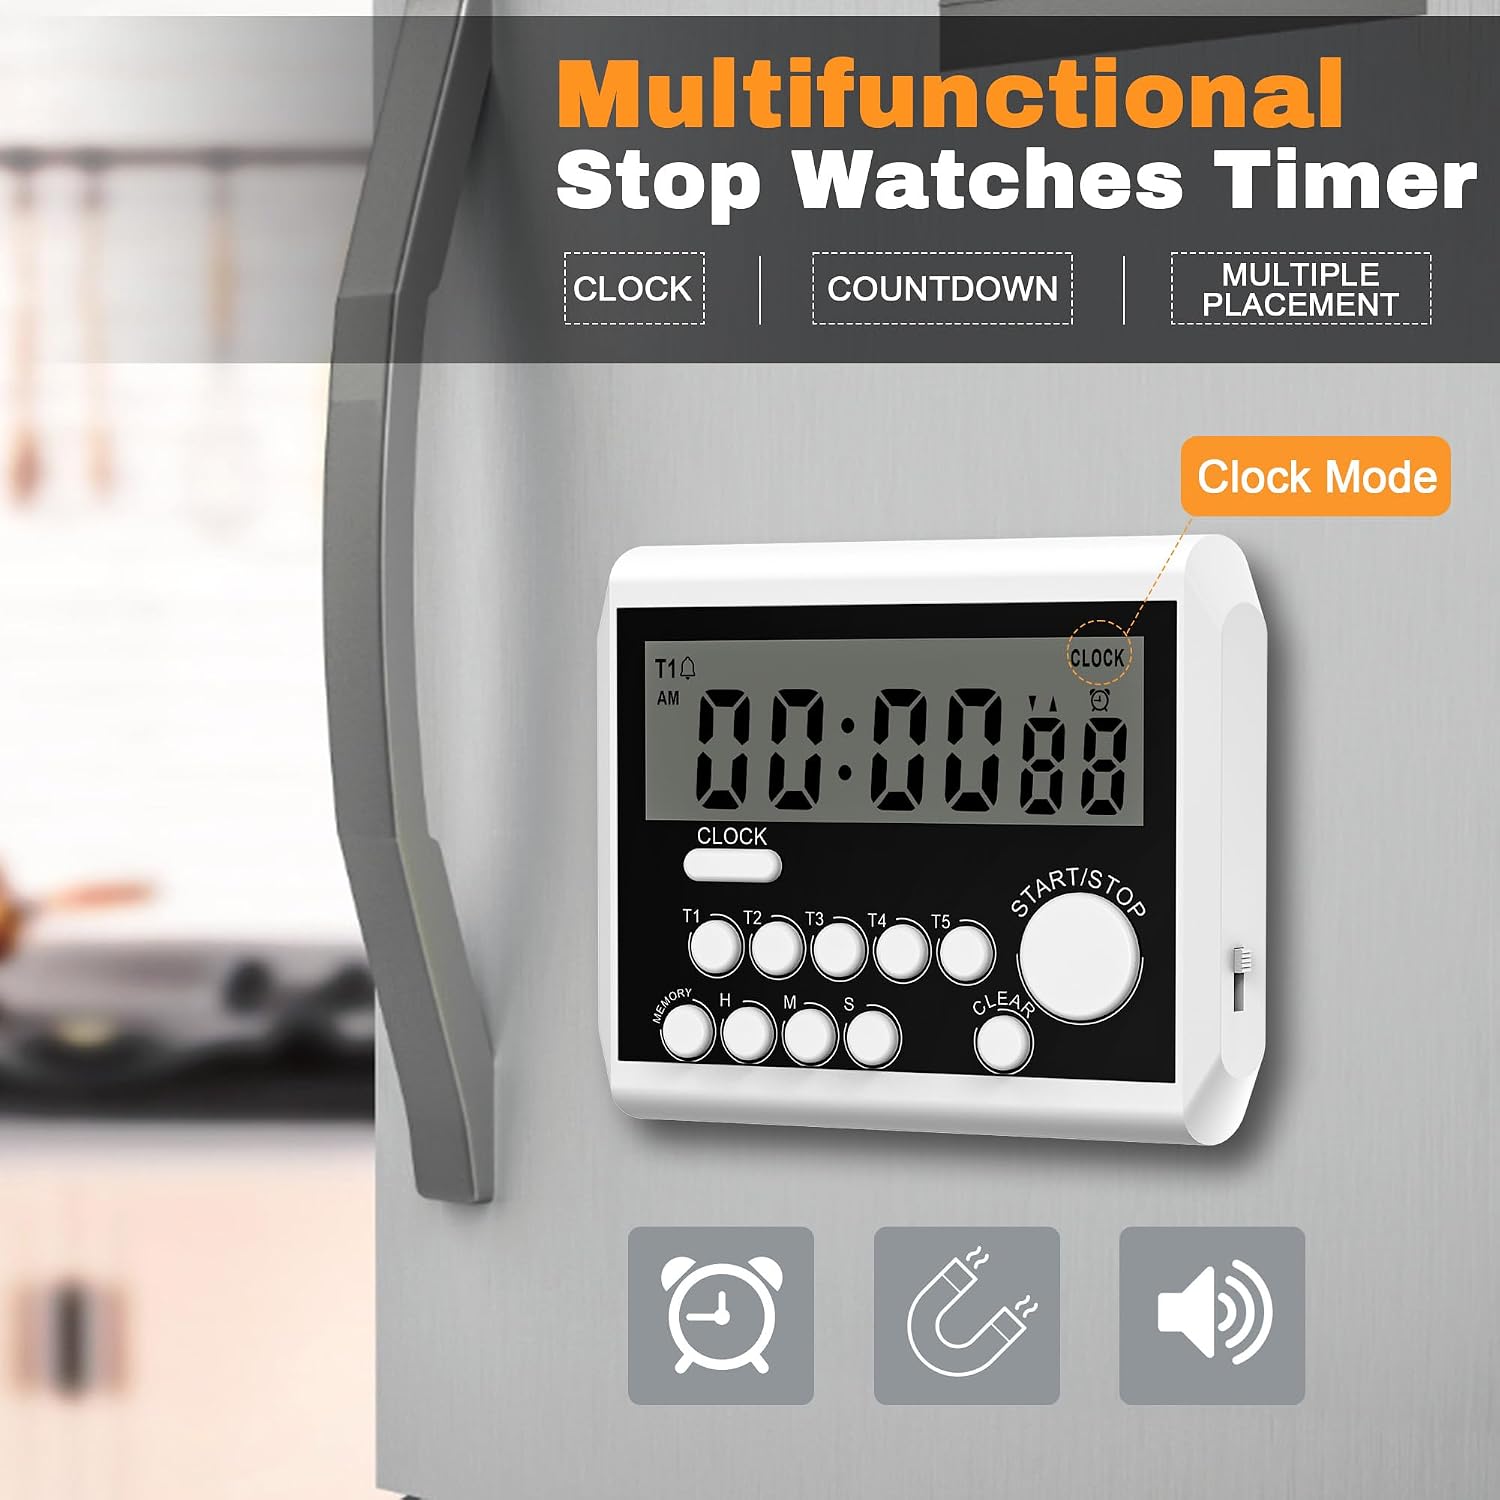
Image: The XREXS YS355 timer displaying the current time in Clock Mode, with an alarm icon indicating an active alarm.
2. Setting Timers (T1-T5)
The timer supports up to five independent countdown timers (T1 through T5).
- In Timer Mode, select the desired timer channel (T1, T2, T3, T4, or T5) by pressing its corresponding button. The selected timer's display will activate.
- Use the H (Hour), M (Minute), and S (Second) buttons to set the desired countdown time for the selected channel.
- Press the START/STOP button to begin the countdown. The timer icon for that channel will flash.
- To pause a running timer, press the START/STOP button again. Press it once more to resume.
- To clear a timer, press the CLEAR button while the timer is paused or stopped.

Image: The XREXS YS355 timer demonstrating its ability to manage five simultaneous countdown timers, useful for multi-tasking in the kitchen.
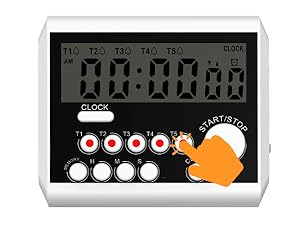
Image: A hand pressing the T5 button on the timer, illustrating the selection of a specific timer channel.
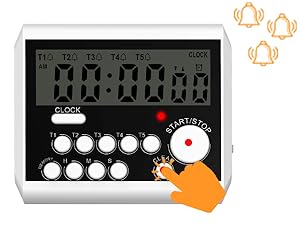
Image: A hand pressing the CLEAR button on the timer, demonstrating how to reset a timer channel.
3. Count-Up Function
The timer can also function as a stopwatch (count-up timer).
- Ensure the selected timer channel is cleared (displaying 00:00:00).
- Press the START/STOP button. The timer will begin counting upwards from zero.
- Press START/STOP again to pause the count-up. Press again to resume.
- Press CLEAR to reset the count-up timer to zero.
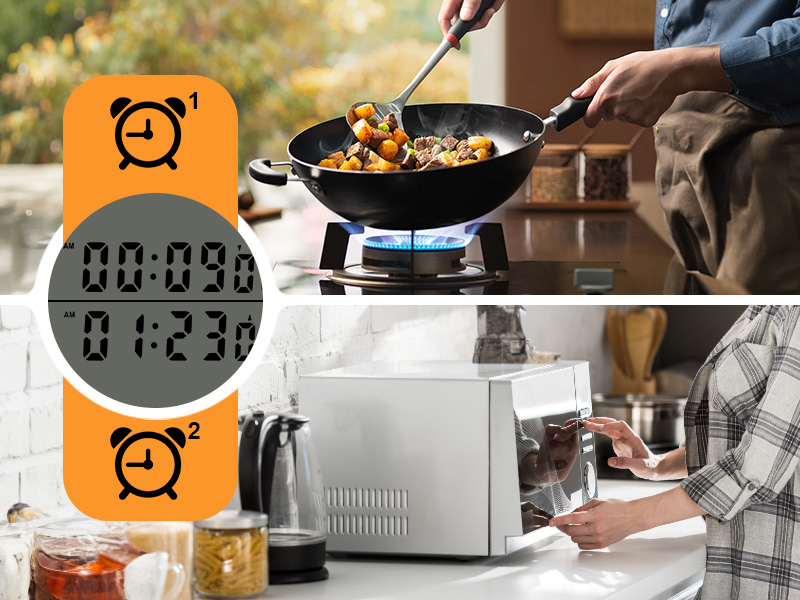
Image: The timer displaying two active timers, one counting down and another counting up, illustrating its multi-tasking capability.
4. Adjusting Alarm Volume and Flashing Light
The XREXS YS355 timer features an adjustable alarm volume and a flashing red light indicator.
- Locate the volume switch on the side of the timer.
- Slide the switch to select one of three volume levels: High, Low, or Mute.
- When a timer reaches zero, the alarm will sound at the selected volume, and a red light will flash to provide a visual alert. In Mute mode, only the light will flash.

Image: The XREXS YS355 timer illustrating its three volume levels: loud, soft, and silent (mute mode with flashing numbers).
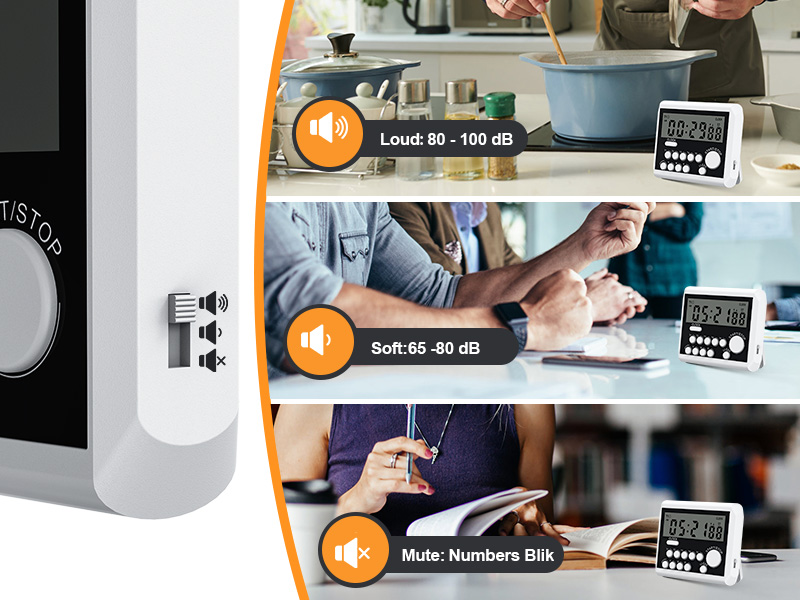
Image: A close-up of the side volume switch on the XREXS YS355 timer, showing the options for loud, soft, and mute settings.
5. Placement Options
The XREXS YS355 timer offers multiple convenient placement options:
- Magnetic Back: The strong magnetic back allows the timer to be securely attached to metal surfaces, such as refrigerators or oven doors.
- Telescopic Stand: A retractable stand on the back allows the timer to be placed upright on a countertop or table.
- Hanging Hole: A small hole is provided for hanging the timer on a hook or lanyard.

Image: The XREXS YS355 timer showcasing its versatile placement options: a retractable stand for tabletop use, magnetic back for metal surfaces, and a hanging hole for hooks or lanyards.
Maintenance
1. Battery Replacement
When the display dims or the timer functions become erratic, it's time to replace the batteries. Follow the battery installation steps in the Setup section.
2. Cleaning
To clean the timer, wipe it with a soft, damp cloth. Do not use abrasive cleaners or immerse the device in water.
3. Storage
Store the timer in a cool, dry place when not in use. If storing for an extended period, it is recommended to remove the batteries to prevent leakage.
Troubleshooting
| Problem | Possible Cause | Solution |
|---|---|---|
| Display is blank or dim. | Low or dead batteries; incorrect battery installation. | Replace batteries with new AAA batteries; ensure correct polarity. |
| Alarm is not sounding. | Volume is set to Mute; timer not set correctly. | Check the volume switch on the side and set to High or Low; ensure timer countdown reached zero. |
| Buttons are unresponsive. | Low batteries; temporary software glitch. | Replace batteries; remove and reinsert batteries to reset the device. |
Specifications
- Model: YS355
- Product Dimensions: 0.5"D x 3.4"W x 2.9"H (approximately 1.27 cm D x 8.64 cm W x 7.37 cm H)
- Item Weight: 3.56 ounces (approximately 101 grams)
- Power Source: 2 x AAA Batteries (included)
- Number of Channels: 5 independent timers (T1-T5)
- Display: Large LCD Digital Display
- Alarm: Loud volume alarm with flashing red light (adjustable volume: High/Low/Mute)
- Functions: Clock Mode, Countdown Timer, Count-Up Timer
- Placement: Magnetic Back, Telescopic Stand, Hanging Hole

Image: A visual guide demonstrating the simple steps to operate the XREXS YS355 timer, including clearing, starting/stopping count-up, fast-forwarding, and switching to clock mode.
Warranty and Support
For warranty information and customer support, please refer to the product packaging or contact XREXS customer service directly. Keep your purchase receipt for any warranty claims.
Typical return policy allows for refunds/replacements within 30 days of purchase.
For further assistance, you may visit the official XREXS store on Amazon: XREXS Store