
Product Overview
The Rii K12+ Mini Wireless Keyboard with Touchpad Mouse is an ultra-slim, portable input device designed for convenience and versatility. Featuring a durable stainless steel back cover and 2.4 GHz wireless technology, it provides a seamless experience for controlling various devices.
Key Features:
- Ultra-slim design with stainless steel construction.
- Portable and elegant form factor.
- Built-in rechargeable lithium-ion battery.
- Integrated touchpad with multi-finger functions: single-finger click for left mouse function, two-finger click for right mouse function.
- Automatic sleep mode for enhanced battery life.
- Conveniently stored USB receiver in the keyboard's back cover.

Image: The Rii K12+ Mini Wireless Keyboard being used, demonstrating its compact and portable nature.
Setup Instructions
Follow these steps to set up your Rii K12+ Mini Wireless Keyboard:
- Unpack Contents: Ensure you have the mini wireless keyboard, 2.4G receiver adapter, charging data cable, and user manual.
- Charge the Keyboard: Connect the provided USB charging cable to the keyboard and a power source (e.g., computer USB port, USB wall adapter). The red indicator light will illuminate during charging and turn off when fully charged. A full charge typically takes about 3 hours.
- Locate USB Receiver: The wireless USB receiver is stored in a compartment on the back of the keyboard for safekeeping. Gently slide open the compartment to retrieve it.
- Connect USB Receiver: Insert the 2.4G USB receiver adapter into an available USB 2.0 port or above on your device (PC, laptop, Smart TV, etc.).
- Power On: Locate the power switch on the keyboard (usually on the top or side) and slide it to the 'ON' position. The keyboard will automatically connect to the receiver.

Image: Detailed view of the keyboard's side and back, indicating the USB charging port, power switch, and the storage location for the USB receiver.
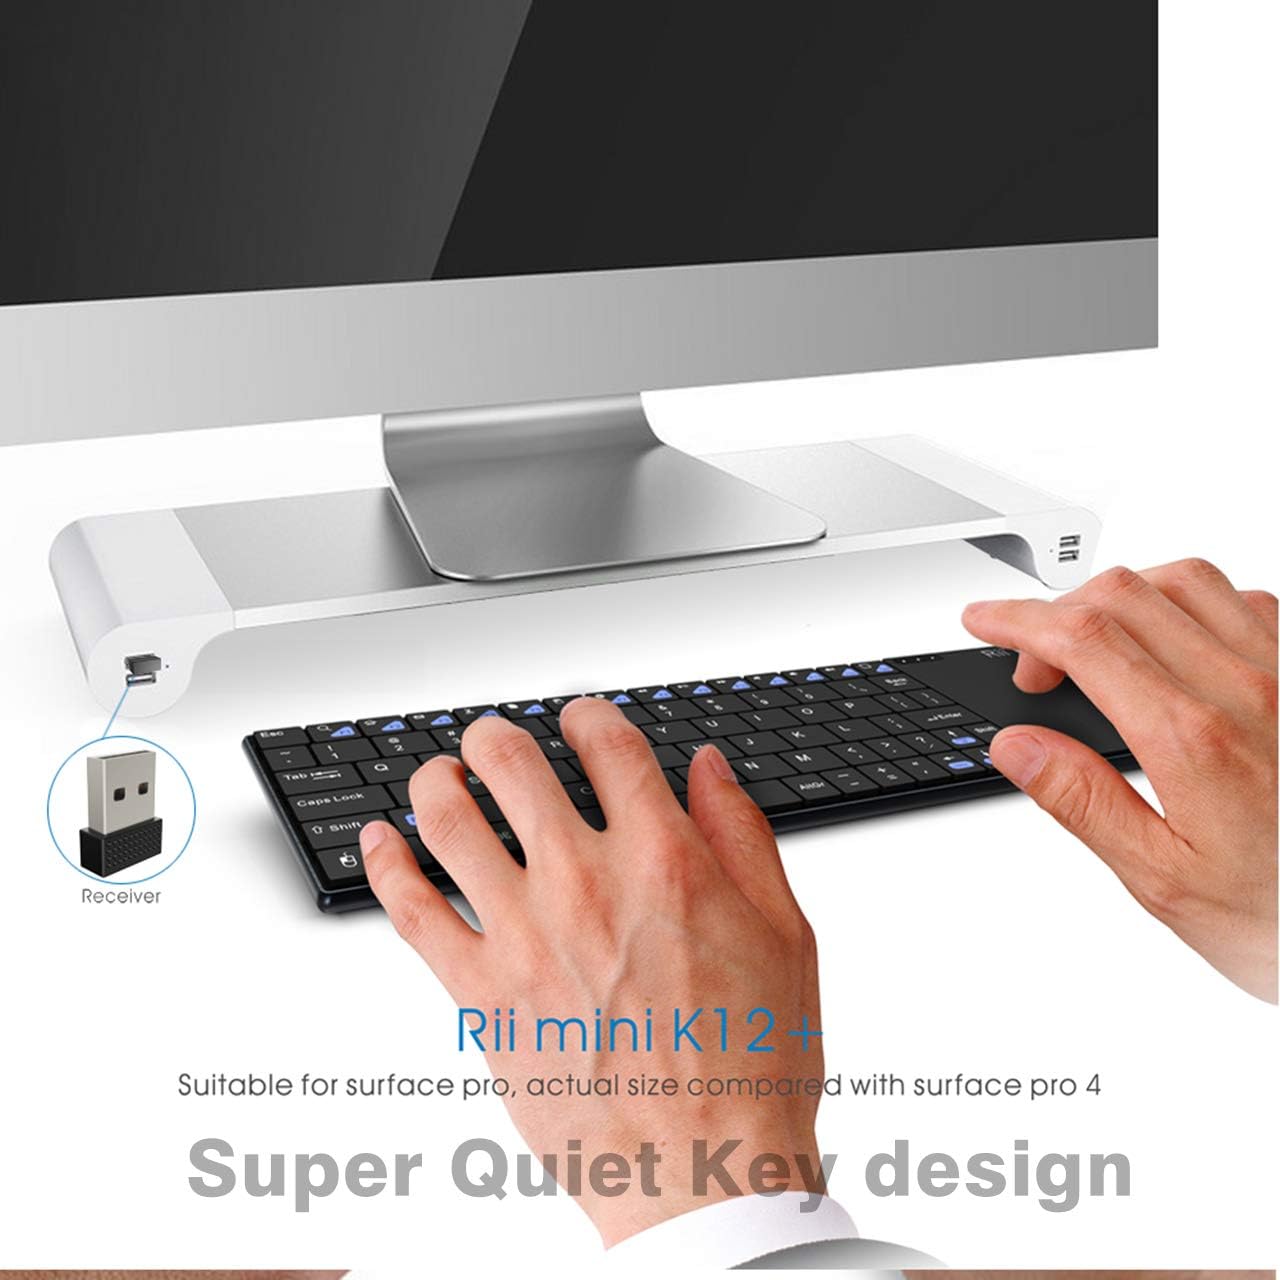
Image: The keyboard in use with a desktop computer, showing the USB receiver plugged into a port.
Operating Instructions
Your Rii K12+ keyboard is ready for use after successful setup. Here's how to operate its key features:
Keyboard Functions
- Typing: Use the QWERTY layout for standard text input.
- Function Keys (Fn): Press the 'Fn' key in combination with other keys (e.g., F1-F12, multimedia keys) to access secondary functions.
- Backlight: The keyboard features a backlight for improved visibility in low-light conditions. Refer to the specific key combinations in your quick guide for backlight control (e.g., changing colors or turning on/off).
Touchpad Functions
The integrated touchpad supports multi-finger gestures:
- Left Click: Single-finger tap on the touchpad or press the dedicated left mouse button.
- Right Click: Two-finger tap on the touchpad or press the dedicated right mouse button.
- Scrolling: Slide one finger along the right edge of the touchpad to scroll vertically.

Image: A detailed view of the keyboard's layout, including LED indicators for charging, Caps Lock, and RF signal, along with visual guides for touchpad gestures.
Maintenance
To ensure the longevity and optimal performance of your Rii K12+ Mini Wireless Keyboard, follow these maintenance guidelines:
- Charging: Charge the keyboard for approximately 3 hours to achieve a full battery. Avoid overcharging for extended periods.
- Battery Preservation: The keyboard features an auto-sleep function to conserve battery power. To reactivate, simply click any key.
- Cleaning: Use a soft, dry cloth to clean the keyboard surface. Avoid using harsh chemicals or abrasive materials.
- Storage: When not in use, store the USB receiver in its designated compartment on the back of the keyboard to prevent loss. Store the keyboard in a cool, dry place.
Troubleshooting
If you encounter issues with your Rii K12+ Mini Wireless Keyboard, refer to the following common problems and solutions:
- Q1: Keyboard and touchpad do not respond, and indicators are not illuminated.
A: Check whether the switch is in the 'ON' position. If it is in the 'ON' position, please charge the battery with the USB charging cable located in the bottom. - Q2: How long is required to charge the battery?
A: The red indicator will be lighted during charging and off when it is fully charged. It requires about 3 hours to charge the battery fully. - Q3: The USB cable in the bottom can be used for data transmission?
A: No. It is only used to charge the battery. - Q4: The keyboard works but the touchpad does not respond.
A: Press F5. - Q5: The blue indicator (the fourth one) keeps blinking.
A: It is to indicate that the battery power is low. You need to charge the battery.
Specifications
| Brand | Rii |
| Series | K12+ |
| Model Number | K12 |
| Hardware Platform | PC |
| Operating System Compatibility | Android, Linux, Mac OS, Vista, Windows 2000, Windows XP, Windows CE, Windows 7, Windows 8, Windows 10 |
| Item Weight | 10.5 ounces |
| Product Dimensions (LxWxH) | 9 x 3 x 0.8 inches |
| Power Source | Battery Powered (1 Lithium Polymer battery included) |
| Connectivity Technology | RF (2.4 GHz GFSK) |
| Transmission Distance | Up to 10 meters |
| Keyboard Description | QWERTY |
| Special Feature | Rechargeable |
| Material | Aluminum, Stainless Steel |

Image: Visual representation of the Rii K12+ keyboard's broad compatibility with different devices and operating systems.
Warranty and Support
Rii provides a 12-month repair warranty for this product, ensuring quality and reliability. For any inquiries, technical assistance, or warranty claims, please contact customer support:
Email: service_support@riitek.com
Please retain your proof of purchase for warranty validation.