
1. Introduction
This manual provides detailed instructions for the NiteRider Pro 2800 Enduro Remote bicycle light. It covers the setup, operation, maintenance, and troubleshooting to ensure optimal performance and longevity of your lighting system. The Pro 2800 Enduro Remote is designed for serious mountain biking enthusiasts, offering exceptional light output and durability.
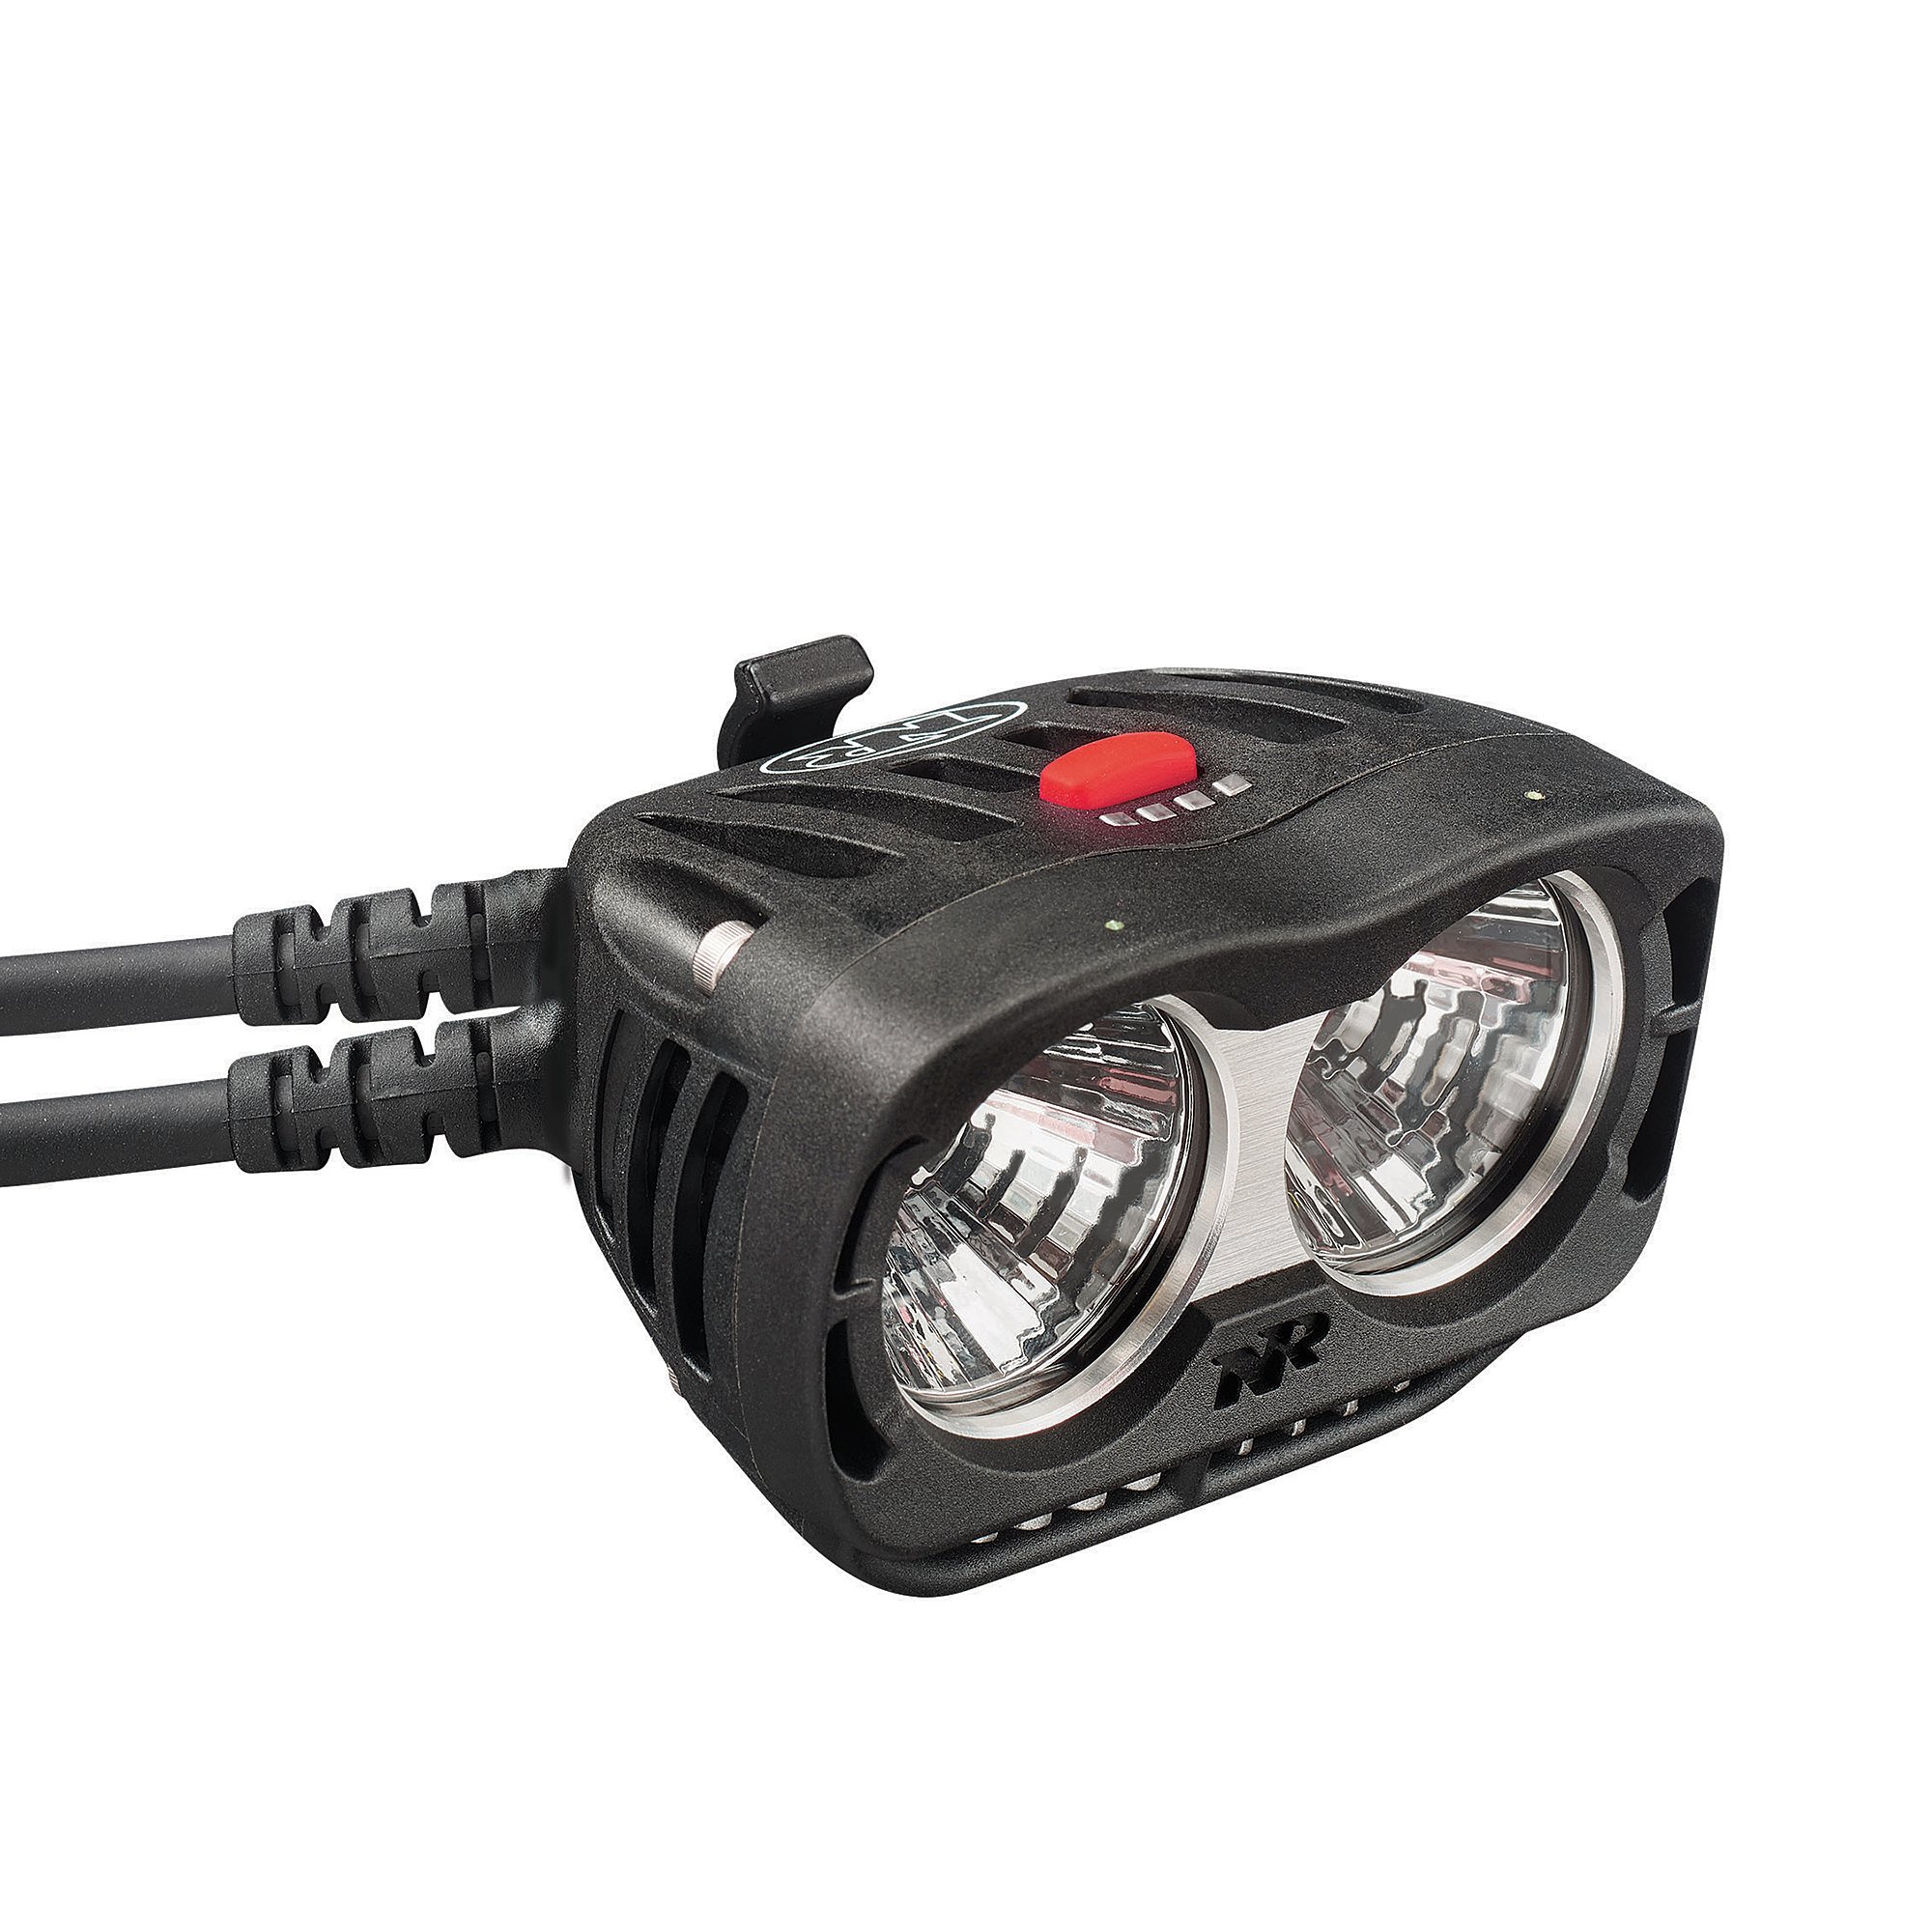
Figure 1: NiteRider Pro 2800 Enduro Remote Bicycle Light. This image displays the complete lighting system, including the headlamp unit, battery pack, and remote switch.
2. Setup
2.1 Package Contents
Verify that all components are present in your package:
- LED Headlamp with Remote Switch
- Li-Ion 6-Cell Battery / USB Portable Charger
- Handlebar Mount (fits up to 35mm handlebars)
- AC Adapter
- Nylon Storage Pouch
2.2 Mounting the Headlamp
- Attach the handlebar mount to your bicycle handlebar. Ensure it is securely fastened and positioned centrally in front of the bike stem for optimal beam alignment.
- Slide the headlamp unit onto the handlebar mount until it clicks into place.
2.3 Connecting the Battery
Connect the power cable from the headlamp to the Li-Ion 6-Cell Battery pack. Ensure the connection is firm to prevent accidental disconnection during use. The battery pack can be stored in the included nylon pouch and secured to your bike frame or within a pack.
2.4 Initial Charging
Before first use, fully charge the battery pack. Connect the AC adapter to the battery pack and plug it into a wall outlet. The charging indicator on the battery will show its status. A full charge typically takes several hours. The battery pack also features a USB output port for charging mobile devices on the go.
3. Operating Instructions
3.1 Powering On/Off
To power on the light, press and hold the main power button on the headlamp or the remote switch for approximately 1-2 seconds. To power off, press and hold the same button until the light turns off.
3.2 Changing Lighting Modes
The Pro 2800 Enduro Remote features 5 distinct lighting modes. Cycle through these modes by pressing the remote switch or the main power button on the headlamp. The remote switch allows for convenient mode changes without removing your hands from the grips, which is especially useful during technical terrain riding.
- HIGH: 2800 lumens
- MEDIUM: 1400 lumens
- LOW: 825 lumens
- RACE Mode: 375 lumens
- WALK Mode: 125 lumens
- FLASH Mode: Strobe for visibility
3.3 Run Times
Approximate run times for a fully charged battery:
- LOW (825 lumens): 6 hours
- MEDIUM (1400 lumens): 3 hours
- HIGH (2800 lumens): 1.5 hours
- RACE Mode (375 lumens): 17 hours
- WALK Mode (125 lumens): 56 hours
- FLASH Mode: Greater than 56 hours
3.4 Fuel Gauge
The integrated 8-step fuel gauge provides a clear indication of the remaining battery level. Monitor this gauge regularly to plan your rides and avoid unexpected power loss. The remote button is also lighted, allowing visibility at night.
4. Maintenance
4.1 Cleaning
Clean the headlamp and battery pack with a soft, damp cloth. Avoid using harsh chemicals or abrasive materials, as these can damage the casing or lens. Ensure the Borofloat glass lens is kept clean for optimal light output.
4.2 Battery Care
To prolong battery life, store the battery pack in a cool, dry place when not in use. Avoid fully discharging the battery frequently. Recharge the battery regularly, even if not used for extended periods, to maintain its capacity.
4.3 Water and Dust Resistance
The Pro 2800 Enduro Remote lighting system is designed to be water and dust resistant, suitable for diverse riding conditions. However, it is not intended for submersion. After riding in wet conditions, ensure all connections are dry before charging.
5. Troubleshooting
5.1 Light Not Turning On
- Ensure the battery is fully charged.
- Check all cable connections between the headlamp and the battery pack for a secure fit.
- Verify that the power button is pressed and held for the required duration (1-2 seconds).
5.2 Battery Not Charging
- Confirm the AC adapter is properly connected to both the battery pack and a working power outlet.
- Check the AC adapter for any visible damage.
5.3 Reduced Light Output or Short Run Time
- Ensure the battery is fully charged before each ride.
- Clean the lens to remove any dirt or debris that may be obstructing light output.
- Battery performance can degrade over time. If issues persist, consider contacting support for battery replacement options.
6. Specifications
| Feature | Detail |
|---|---|
| Model Number | 6802 |
| Light Output | True 2800 Measured Lumens (High Mode) |
| LEDs | 2 CREE LEDs with Dual Custom Engineered Reflector |
| Battery | Li-Ion 6-Cell (included) |
| Material | DuPont Fiberglass Reinforced Nylon Casing/Housing |
| Mounting Type | Handlebar Mount (fits up to 35mm) |
| Weight | Approximately 1.84 Pounds (834.61 g) |
| Dimensions | 27.94 x 15.24 x 10.16 cm |
| Water Resistance | Water and Dust Resistant |
| Included Components | LED Headlamp, Remote Switch, Li-Ion Battery/USB Charger, Handlebar Mount, AC Adapter, Nylon Pouch |
7. Warranty and Support
7.1 Limited Lifetime Warranty
NiteRider offers a limited lifetime warranty that covers defects in mechanical components (housings, covers, mounts, and fasteners) and LEDs. This warranty ensures the reliability and quality of your product. For specific terms and conditions, please refer to the official NiteRider website or contact customer service.
7.2 Customer Support
For technical assistance, warranty claims, or general inquiries, please visit the official NiteRider website or contact their customer support department. Keep your purchase receipt as proof of purchase for warranty services.

