Introduction
This manual provides detailed instructions for the installation, operation, maintenance, and troubleshooting of your Lock 10CD Digital Touch Panel Deadbolt. Designed with high-quality materials, this deadbolt offers advanced security for your main entry point, featuring both digital PIN and traditional key access. Please read this manual thoroughly before installation and use to ensure proper function and security.
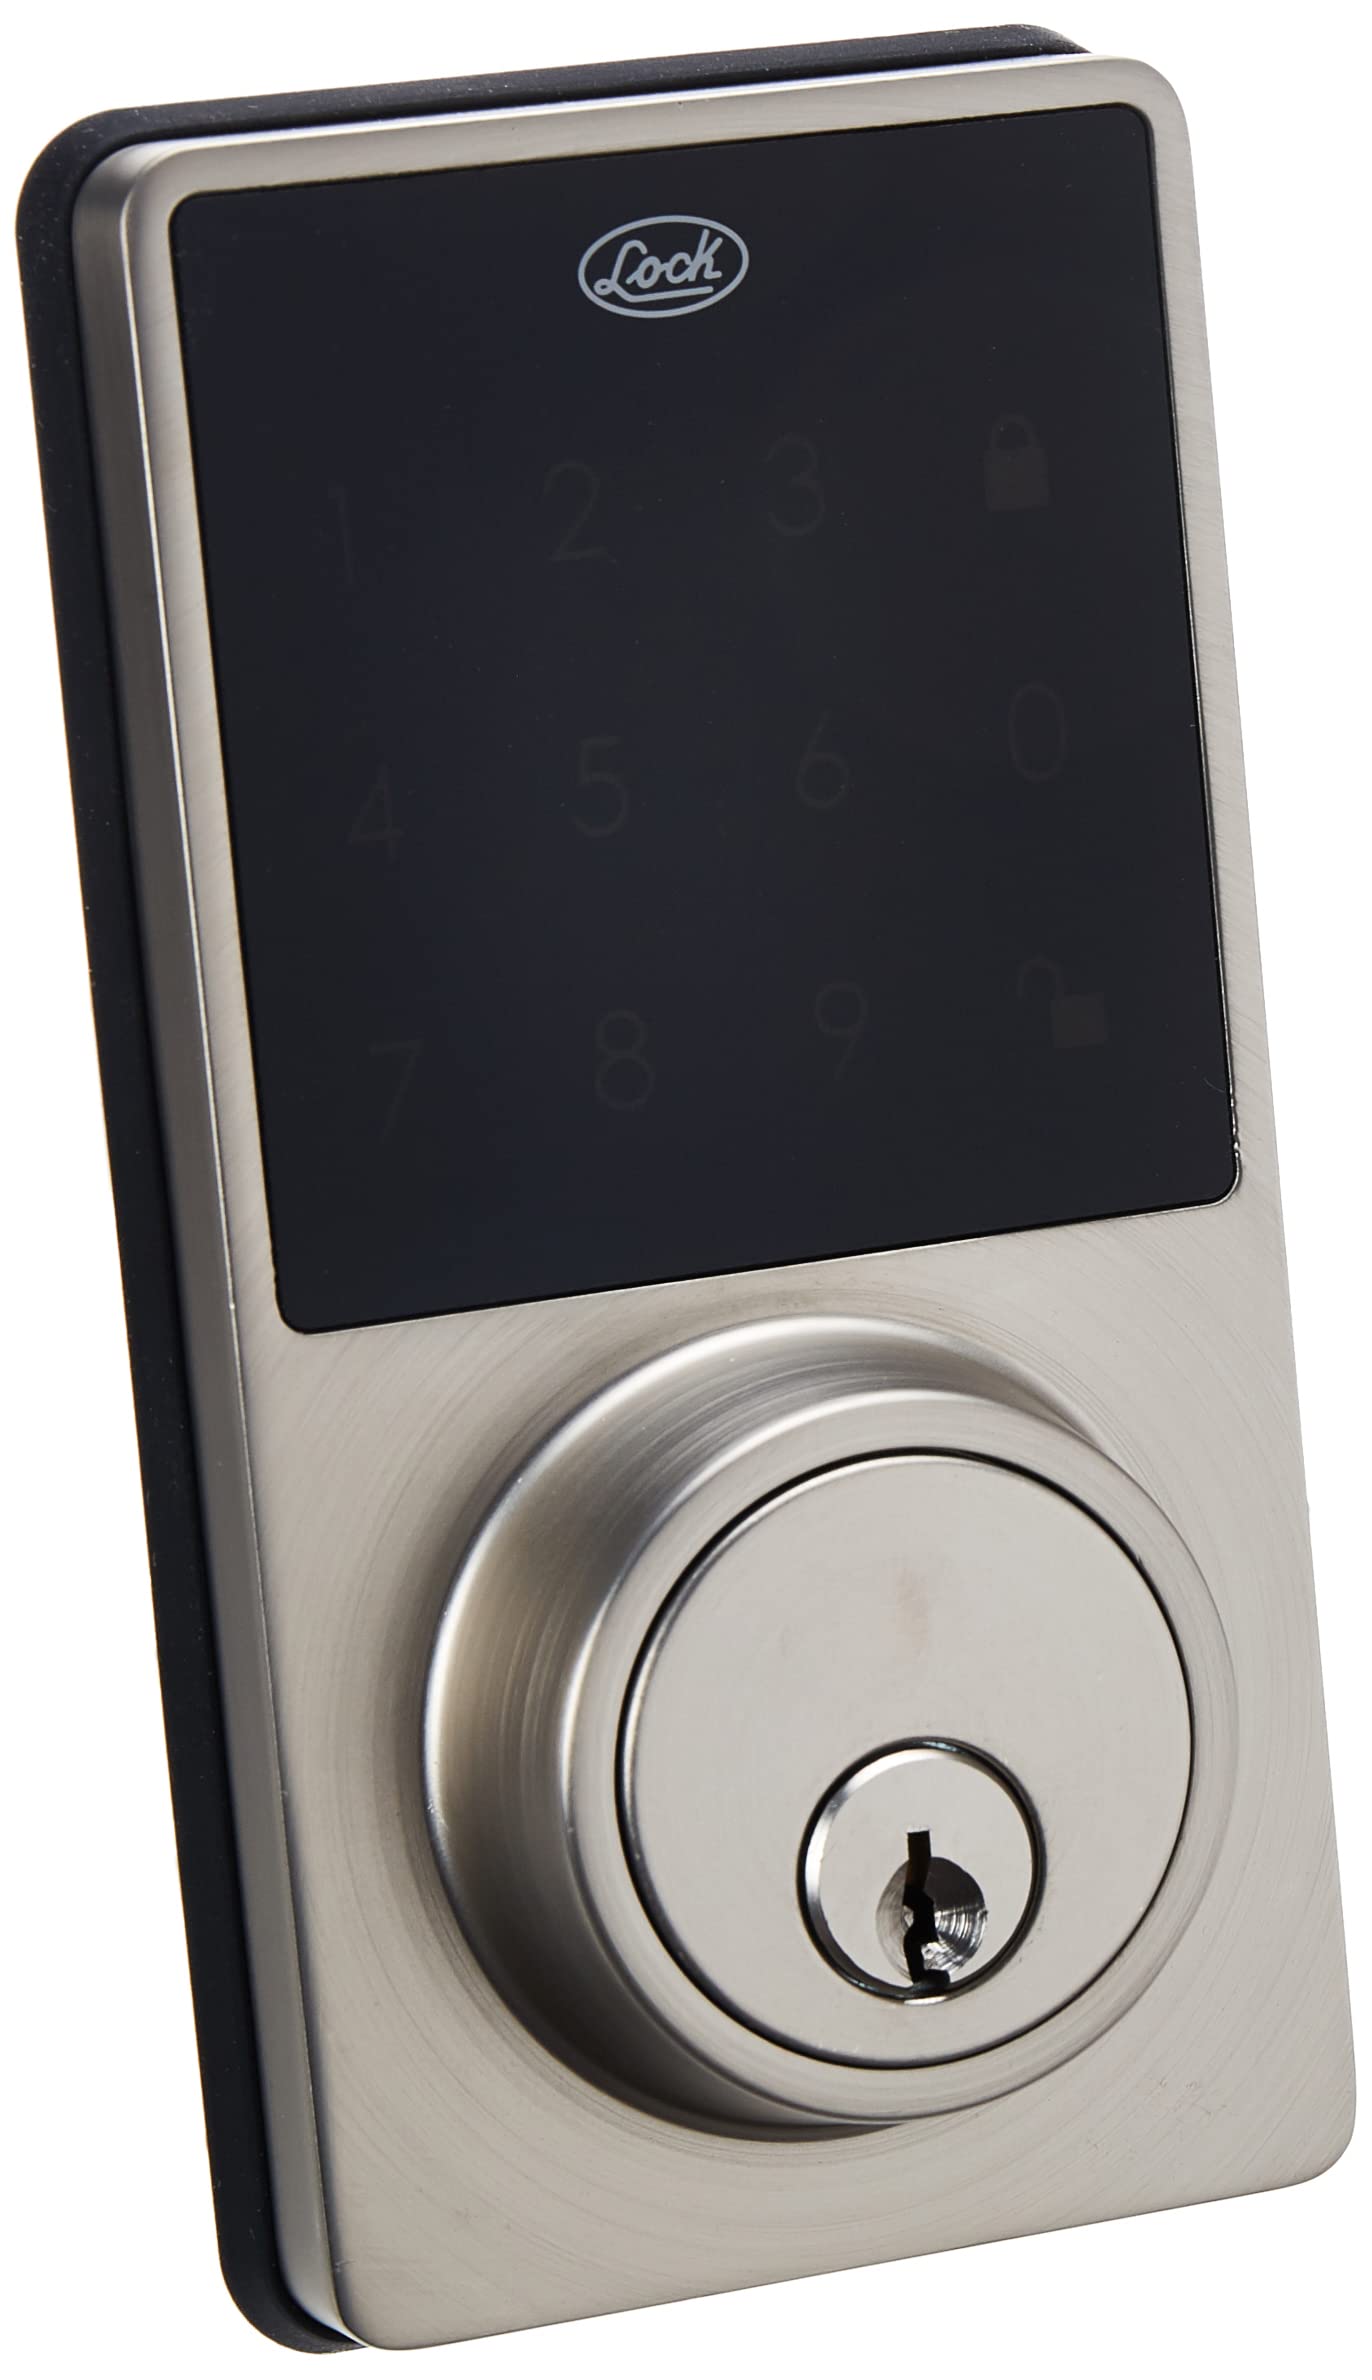
Image: The Lock 10CD Digital Touch Panel Deadbolt, showing both the exterior keypad unit and the interior thumb-turn unit.
Package Contents
Before beginning installation, ensure all components are present:
- Exterior Digital Keypad Unit
- Interior Thumb-Turn Unit
- Deadbolt Latch
- Strike Plate
- Mounting Screws and Hardware
- 2 Standard Keys
- Instruction Manual (this document)
- Warranty Policy

Image: The Lock 10CD Digital Deadbolt units displayed alongside two physical keys, indicating the dual access method.
Setup and Installation
Follow these steps carefully for proper installation. It is recommended to have basic tools such as a screwdriver and tape measure.
- Prepare the Door: Ensure your door has standard bore holes for a deadbolt. If not, consult a professional for drilling.
- Install the Latch: Insert the deadbolt latch into the door edge. Ensure the "UP" arrow on the latch is facing upwards. Secure with screws.
- Install Exterior Keypad: Route the cable from the exterior keypad unit through the door bore hole. Align the keypad with the latch and secure it to the door.
- Install Interior Mounting Plate: Attach the interior mounting plate to the door, ensuring the cable from the exterior unit passes through it. Secure with screws.
- Connect Cables: Connect the cable from the exterior unit to the interior unit. Ensure a secure connection.
- Install Interior Unit: Place the interior unit over the mounting plate, aligning the thumb-turn with the deadbolt mechanism. Secure with screws.
- Install Batteries: Open the battery cover on the interior unit. Insert 4 AA alkaline batteries (not included), observing polarity. Close the battery cover.
- Test Operation: Test the deadbolt with the physical key and by entering a default or initial PIN (refer to the programming section for setting your own PIN).

Image: An exploded view of the Lock 10CD Digital Deadbolt, illustrating the internal components and how they fit together during installation, including the battery compartment.
Operating Instructions
Unlocking the Deadbolt
- Using a PIN Code:
- Touch the keypad to activate it.
- Enter your 4-8 digit user PIN code.
- Press the Lock button (usually represented by a padlock icon). The deadbolt will retract.
- Using the Physical Key:
- Insert the standard key into the keyhole.
- Turn the key to unlock the deadbolt.
- From the Interior:
- Rotate the thumb-turn on the interior unit to unlock the deadbolt.

Image: A close-up view of the Lock 10CD digital touch panel, showing the illuminated numbers and lock/unlock icons for code entry.
Locking the Deadbolt
- From the Exterior:
- Press the Lock button on the keypad. The deadbolt will extend.
- From the Interior:
- Rotate the thumb-turn on the interior unit to lock the deadbolt.
Programming User PIN Codes
Refer to the specific programming instructions included in your package for detailed steps on adding, deleting, or modifying user PIN codes. Generally, this involves entering a master code followed by a sequence to manage user codes.
Maintenance
- Cleaning: Wipe the keypad and lock body with a soft, damp cloth. Avoid abrasive cleaners or solvents that could damage the finish or electronics.
- Battery Replacement: The lock features a low battery alarm. When the alarm sounds or the keypad lights dim, replace all four AA alkaline batteries promptly.
- Remove the battery cover on the interior unit.
- Remove old batteries and dispose of them properly.
- Insert new AA alkaline batteries, ensuring correct polarity (+/-).
- Replace the battery cover.
- Lubrication: Periodically lubricate the deadbolt latch mechanism with a silicone-based lubricant to ensure smooth operation. Do not lubricate the key cylinder.

Image: A view of the interior unit of the Lock 10CD Digital Deadbolt, highlighting the battery compartment for easy access during maintenance.
Troubleshooting
| Problem | Possible Cause | Solution |
|---|---|---|
| Keypad does not light up. | Dead batteries or incorrect battery installation. | Replace batteries with new AA alkaline batteries, ensuring correct polarity. |
| Deadbolt does not lock/unlock with PIN. | Incorrect PIN entered; deadbolt mechanism jammed; low batteries. | Verify PIN code. Check for obstructions in the door frame or latch. Replace batteries. |
| Physical key does not work smoothly. | Key cylinder dirty or damaged; incorrect key. | Ensure you are using the correct key. Do not lubricate the key cylinder. If issue persists, contact support. |
| Low battery alarm sounds frequently. | Batteries are nearing depletion. | Replace all batteries with new, high-quality AA alkaline batteries. |
Specifications
| Feature | Detail |
|---|---|
| Model Number | 10CD |
| Brand | Lock |
| Lock Type | Digital Touch Panel Deadbolt |
| Access Methods | PIN Code, Standard Key |
| Material | High-quality materials |
| Finish | Polished Silver |
| Dimensions (L x W x H) | 7.2 x 11.2 x 16.2 cm (2.8 x 4.4 x 6.4 inches) |
| Weight | 1.02 kg (2.25 lbs) |
| Power Source | 4 AA Alkaline Batteries (not included) |
| Special Features | Digital touch panel, Low battery alarm |
| Included Components | 2 keys, installation accessories, instruction manual, warranty policy |

Image: The Lock 10CD Digital Deadbolt held in a hand, illustrating its approximate size and dimensions (5.2 inches or 13 cm in height).
Warranty and Support
Your Lock 10CD Digital Touch Panel Deadbolt comes with a warranty policy. Please refer to the included warranty document for specific terms, conditions, and duration of coverage. Keep your proof of purchase for warranty claims.
For technical assistance, troubleshooting beyond this manual, or warranty inquiries, please contact Lock customer support. Contact information can typically be found on the warranty policy document or the manufacturer's official website.
Manufacturer: Urrea Professional Tools S.A. de C.V.
For more information, visit the Lock Brand Page.


