
CP PLUS CP-UVR-0401E1S
CP PLUS CP-UVR-0401E1S 4 Channel DVR User Manual
1. Introduction
This manual provides comprehensive instructions for the installation, operation, and maintenance of the CP PLUS CP-UVR-0401E1S 4 Channel Digital Video Recorder (DVR). This device is designed for surveillance applications, offering reliable video recording and playback capabilities.
The CP-UVR-0401E1S is a 4-channel DVR with one audio input, featuring a user-friendly Graphical User Interface (GUI) for easy operation. It supports simultaneous VGA and TV output and offers dual-stream video compression for efficient data management.
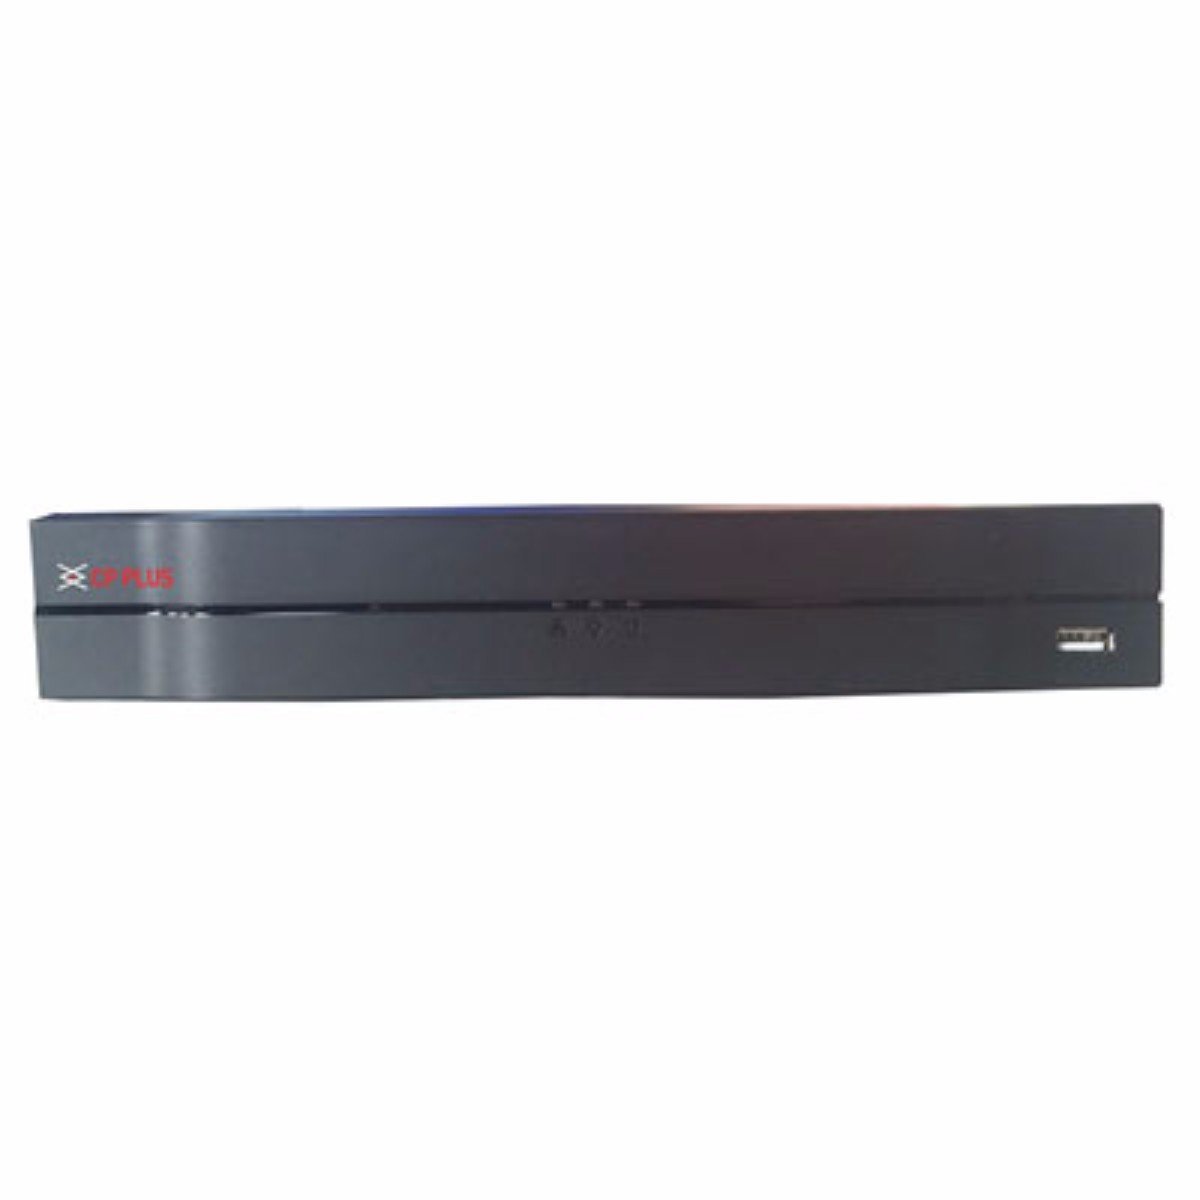
Figure 1: Front panel of the CP PLUS CP-UVR-0401E1S 4 Channel DVR. The device is black with the CP PLUS logo on the left and a USB port on the right. The design is sleek and compact.
2. Key Features
- H.264 Dual-Stream Video Compression: Efficiently compresses video data for optimized storage and network transmission.
- Storage Support: Accommodates 1 SATA HDD up to 4TB for extensive recording capacity.
- USB Connectivity: Equipped with 2 USB 2.0 ports for data backup and peripheral connections.
- Video Input Compatibility: Supports HDCVI, Analog, and IP video inputs for versatile camera integration.
- Real-time Recording: All channels support 720P real-time recording, ensuring smooth and detailed video capture.
- Simultaneous Video Output: Provides HDMI and VGA simultaneous video output for flexible display options.
3. Setup Guide
Follow these steps to set up your CP PLUS CP-UVR-0401E1S DVR:
- Unpack the DVR: Carefully remove the DVR and all accessories from the packaging.
- Install Hard Disk Drive (HDD):
- Open the DVR casing.
- Mount the SATA HDD securely inside the DVR.
- Connect the SATA data and power cables from the DVR to the HDD.
- Close the DVR casing.
- Connect Cameras: Connect your surveillance cameras to the video input ports on the rear panel of the DVR using appropriate cables (BNC for analog/HDCVI, Ethernet for IP cameras if supported via network switch).
- Connect Monitor: Connect a monitor to the DVR's HDMI or VGA output port.
- Connect Audio (Optional): If using an external microphone, connect it to the audio input port.
- Connect Network (Optional): For remote viewing or network access, connect an Ethernet cable from the DVR's LAN port to your router or network switch.
- Connect Power: Connect the provided power adapter to the DVR and then plug it into a power outlet. The DVR will power on automatically.
- Initial Configuration: Upon first boot, follow the on-screen wizard to set up basic parameters such as date/time, network settings, and password.
4. Operating Instructions
The CP-UVR-0401E1S DVR features an intuitive Graphical User Interface (GUI) for easy navigation and control. Use a USB mouse connected to one of the DVR's USB ports to interact with the interface.
4.1 Live View
After startup, the DVR will display the live view of all connected cameras. You can switch between single-camera view and multi-camera grid view by right-clicking on the screen and selecting the desired layout.
4.2 Recording
- Manual Recording: Click the record icon on the live view interface to start or stop manual recording for a specific channel.
- Scheduled Recording: Access the "Record" menu in the main GUI to configure recording schedules based on time or events (e.g., motion detection).
- Motion Detection Recording: Enable motion detection for specific channels in the "Alarm" settings. The DVR will automatically record when motion is detected.
4.3 Playback
To review recorded footage:
- Right-click on the live view screen and select "Playback" or access it from the main menu.
- Select the desired date and channel(s) for playback.
- Use the timeline and control buttons (play, pause, fast forward, rewind) to navigate through the recordings.
4.4 Backup
To back up recorded video footage:
- Connect a USB flash drive or external hard drive to one of the DVR's USB ports.
- Access the "Backup" menu from the main GUI.
- Select the desired channels, time range, and file format for the backup.
- Initiate the backup process.
4.5 Remote Access
For remote viewing via mobile app or web browser, ensure the DVR is connected to the internet. Configure network settings (IP address, port forwarding, or P2P/Cloud service) in the DVR's network menu. Refer to the specific CP PLUS remote access application guide for detailed instructions.
5. Technical Specifications
| Feature | Specification |
|---|---|
| Model Number | CP-UVR-0401E1S |
| Video Compression | H.264 dual-stream |
| Video Input | 4 Channels (HDCVI/Analog/IP) |
| Audio Input | 1 Channel |
| Recording Resolution | 720P Realtime (all channels) |
| Video Output | HDMI, VGA (Simultaneous) |
| HDD Support | 1 SATA HDD up to 4TB |
| USB Ports | 2 x USB 2.0 |
| Network Interface | Ethernet (RJ-45) |
| Dimensions (LxWxH) | 26 x 4 x 22 cm |
| Weight | 1.15 kg |
| Compatible Devices | Television (for display) |
6. Troubleshooting
This section addresses common issues you might encounter with your DVR.
6.1 No Video Display
- Check Power: Ensure the DVR is powered on and the power adapter is securely connected.
- Monitor Connection: Verify that the HDMI or VGA cable is securely connected between the DVR and the monitor. Try a different cable or monitor if possible.
- Input Source: Ensure your monitor is set to the correct input source (HDMI/VGA).
- Camera Connection: Check if cameras are properly connected and receiving power.
6.2 No Recording
- HDD Status: Check the HDD status in the DVR's menu. Ensure it is detected, initialized, and has sufficient free space.
- Recording Schedule: Verify that the recording schedule is correctly configured for the desired channels and times.
- Motion Detection: If using motion detection recording, ensure it is enabled and sensitivity settings are appropriate.
6.3 Remote Access Issues
- Network Connection: Confirm the DVR is connected to the internet and has a valid IP address.
- Network Settings: Check DVR network settings (IP address, gateway, DNS). Ensure port forwarding is correctly configured on your router if not using P2P/Cloud.
- App/Software: Ensure you are using the correct and updated mobile application or client software.
7. Maintenance
- Regular Cleaning: Keep the DVR free from dust. Use a soft, dry cloth to clean the exterior. Do not use liquid cleaners.
- Firmware Updates: Periodically check the CP PLUS official website for firmware updates. Updating firmware can improve performance and add new features. Follow update instructions carefully.
- Data Backup: Regularly back up important recorded footage to an external storage device to prevent data loss.
- Environmental Conditions: Ensure the DVR is operated within recommended temperature and humidity ranges. Avoid direct sunlight and excessive heat.
8. Warranty and Support
For warranty information, please refer to the warranty card included with your product or visit the official CP PLUS website. For technical support, product inquiries, or service, please contact CP PLUS customer service through their official channels.
Manufacturer: CP PLUS
Model: CP-UVR-0401E1S
Related documentsCP-UVR-0401E1S


Ask a question about this manual
Ask about setup, troubleshooting, compatibility, parts, safety, or missing instructions. Manuals+ will review the question and use this page’s manual context to help answer it.