
Introduction
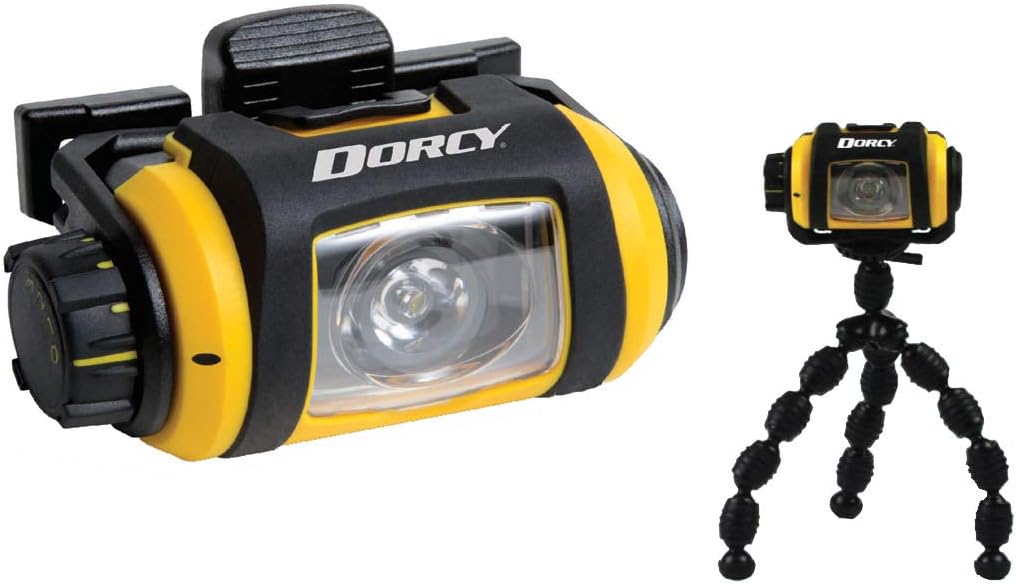
This manual provides comprehensive instructions for the safe and effective use of your Dorcy Pro Series 200-Lumen Weather Resistant LED Magnetic Headlight, Model 41-2614. Please read this manual thoroughly before operating the device and retain it for future reference.
Product Features
- 200-Lumen LED Output: Provides bright illumination for various tasks.
- Weather Resistant (IPX4): Designed to withstand splashes and light rain.
- Magnetic Base: Strong magnets allow attachment to metal surfaces for hands-free use.
- Adjustable Headband: Ensures a secure and comfortable fit.
- 180-Degree Swivel Head: Directs light precisely where needed.
- Three Brightness Levels: Low, Medium, and High settings for varied lighting requirements.
- Removable Lens: For maintenance or specific lighting needs.
- Mini Tripod Included: For stable, freestanding illumination.
- Built-in Battery Power Indicator: Monitors battery status.
- Safety Lock/Off Feature: Prevents accidental activation during storage.
Package Contents
- Dorcy Pro Series LED Magnetic Headlight (Model 41-2614)
- Adjustable Headband
- Mini Tripod
- 2 x AA Alkaline Batteries
Setup
1. Battery Installation
- Locate the battery compartment cover on the side of the headlight.
- Twist or slide the cover to open it.
- Insert two (2) AA alkaline batteries, ensuring correct polarity (+/-) as indicated inside the compartment.
- Securely close the battery compartment cover.
2. Headband Attachment and Adjustment
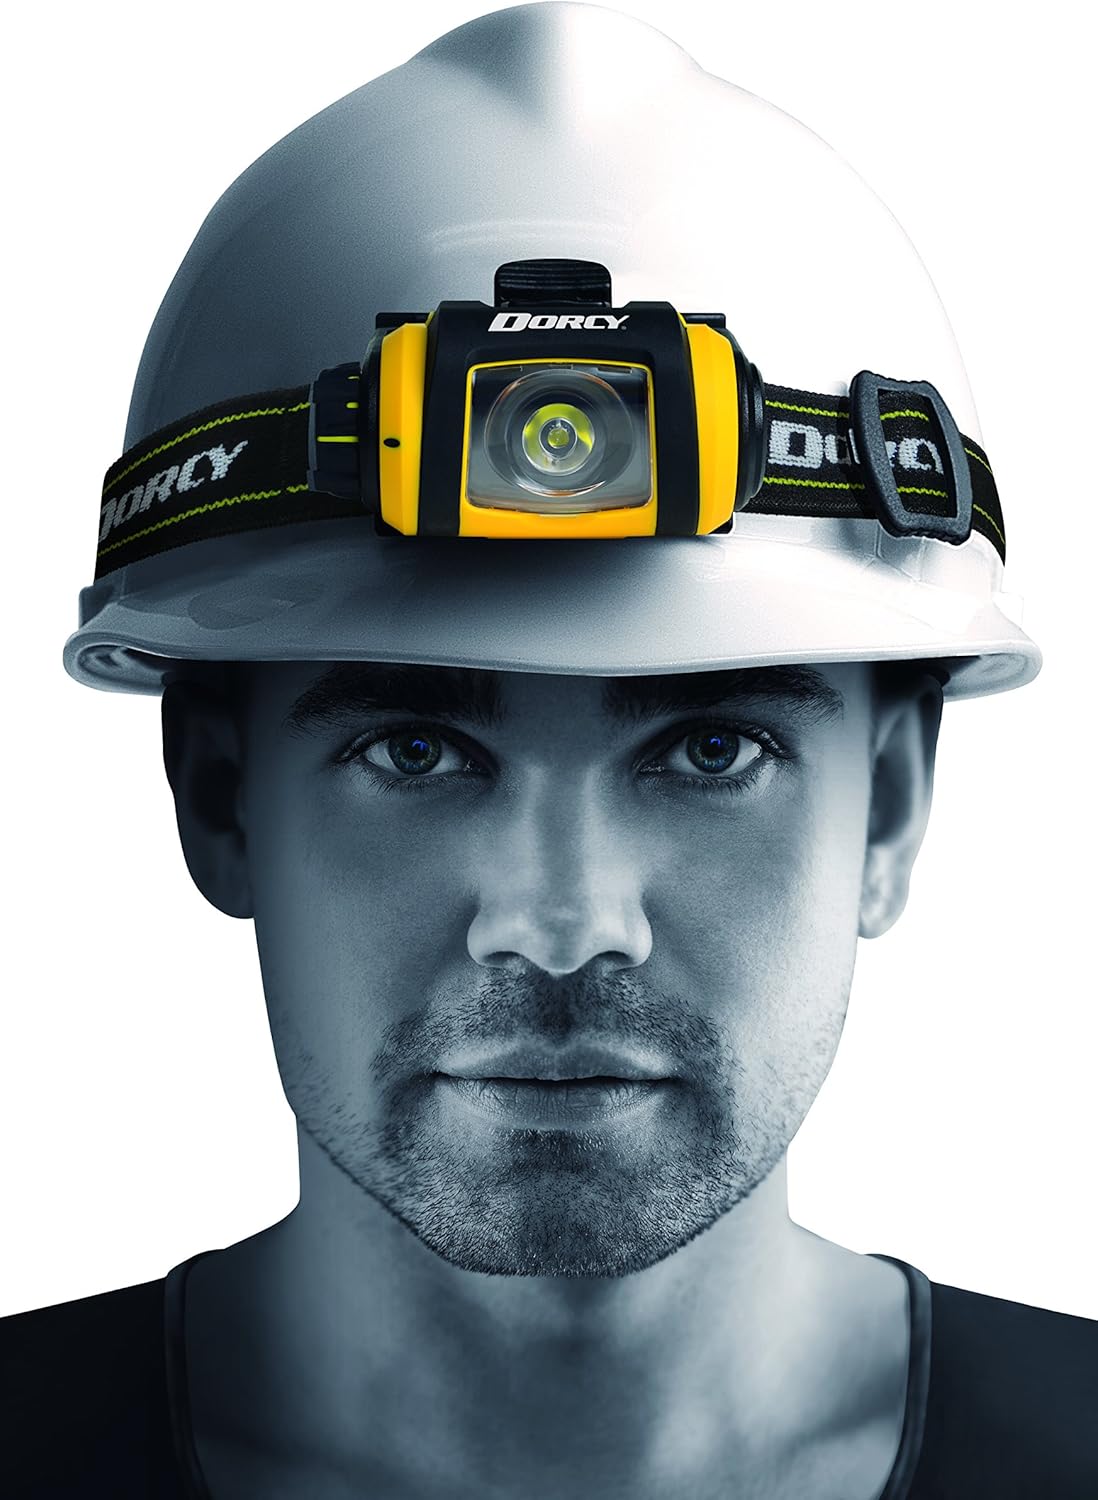
- Thread the adjustable headband through the slots on the headlight's mounting bracket.
- Adjust the strap length to ensure a snug and comfortable fit around your head or hard hat.

3. Tripod Attachment
- Locate the mounting point on the bottom of the headlight.
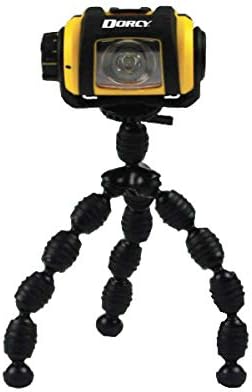
- Screw the mini tripod onto this mounting point until secure.
- Adjust the flexible legs of the tripod to position the light as desired on a flat surface or wrapped around an object.
Operating Instructions
1. Power On/Off and Brightness Control
- To turn the headlight ON, rotate the control dial located on the side of the unit.
- Continue rotating the dial to cycle through the three brightness levels: Low, Medium, and High.
- To turn the headlight OFF, rotate the dial back to the "0" position.
- The built-in safety lock/off feature prevents accidental activation when the dial is in the "0" position.

2. Swivel Function
The headlight unit can be swiveled up to 180 degrees on its mounting bracket. Gently tilt the light head to adjust the beam angle as needed.
3. Magnetic Attachment
Utilize the strong magnets on the back of the headlight to attach it to any suitable metal surface for hands-free illumination. Ensure the surface is clean and provides a secure hold before releasing the light.

Maintenance
- Cleaning: Wipe the exterior of the headlight with a soft, damp cloth. Do not use abrasive cleaners or solvents.
- Battery Replacement: Replace batteries when the light dims significantly or the battery indicator shows low power. Always use fresh AA alkaline batteries.
- Storage: When storing the headlight for extended periods, remove the batteries to prevent leakage and corrosion. Store in a cool, dry place.
- Removable Lens: The lens can be carefully removed for cleaning if necessary. Reattach securely to maintain weather resistance.

Troubleshooting
| Problem | Possible Cause | Solution |
|---|---|---|
| Light does not turn on. |
|
|
| Light is dim. |
|
|
| Headlight does not swivel smoothly. |
|
|
Specifications
- Model: 41-2614
- Light Source: LED
- Brightness: 200 Lumens (High)
- Beam Distance: 100 meters
- Run Time:
- High: 8 hours
- Medium: 11 hours
- Low: 46 hours
- Power Source: 2 x AA Alkaline Batteries (included)
- Water Resistance: IPX4 (Weather Resistant)
- Dimensions: Approximately 3.25" x 2" (headlight unit)
- Weight: 6.7 ounces (with batteries)
- Special Features: Adjustable, Durable, Lightweight, Portable, Removable Lens, Magnetic Base, 180-degree Swivel, Tripod Mount.
Warranty and Support
The Dorcy Pro Series 200-Lumen LED Magnetic Headlight (Model 41-2614) comes with a lifetime warranty against any manufacturing defects. For warranty claims or technical support, please contact Dorcy customer service through their official website or the retailer where the product was purchased.
For more information, visit the official Dorcy store: Dorcy Store on Amazon.


