
1. Product Overview
The K-Rain MiniPro® 6" Rotor is a gear-driven rotary sprinkler designed for efficient irrigation of small lawn and landscape areas, specifically for use with reclaimed water (RCW). This sprinkler offers adjustable spray patterns and distances, making it a versatile solution for water conservation in irrigation systems.
Key Features:
- Inlet Size: ½" NPT
- Spray Distance: 18' to 33' (5.5 – 10.0 m)
- Arc Adjustment: 40° to 360°
- Nozzle Pressure: 20 to 70 PSI (1.4 to 4.8 bar)
- Flow Rate: 0.8 to 3.3 GPM (3.0 to 12.5 LPM)
- Riser Height: 6 inches, suitable for reclaimed water applications.
- Material: Durable construction with stainless-steel radius adjustment screw.
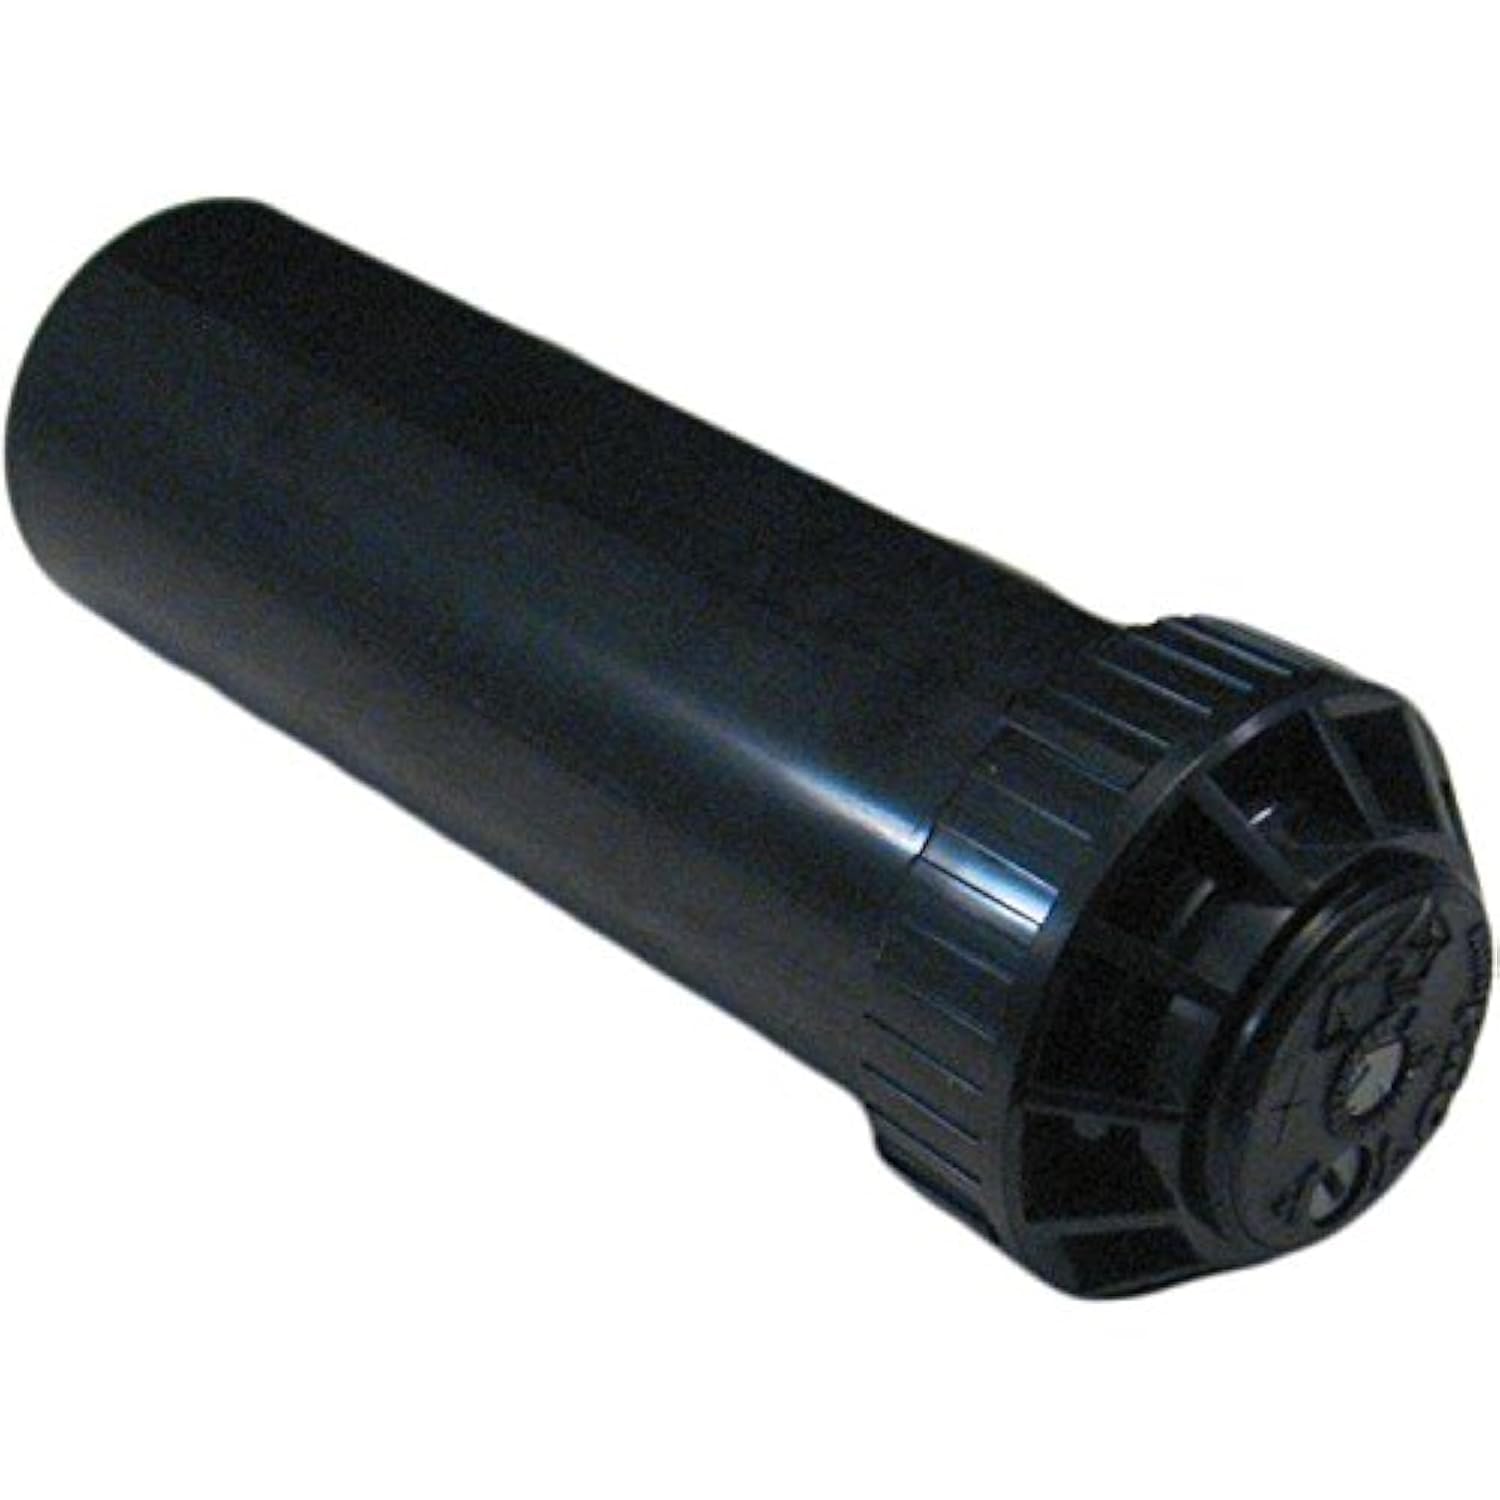
Image 1.1: K-Rain MiniPro 6" Rotor. This image displays the black cylindrical body of the sprinkler rotor with its adjustable top cap, designed for underground installation and pop-up operation.
2. Specifications
| Feature | Detail |
|---|---|
| Brand | K-Rain |
| Model Number | 13006-RCW |
| Inlet Size | ½" NPT |
| Spray Distance (Radius) | 18' to 33' (5.5 – 10.0 m) |
| Arc Adjustment | 40° to 360° |
| Nozzle Pressure | 20 to 70 PSI (1.4 to 4.8 bar) |
| Flow Rate | 0.8 to 3.3 GPM (3.0 to 12.5 LPM) |
| Riser Height | 6 inches |
| Nozzle Trajectory | 25° |
| Material | Metal (internal components), Plastic (body) |
| Dimensions (L x W x H) | 2 x 2 x 6 inches |
| Item Weight | 5.6 ounces |
| UPC | 671923109103 |
3. Setup and Installation
Proper installation ensures optimal performance and longevity of your MiniPro rotor. This rotor is designed for underground installation.
- Digging the Trench: Excavate a trench to the desired depth, ensuring it is wide enough for the pipe and sprinkler body. The top of the sprinkler should be flush with the ground level when installed.
- Connecting to Lateral Line: Connect the ½" NPT inlet of the MiniPro rotor to the lateral irrigation pipe using appropriate fittings (e.g., swing joint, elbow). Ensure all connections are watertight.
- Positioning the Sprinkler: Place the sprinkler in the trench so that its top is level with the finished grade. Backfill the trench carefully, compacting the soil around the sprinkler body to prevent movement.
- Flushing the System: Before installing the nozzle, briefly flush the system to remove any debris that may have entered during installation.
- Nozzle Installation:
- Remove the protective cap from the top of the rotor.
- Insert the desired nozzle into the nozzle seat. Ensure it is fully seated.
- Replace the protective cap or adjust the arc as needed.
- Initial System Test: Turn on the water supply to check for leaks and initial operation.
4. Operating Instructions
The MiniPro rotor allows for easy adjustment of both the spray arc and radius.
4.1. Arc Adjustment (40° to 360°):
The arc is the area the sprinkler covers, from a partial circle to a full 360-degree circle.
- Identify the Left Stop: The left stop is fixed. Rotate the nozzle turret counter-clockwise until it stops. This is the left stop.
- Adjusting the Right Stop:
- With the water off, insert the K-Rain adjustment tool (or a flat-head screwdriver) into the arc adjustment slot located on the top of the rotor.
- Turn the tool clockwise to increase the arc (move the right stop further from the left stop).
- Turn the tool counter-clockwise to decrease the arc (move the right stop closer to the left stop).
- Each full turn of the tool typically adjusts the arc by a specific degree (refer to product specific documentation for exact increments if available).
- Full Circle (360°): For a full 360° rotation, adjust the arc until the right stop aligns with the left stop.
4.2. Radius Adjustment (Spray Distance):
The radius adjustment screw controls the distance the water sprays.
- Locate the Screw: The stainless-steel radius adjustment screw is located on the top of the rotor, typically near the nozzle.
- Decrease Radius: Turn the screw clockwise using a flat-head screwdriver. This will push a pin into the water stream, breaking it up and reducing the spray distance.
- Increase Radius: Turn the screw counter-clockwise to retract the pin, allowing for a longer spray distance. Do not remove the screw completely.
5. Maintenance
Regular maintenance helps ensure efficient operation and extends the life of your MiniPro rotor.
- Nozzle Cleaning: Periodically check nozzles for clogs from debris. If clogged, remove the nozzle and rinse it with clean water. A small wire can be used to clear stubborn blockages.
- Filter Screen: Some rotors may have an internal filter screen at the base of the riser. If present, remove the riser assembly and clean the screen as needed.
- Winterization: In regions subject to freezing temperatures, it is crucial to winterize your irrigation system. This typically involves shutting off the main water supply, draining all water from the pipes and sprinklers, and using compressed air to blow out the lines. Consult a local irrigation professional if unsure.
- Physical Inspection: Regularly inspect the sprinkler for any physical damage, leaks, or signs of wear. Replace damaged components promptly.
6. Troubleshooting
Here are some common issues and their potential solutions:
| Problem | Possible Cause | Solution |
|---|---|---|
| Sprinkler not rotating | Low water pressure, clogged nozzle, debris in gear drive. | Check system pressure. Clean or replace nozzle. Flush system. |
| Uneven spray pattern | Clogged nozzle, incorrect nozzle installed, damaged nozzle. | Clean or replace nozzle. Ensure correct nozzle for application. |
| Water not reaching desired distance | Low water pressure, radius adjustment screw too far in, incorrect nozzle. | Check system pressure. Adjust radius screw counter-clockwise. Verify nozzle selection. |
| Water leaking from base of sprinkler | Loose connection, damaged seal, cracked casing. | Tighten connections. Inspect and replace seals if damaged. Replace sprinkler if casing is cracked. |
7. Warranty and Support
For specific warranty information regarding your K-Rain MiniPro 6" Rotor, please refer to the documentation included with your purchase or visit the official K-Rain website. For technical support, replacement parts, or further assistance, please contact K-Rain customer service or your authorized K-Rain dealer.
You can visit the K-Rain Store for more products and information: K-Rain Store on Amazon


