
A-Tech AM128925
A-Tech 8GB (2x4GB) DDR3 SO-DIMM RAM Memory Kit User Manual
For Toshiba Satellite L645 Series Laptops
Introduction
This manual provides essential information for the installation and use of your A-Tech 8GB (2 x 4GB) SO-DIMM DDR3 NON-ECC PC3-8500 1066MHz RAM Memory Kit. This memory kit is designed to enhance the performance of compatible Toshiba Satellite L645 series laptops by increasing their memory capacity.

Image: Two A-Tech 4GB DDR3 SO-DIMM RAM modules, showing the product as it appears.

Image: A-Tech brand logo, identifying the manufacturer as experts in RAM memory upgrades.
Setup and Installation
Before beginning the installation process, ensure your laptop is powered off and disconnected from all power sources. It is recommended to discharge any static electricity by touching a grounded metal object before handling the memory modules.
Required Tools:
- Small Phillips head screwdriver (if needed to open laptop panel)
- Anti-static wrist strap (recommended)
Installation Steps:
- Power Off and Disconnect: Completely shut down your Toshiba Satellite laptop. Disconnect the AC adapter and remove the battery.
- Access Memory Bay: Carefully turn the laptop over. Locate the memory compartment cover, usually secured by one or more screws. Use a Phillips head screwdriver to remove the screws and gently lift off the cover.
- Remove Existing Modules (if applicable): If there are existing memory modules, gently push outwards on the metal clips located on both sides of the module. The module will pop up at an angle. You can then slide it out of the slot.
- Insert New Modules: Align the notch on the A-Tech SO-DIMM module with the key in the memory slot. Insert the module at a 45-degree angle into the slot.
- Secure Module: Gently push down on the module until the metal clips on both sides snap into place, securing the module horizontally. Ensure both modules are firmly seated.
- Close and Reassemble: Replace the memory compartment cover and secure it with the screws. Reinsert the battery and reconnect the AC adapter.
- Power On and Verify: Power on your laptop. Once the operating system loads, verify the new memory is recognized by checking your system's properties (e.g., in Windows, right-click 'This PC' or 'My Computer' and select 'Properties').
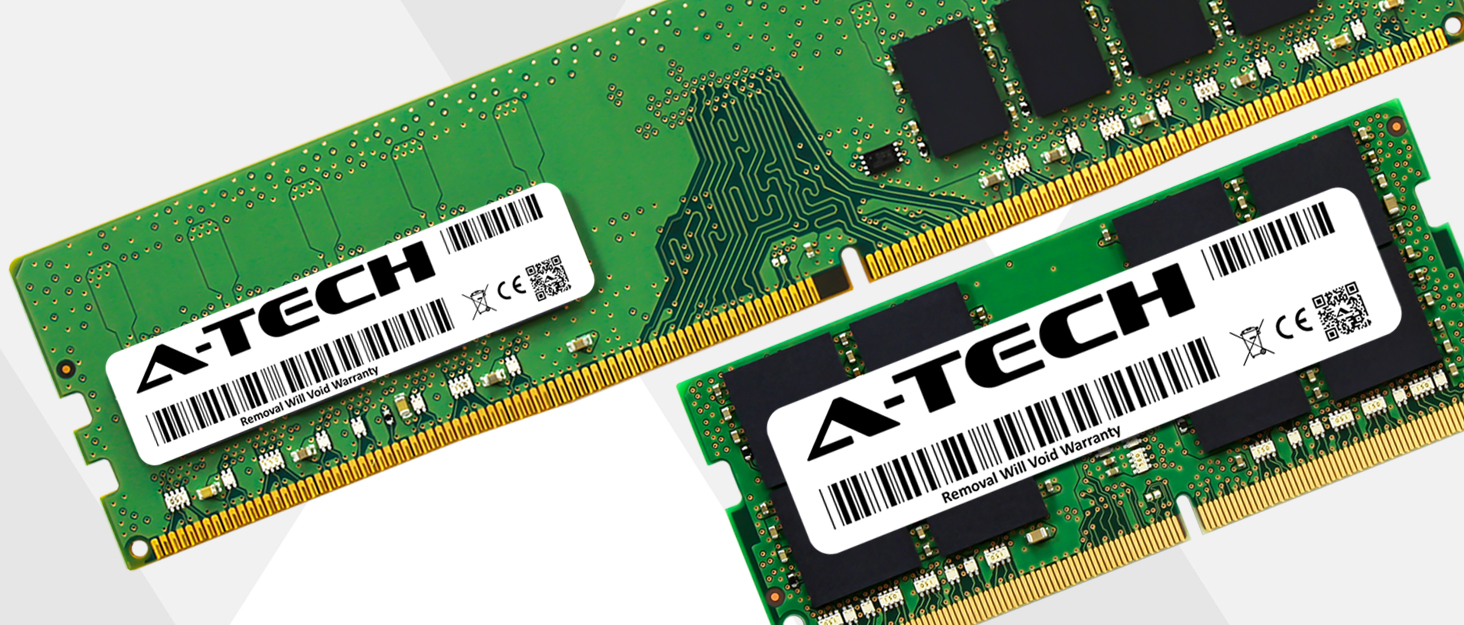
Image: A visual representation of enhanced system performance after a memory upgrade.
Operating Principles
Once installed, the A-Tech RAM modules operate automatically with your laptop's operating system and applications. They provide temporary storage for data that the CPU actively uses, enabling faster access and improved multitasking capabilities. No specific user interaction is required for the RAM to function after successful installation.
Maintenance
RAM modules are generally maintenance-free. To ensure optimal performance and longevity of your laptop and its components, consider the following:
- Keep Laptop Clean: Regularly clean your laptop's vents and fans to prevent dust buildup, which can lead to overheating and affect component lifespan.
- Avoid Extreme Temperatures: Operate your laptop within recommended temperature ranges to prevent damage to internal components, including RAM.
- Handle with Care: When performing any internal maintenance, always handle components, especially RAM, by their edges to avoid touching the gold contacts or integrated circuits.
Troubleshooting
If you encounter issues after installing your A-Tech RAM, refer to the following common problems and solutions:
| Problem | Possible Cause | Solution |
|---|---|---|
| Laptop does not boot or displays a blank screen. | Memory modules not seated correctly. | Power off, remove battery, open memory bay, and re-seat the modules firmly until clips snap into place. |
| Operating system reports incorrect memory capacity. | One or both modules not recognized; module incompatibility. | Verify modules are seated correctly. Check the compatibility list to ensure your laptop model is supported. Try one module at a time to isolate a faulty stick or slot. |
| System crashes or experiences instability (Blue Screen of Death). | Faulty module; module incompatibility; overheating. | Run a memory diagnostic tool (e.g., Windows Memory Diagnostic). Ensure proper ventilation for your laptop. Verify compatibility. |
Specifications
| Feature | Detail |
|---|---|
| Capacity | 8GB Kit (2 x 4GB) |
| Memory Type | DDR3 SO-DIMM |
| Speed | 1066MHz (PC3-8500) |
| ECC Type | NON-ECC Unbuffered |
| Form Factor | 204-pin SO-DIMM |
| Model Number | AM128925 |
| Product Dimensions | 4.2 x 3.4 x 0.4 inches |
| Item Weight | 1.2 ounces |
Compatibility
This A-Tech 8GB (2x4GB) DDR3 SO-DIMM RAM Memory Kit is specifically designed and tested for compatibility with the following Toshiba Satellite L645 series laptop models:
- L645-SP4010
- L645-SP4010L
- L645-SP4010M
- L645-SP4011
- L645-SP4011L
- L645-SP4011M
- L645-SP4019
- L645-SP4019L
- L645-SP4019M
- L645-SP4025
- L645-SP4025L
- L645-SP4025M
- L645-SP4130L
- L645-SP4135L
- L645-SP4137L
- L645-SP4138L
- L645-SP4163M
- L645-SP4165M
- L645-ST2N01 (PSK1E1-1234567)
- L645-ST2N01 (PSK1EA-0D402F)
- L645-ST2N01 (PSK1EC-07T00Q)
- L645-ST2N01 (PSK2CU-02C001)
- L645-ST2N01 (PSK2CU-02M001)
- L645-ST2N01 (PSK2CU-03800J)
- L645-ST2N01 (PSK2CU-0UE01X)
Important: This product may not be compatible with devices other than those listed above. If your device is not listed, please verify its memory specifications before purchase.
Warranty and Support
A-Tech memory products come with a Lifetime Warranty, ensuring peace of mind regarding your investment. This warranty covers defects in materials and workmanship for the lifetime of the product.
For technical support, warranty claims, or further inquiries, please visit the official A-Tech website or contact their customer service department. You can find more information at: https://atechmemory.com/

Image: A shield icon, symbolizing the product's lifetime warranty and reliability.
Ask a question about this manual
Ask about setup, troubleshooting, compatibility, parts, safety, or missing instructions. Manuals+ will review the question and use this page’s manual context to help answer it.