
GE PP7036SJSS
GE PP7036SJSS 36 Inch Smoothtop Electric Cooktop User Manual
Model: PP7036SJSS
Product Overview
The GE PP7036SJSS is a 36-inch smoothtop electric cooktop featuring five radiant heating elements. This appliance is designed for efficient and versatile cooking, incorporating features such as a Sync Burner, Power Boil elements, a Keep Warm setting, and a Control Lock capability for enhanced safety. The cooktop is equipped with red LED backlit knobs for clear visibility and is ADA Compliant.

Figure 1: GE PP7036SJSS Electric Cooktop. This image displays the cooktop's overall design, including the five radiant cooking zones and the front-mounted control knobs.
Setup and Installation
This cooktop is designed for drop-in installation. Proper electrical connection is crucial for safe and efficient operation. Ensure that the installation adheres to all local electrical codes and the instructions provided in the full installation guide.
- Electrical Requirements: The unit operates on 240 Volts and has a wattage of 3000 watts. A dedicated circuit with appropriate amperage (typically 40 or 50 amps, refer to the specific installation manual for your model) is required.
- Physical Dimensions: The product dimensions are approximately 40 x 25 x 10 inches (Depth x Width x Height). Ensure your countertop cutout meets the specified dimensions for a proper fit.
- Weight: The cooktop weighs approximately 46 pounds.
- Material: The cooktop features a stainless steel trim and a ceramic glass surface.
- Certification: This appliance is ADA Compliant and UL certified.
For detailed cutout dimensions and installation procedures, consult the comprehensive installation instructions included with your appliance or available on the manufacturer's website. Professional installation is recommended.
Operating Instructions
The GE PP7036SJSS cooktop offers a range of features for diverse cooking needs. Familiarize yourself with the control knobs and element functions before use.
Radiant Elements
The cooktop features five radiant heating elements. Each element is controlled by a dedicated knob. Turn the knob clockwise to increase heat from 'Lo' to 'Hi'. The red LED backlighting on the knobs indicates when an element is active.

Figure 2: Active Radiant Elements. This image shows the cooktop's radiant elements illuminated during operation.
Power Boil Elements
Certain elements are equipped with Power Boil functionality (Tri-Ring and Dual-Ring elements). These provide concentrated heat for rapid boiling. To activate, turn the corresponding knob to the 'Power Boil' setting. Use appropriate cookware for optimal performance.
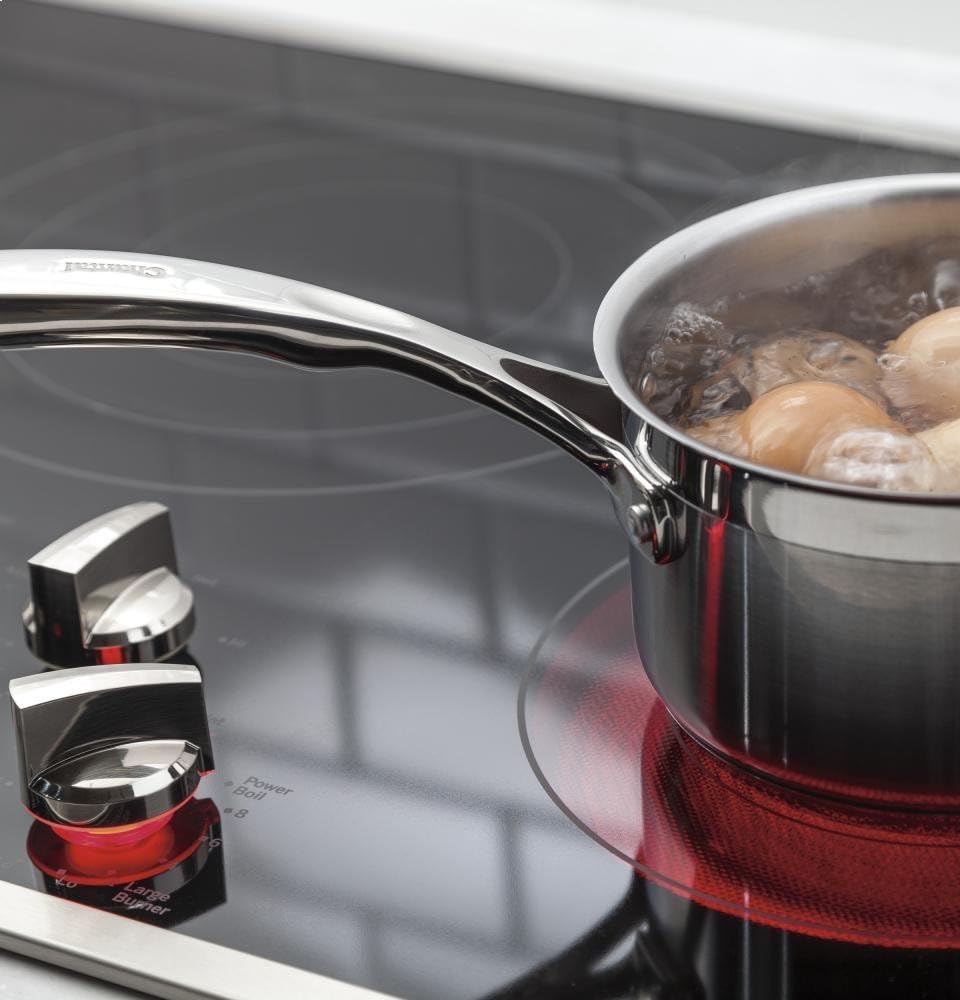
Figure 3: Power Boil in Use. A pot is shown rapidly boiling on one of the cooktop's Power Boil elements.
Sync Burner
The Sync Burner feature allows two elements (typically the left front and left rear) to be controlled simultaneously by a single knob, creating an extended heating zone. This is ideal for large griddles or oversized cookware. To activate, turn the designated Sync Burner control knob.

Figure 4: Sync Burner Operation. This image illustrates the use of the Sync Burner feature with a griddle.
Keep Warm Setting
Certain elements include a 'Keep Warm' setting, designed to maintain food at serving temperature without further cooking. Turn the knob to the 'Keep Warm' position to activate this function.
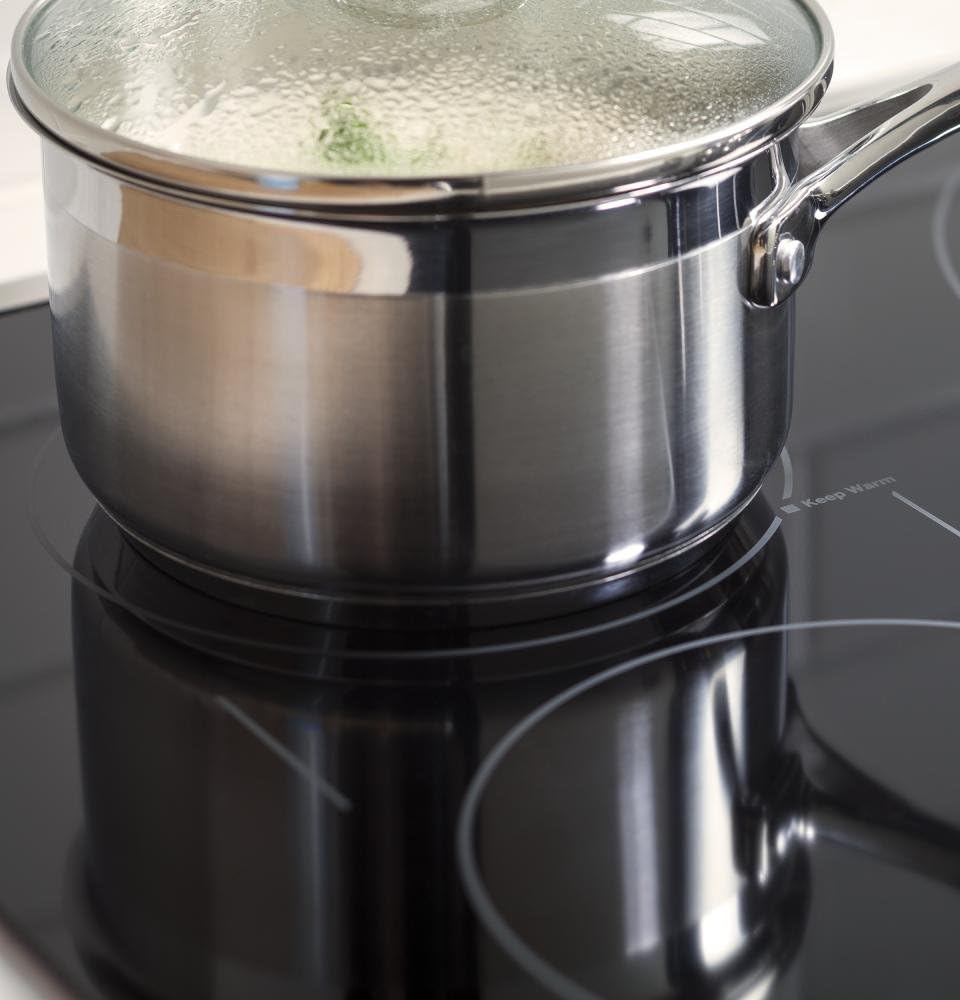
Figure 5: Keep Warm Setting. A pot is shown on an element utilizing the Keep Warm function.
Melt Setting
For delicate tasks like melting butter or chocolate, a 'Melt' setting is available on specific elements. This setting provides very low, gentle heat to prevent scorching.

Figure 6: Melt Setting in Use. Chocolate is shown melting gently in a saucepan on the cooktop.
Control Lock Capability
The Control Lock feature prevents accidental activation of the cooktop elements. To engage or disengage the lock, follow the instructions near the designated control knob. This feature is particularly useful for households with children or for cleaning the cooktop surface without accidentally turning on elements.

Figure 7: Control Lock Feature. This image shows the control knob area with the lock/unlock function.
Maintenance and Cleaning
Regular cleaning and maintenance will ensure the longevity and optimal performance of your GE electric cooktop.
- Cooktop Surface: Clean the ceramic glass surface regularly after it has cooled down. Use a ceramic cooktop cleaner and a non-abrasive pad or cloth. For stubborn stains or burnt-on food, a cooktop scraper may be used carefully at an angle. Avoid abrasive cleaners, scouring pads, or harsh chemicals that can scratch or damage the surface.
- Control Knobs: The control knobs can be removed for easier cleaning. Wash them with warm, soapy water, rinse thoroughly, and dry before replacing. Ensure the cooktop is off and cool before removing knobs.
- Stainless Steel Trim: Clean the stainless steel trim with a mild detergent and a soft cloth. Avoid cleaners containing chlorine or ammonia, which can damage the finish.
Always ensure the cooktop is cool and disconnected from power before performing any cleaning or maintenance.
Troubleshooting
If you encounter issues with your cooktop, refer to the following general troubleshooting tips. For more complex problems, consult the complete owner's manual or contact customer support.
- Element Not Heating: Check if the control knob is correctly set and if the Control Lock feature is disengaged. Ensure the circuit breaker for the cooktop has not tripped.
- Uneven Heating: Ensure cookware is flat-bottomed and matches the size of the element.
- Cooktop Indicator Lights Not Working: Verify power supply. If only specific lights are affected, it may indicate a component issue.
- Scratches or Stains on Glass Surface: Refer to the cleaning instructions. Minor scratches may be reduced with specialized cooktop polish, but deep scratches are permanent.
If the problem persists after attempting these steps, it is recommended to contact a qualified service technician.
Specifications
| Feature | Specification |
|---|---|
| Brand | GE |
| Model Number | PP7036SJSS |
| Installation Type | Drop-In |
| Product Dimensions (D x W x H) | 40 x 25 x 10 inches |
| Item Weight | 46 pounds |
| Voltage | 240 Volts |
| Wattage | 3000 watts |
| Heating Elements | 5 Radiant Elements |
| Burner Type | Electric |
| Heater Surface Material | Ceramic Glass |
| Material Type | Stainless Steel (Trim) |
| Special Features | Power Boil Tri-Ring Element, Power Boil Dual-Ring Element, Sync Burner, Keep Warm Setting, Melt setting, Control Lock Capability |
| Certification | ADA Compliant, UL |
Warranty Information
Specific warranty details for the GE PP7036SJSS electric cooktop are provided with the product at the time of purchase. Please refer to the warranty card or the official GE Appliances website for the most current and comprehensive warranty coverage information. Keep your proof of purchase for warranty claims.
Customer Support
For technical assistance, service scheduling, or to order replacement parts, please contact GE Appliances customer support. Contact information can typically be found in your product's owner's manual or on the official GE Appliances website. When contacting support, please have your model number (PP7036SJSS) and serial number readily available.
Related documentsPP7036SJSS


Ask a question about this manual
Ask about setup, troubleshooting, compatibility, parts, safety, or missing instructions. Manuals+ will review the question and use this page’s manual context to help answer it.