
A-Tech AM094539
A-Tech 8GB (2x4GB) DDR3 1333MHz Non-ECC DIMM RAM Memory Kit User Manual
For Medion MS Motherboard Series MS-7616, MS-7633, MS-7658, MS-7659, MS-7660, MS-7713, MS-7748, MS-7768
1. Safety Information
WARNING: This product was designed for Medion MS Motherboard Series MS-7616, MS-7633, MS-7658, MS-7659, MS-7660, MS-7713, MS-7748, MS-7768. Product may not function if used with other systems. Always ensure compatibility before installation.
To prevent electrostatic discharge (ESD) damage, which can harm electronic components, always handle memory modules by their edges. Avoid touching the gold connectors. It is recommended to wear an anti-static wrist strap or periodically touch a grounded metal object before and during installation.
2. Product Overview
The A-Tech 8GB (2 x 4GB) DDR3 Non-ECC PC3-10600 1333MHz RAM Memory Kit is designed to enhance the performance of compatible Medion MS Motherboard Series systems. This memory upgrade provides a dedicated space for applications to temporarily store data, allowing your computer to access information quickly. Upgrading your system's memory can improve loading times, boost system responsiveness, and enable your computer to handle greater workloads more efficiently.

Image: Two A-Tech 4GB DDR3 RAM modules, showing the green PCB and white label with A-Tech branding and specifications.
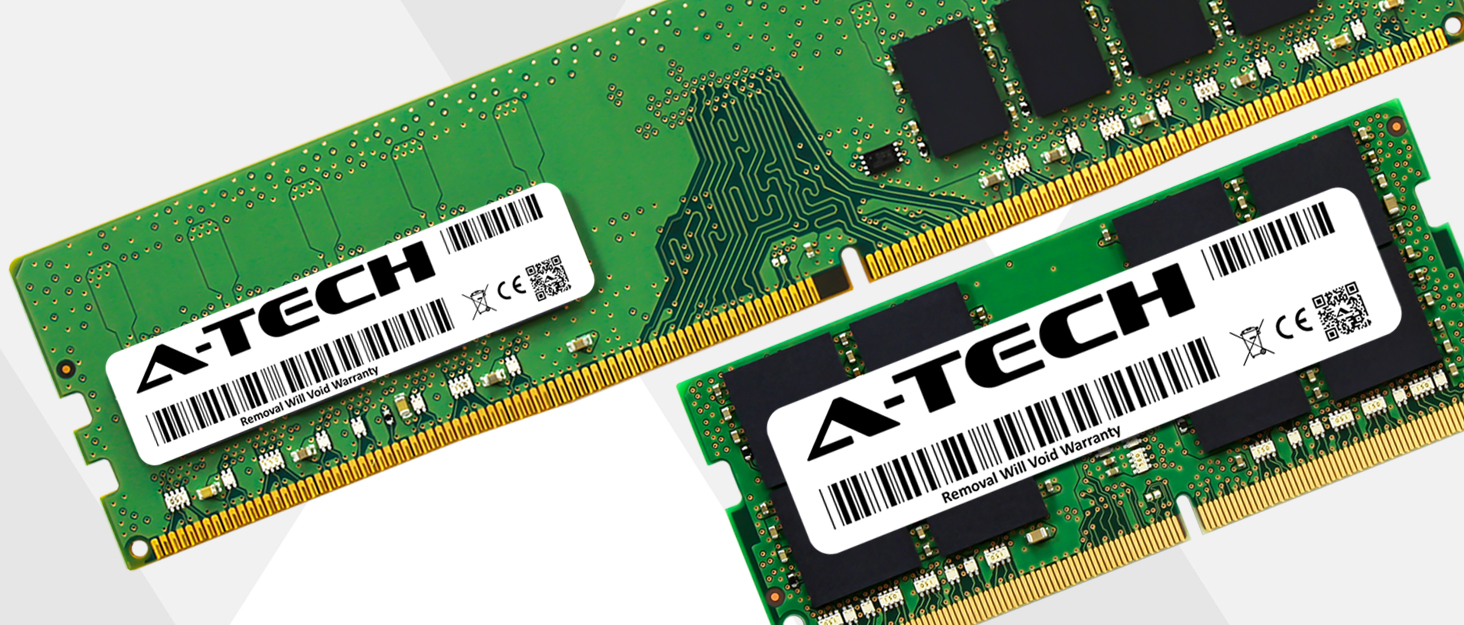
Image: A graphic titled 'BOOST PERFORMANCE' showing a computer tower and a sports car, symbolizing increased speed and responsiveness from a memory upgrade.
3. Compatibility
This A-Tech 8GB (2 x 4GB) DDR3 1333MHz RAM Memory Kit is specifically designed for the following Medion MS Motherboard Series:
- MS-7616
- MS-7633
- MS-7658
- MS-7659
- MS-7660
- MS-7713
- MS-7748
- MS-7768
Please verify your system's motherboard model number to ensure compatibility before installation. Refer to your system's manual for detailed specifications.
4. Setup (Installation)
Installing RAM modules requires careful handling. Follow these general steps for installation:
- Preparation:
- Power down your computer completely and unplug all cables (power, display, peripherals).
- Open the computer case.
- Discharge any static electricity by touching a grounded metal object (e.g., the unpainted metal frame of the computer case).
- Locate RAM Slots: Identify the DIMM slots on your motherboard. Consult your motherboard manual for the correct slot configuration if you are installing multiple modules.
- Install Modules:
- Gently push open the clips at both ends of the RAM slot.
- Align the notch on the RAM module with the key in the DIMM slot. The module will only fit one way.
- Apply even pressure to both ends of the module until it clicks into place and the clips automatically secure it. Do not force the module.
- Reassemble and Power On:
- Close the computer case.
- Reconnect all cables.
- Power on your computer. The system should automatically detect the new memory.

Image: A desktop computer setup, representing the environment where RAM installation typically occurs.

Image: A close-up view of a DIMM RAM module, highlighting its components and form factor.
5. Operating
Once installed correctly, the A-Tech RAM modules operate automatically. Your operating system will recognize the increased memory capacity, and applications will utilize it as needed. No specific software or drivers are required for the memory modules themselves.
6. Maintenance
RAM modules generally require minimal maintenance. To ensure optimal performance and longevity:
- Keep your computer's interior clean and free of dust to prevent overheating, which can affect all components, including RAM.
- Avoid physical damage to the modules. Handle them carefully if removal is necessary.
- Ensure proper airflow within your computer case.
7. Troubleshooting
If you encounter issues after installing the RAM, consider the following troubleshooting steps:
- System Not Booting or Beeping: This often indicates a memory issue.
- Ensure modules are fully seated in their slots. Re-seat them firmly.
- Verify that the modules are installed in the correct slots according to your motherboard manual.
- Test one module at a time to identify if a specific module is faulty.
- Incorrect Memory Reported: If your system reports less memory than installed:
- Check your system's BIOS/UEFI settings to confirm the memory is detected correctly.
- Ensure your operating system is a 64-bit version to fully utilize more than 4GB of RAM.
- System Instability or Crashes: This could be memory-related.
- Run a memory diagnostic tool (e.g., Windows Memory Diagnostic) to check for errors.
- Ensure your motherboard's BIOS/UEFI is updated to the latest version, as this can improve memory compatibility.
If issues persist, refer to your computer's or motherboard's user manual or contact A-Tech support.
8. Specifications
| Brand | A-Tech |
| Model Number | AM094539 |
| Computer Memory Size | 8 GB (2 x 4GB) |
| RAM Memory Technology | DDR3 |
| Memory Speed | 1333 MHz (PC3-10600) |
| Error Correction | Non-ECC |
| Form Factor | DIMM |
| Product Dimensions | 6.7 x 3.6 x 0.4 inches |
| Item Weight | 1.8 ounces |
9. Warranty
This A-Tech memory kit comes with a Lifetime Warranty. For details regarding warranty claims and terms, please refer to the official A-Tech website or contact their customer support.

Image: A shield icon, symbolizing the product's lifetime warranty and protection.
10. Support
For further assistance, technical support, or inquiries, please visit the official A-Tech website:

Image: The A-Tech brand logo, indicating the manufacturer of the memory kit.
Related documentsAM094539

Ask a question about this manual
Ask about setup, troubleshooting, compatibility, parts, safety, or missing instructions. Manuals+ will review the question and use this page’s manual context to help answer it.