

1. Introduction
This manual provides instructions for the installation and verification of your A-Tech 4GB (2x2GB) DDR2 800MHz PC2-6400 DIMM RAM Memory Kit. This memory kit is designed to enhance the performance of compatible HP Pavilion Desktop P6100 series computers by increasing their memory capacity. A memory upgrade can improve system responsiveness, speed up loading times, and enable your computer to handle greater workloads more efficiently.
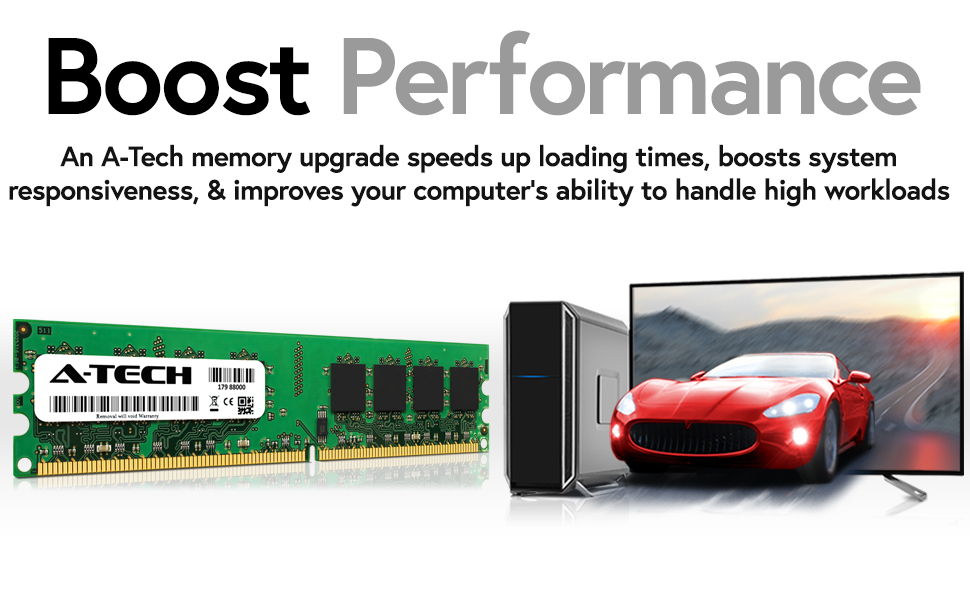
Image: A-Tech DDR2 DIMM RAM module next to a desktop computer and a monitor displaying a fast car, illustrating performance boost.
2. Safety Information
Before beginning any hardware installation, review the following safety guidelines to prevent injury and damage to your equipment:
- Disconnect Power: Always power off your computer and unplug it from the electrical outlet before opening the computer case or handling internal components.
- Electrostatic Discharge (ESD) Prevention: Electronic components are sensitive to static electricity. Ground yourself by touching a metal part of the computer chassis before handling memory modules. Consider using an anti-static wrist strap.
- Handle with Care: Hold memory modules by their edges. Avoid touching the gold connectors or the integrated circuits (chips) on the module to prevent damage.
- Ventilation: Ensure your workspace is well-ventilated.
3. Package Contents
Verify that your package contains the following items:
- 2 x A-Tech 2GB DDR2 800MHz PC2-6400 DIMM RAM Modules

Image: Two individual A-Tech 2GB DDR2 800MHz PC2-6400 DIMM RAM modules, showing the green PCB and black memory chips.
4. Setup and Installation
Follow these steps to install your new A-Tech RAM modules:
- Prepare Your Computer:
- Shut down your computer completely.
- Unplug the power cord and all other cables (monitor, keyboard, mouse, etc.) from the back of the computer.
- Move the computer to a clean, flat, and static-free workspace.
- Open the Computer Case:
- Remove the side panel of your computer case. Consult your computer's manual for specific instructions on how to open the case.
- Locate RAM Slots:
- Identify the DIMM memory slots on your motherboard. These are typically long slots near the CPU.
- Remove Existing Modules (if applicable):
- If you are replacing existing RAM, gently push the small retention clips on both ends of the memory slot outwards. The module should pop up slightly.
- Carefully pull the old module straight out of the slot. Store it in an anti-static bag.
- Install New Modules:
- Align the notch on the bottom edge of the A-Tech RAM module with the corresponding key in the DIMM slot. This ensures correct orientation.
- Place the module into the slot and press down firmly and evenly on both ends until the retention clips snap into place, securing the module. You may hear a click.
- Repeat for the second module in an adjacent or designated slot (refer to your motherboard manual for optimal dual-channel configuration).
- Close Case and Reconnect:
- Replace the computer's side panel.
- Reconnect all cables and the power cord.
5. Verifying Installation
After installation, verify that the new RAM is recognized by your system:
- Power On: Turn on your computer.
- Check System Information:
- Windows: Right-click on 'This PC' or 'My Computer', select 'Properties'. The installed RAM amount should be displayed.
- BIOS/UEFI: During startup, press the designated key (often F2, Del, F10, or F12) to enter the BIOS/UEFI setup. Navigate to the system information or memory section to confirm the total installed memory.
If the correct amount of RAM is displayed, your installation was successful.
6. Maintenance
A-Tech RAM modules are designed for long-term reliability and generally require minimal maintenance. To ensure optimal performance and longevity:
- Keep System Clean: Regularly clean the interior of your computer case to prevent dust buildup, which can impede airflow and lead to overheating of components, including RAM.
- Ensure Proper Seating: Periodically check that the memory modules are securely seated in their slots. Loose connections can cause system instability.
- Environmental Control: Operate your computer in a stable environment, avoiding extreme temperatures and humidity.
7. Troubleshooting
If you encounter issues after installing your A-Tech RAM, consider the following troubleshooting steps:
- Computer Does Not Boot or Beeps:
- Ensure both RAM modules are fully seated in their slots and the retention clips are closed.
- Verify that the modules are installed in the correct slots according to your motherboard's manual.
- Confirm compatibility: Double-check that the RAM specifications (DDR2, 800MHz, NON-ECC, DIMM) match your computer's requirements.
- Incorrect Memory Amount Detected:
- Re-seat the modules firmly.
- Check your BIOS/UEFI settings to ensure memory detection is enabled and configured correctly.
- Test each module individually if possible, to identify a potentially faulty module.
- System Instability or Crashes:
- Run a memory diagnostic tool (e.g., Windows Memory Diagnostic) to check for errors.
- Ensure your system's BIOS is up to date, as updates can improve memory compatibility.
8. Specifications
| Feature | Specification |
|---|---|
| Brand | A-Tech |
| Memory Size | 4GB Kit (2 x 2GB) |
| RAM Technology | DDR2 |
| Memory Speed | 800 MHz (PC2-6400) |
| Form Factor | DIMM |
| Number of Pins | 240 |
| ECC Type | NON-ECC |
| Compatible Devices | HP Pavilion Desktop P6158de, P6159es, P6160a, P6160la, P6170jp, P6170sc, P6172l, P6173l, P6175l, P6177c, P6180a, P6182l, P6183l, P6190jp, P6200br, P6200la, P6200z, P6202f, P6203w, P6204y, P6207c, P6208f, P6210br, P6210f, P6210IN, P6210t, P6210y, P6211f, P6212f, P6213w, P6214it, P6214y, P6216f, P6219f, P6220a, P6220br, P6225tw, P6226f, P6228p, P6230a, P6232p, P6234f, P6236f, P6240a, P6240br, P6241f. |

Image: Graphic highlighting key performance features: Accelerate Speeds to 800MHz, Take on Greater Workloads, Designed for High Quality Performance.
9. Warranty and Support
A-Tech stands behind the quality of its products:
- Warranty: This product is covered by a Limited Lifetime Warranty, which covers defects in materials and workmanship.
- Support: For technical assistance, compatibility questions, or warranty claims, please visit the official A-Tech website at atechmemory.com.

