
1. Introduction
This manual provides comprehensive instructions for the installation, operation, and maintenance of your A-Tech 2GB (2 x 1GB) DDR2 PC2-5300 667MHz RAM Memory Kit. Please read this manual thoroughly before installation to ensure proper function and to prevent damage to your system or the memory modules.

Figure 1: Two A-Tech DDR2 RAM modules, each with a green PCB and black memory chips, featuring the A-Tech label.
2. Safety Information
WARNING: Always disconnect power from your computer and discharge static electricity before handling internal components. Failure to do so may result in electric shock or damage to components.
This product is designed for specific Fujitsu-Siemens Scaleo Series models. Using it with incompatible systems may lead to instability or non-functionality. Verify your system's memory requirements before installation.
- Ensure your workspace is clean and well-lit.
- Avoid touching the gold contacts on the memory modules.
- Handle memory modules by their edges to prevent damage from static electricity.
- Use an anti-static wrist strap if available.
3. Compatibility
This A-Tech 2GB (2 x 1GB) DDR2 PC2-5300 667MHz RAM Memory Kit is specifically designed for the following Fujitsu-Siemens Scaleo Series models:
- EV Series: EV EVi 2535, EVi 2555, EVi 2565 H (DDR2 - 2nd Gen), J (DDR-2 Model)
- La Series: La 2615, La 2630, La 2660
- Li Series: Li 2405 Green Edition, Li 2410 Green Edition, Li 2411, Li 2608, Li 2609, Li 2614, Li 2650
- P Series: P (2 DIMM Slots) (DDR2), P (3 DIMM Slots) (DDR2), P (4 DIMM Slots) (DDR2)
- Pa Series: Pa 2550, Pa 2670, Pa 2680
- Pi Series: Pi 1515, Pi 2662, Pi 2664, Pi 2666-32P, Pi 2680
- Xi Series: Xi 2515, Xi 2516
If your system is not listed, please consult your computer's manual or the manufacturer's website to confirm DDR2 PC2-5300 667MHz DIMM memory compatibility.
4. Setup and Installation
Follow these steps carefully to install the A-Tech RAM memory modules into your compatible Fujitsu-Siemens Scaleo Series computer.
4.1 Preparation
- Power Down: Shut down your computer completely and disconnect the power cable from the wall outlet.
- Open Case: Open your computer case. Refer to your computer's manual for specific instructions on how to access the motherboard and RAM slots.
- Static Discharge: Touch a metal part of the computer chassis to discharge any static electricity from your body. Consider using an anti-static wrist strap.
4.2 Installation Steps
- Locate RAM Slots: Identify the DIMM slots on your motherboard. These are typically long, narrow slots with clips on either end.
- Open Clips: Gently push the clips on both ends of the DIMM slot outwards to open them.
- Align Module: Hold the A-Tech memory module by its edges. Align the notch on the bottom edge of the memory module with the corresponding key in the DIMM slot. Ensure the module is oriented correctly.
- Insert Module: Place the module into the slot and apply firm, even pressure to both ends of the module simultaneously. The clips on the sides should snap into place, securing the module. If the clips do not snap automatically, gently push them inwards until they lock.
- Repeat for Second Module: If installing both 1GB modules, repeat steps 2-4 for the second memory module. Ensure they are installed in the correct slots as per your motherboard's manual for optimal performance (e.g., matching color slots for dual-channel).
- Close Case: Once both modules are securely installed, close your computer case and reconnect the power cable.
- Power On: Turn on your computer. The system should automatically detect the new memory. You may need to enter the BIOS/UEFI setup to verify the memory is recognized, though this is often not necessary.
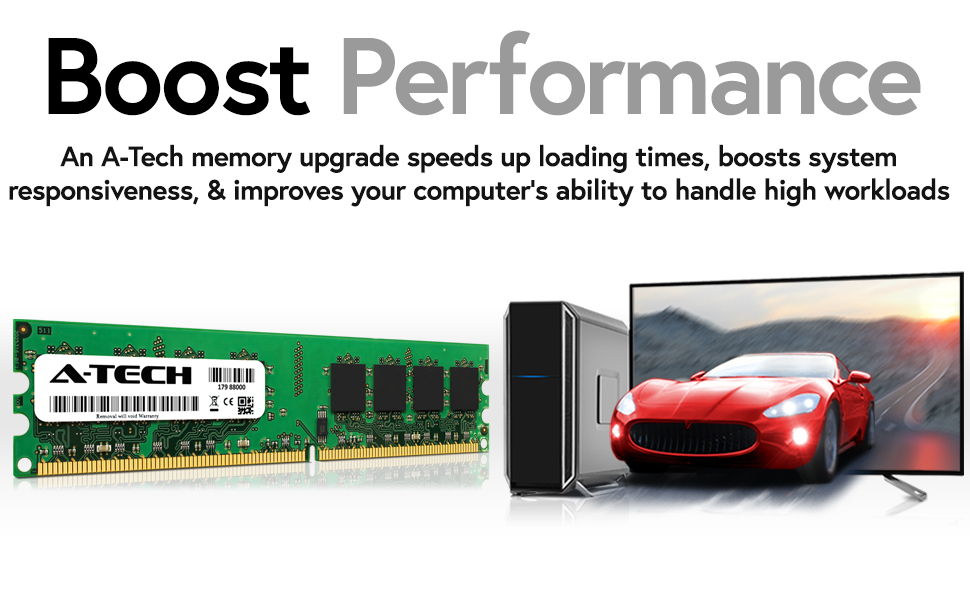
Figure 2: A single A-Tech RAM module, illustrating its physical form factor, positioned near a desktop computer system.
5. Operation
Once installed, the A-Tech DDR2 RAM modules operate automatically within your computer system. They provide temporary storage for data that the CPU actively uses, enabling faster access to information and improving overall system responsiveness.
- System Performance: Increased RAM capacity allows your computer to handle more applications simultaneously and process larger datasets more efficiently.
- Automatic Detection: Modern operating systems and BIOS/UEFI typically detect new memory modules automatically upon startup.
- Verification: You can verify the installed memory in your operating system's system information (e.g., Task Manager in Windows, About This Mac in macOS, or system monitor in Linux).

Figure 3: A user engaged in a multi-monitor setup, illustrating the capability of a computer to handle multiple tasks, which benefits from sufficient RAM.
6. Maintenance
RAM modules generally require minimal maintenance. However, following these guidelines can help ensure their longevity and optimal performance:
- Keep System Clean: Regularly clean the interior of your computer case to prevent dust buildup, which can impede airflow and lead to overheating of components, including RAM.
- Environmental Control: Operate your computer in a cool, dry environment. Extreme temperatures or humidity can affect electronic components.
- Avoid Physical Stress: Do not bend or apply excessive force to the memory modules.
- Static Prevention: Always take anti-static precautions when handling memory modules or other internal computer components.
7. Troubleshooting
If you encounter issues after installing your A-Tech RAM, consider the following troubleshooting steps:
7.1 Common Issues and Solutions
- Computer Does Not Boot / No Display:
- Ensure the memory modules are fully seated in their slots. The clips on both ends should be locked.
- Verify that the modules are installed in the correct slots according to your motherboard's manual (especially for dual-channel configurations).
- Try installing only one module at a time to identify if one module is faulty.
- Clear the CMOS (Complementary Metal-Oxide-Semiconductor) settings on your motherboard. Refer to your motherboard manual for instructions.
- Incorrect RAM Amount Detected:
- Check if the modules are fully seated.
- Ensure your operating system is 64-bit to fully utilize more than 4GB of RAM. (Note: This kit is 2GB, so this is less likely to be an issue unless other RAM is present).
- Update your motherboard's BIOS/UEFI to the latest version.
- System Instability / Blue Screens (BSOD):
- Run a memory diagnostic tool (e.g., Windows Memory Diagnostic, MemTest86) to check for errors.
- Ensure your system's power supply is adequate for all installed components.
- Verify that the RAM is compatible with your motherboard and CPU.
If problems persist after attempting these steps, please contact A-Tech customer support.
8. Specifications
| Feature | Detail |
|---|---|
| Model Number | AM046293 |
| Total Capacity | 2GB (2 x 1GB modules) |
| Memory Technology | DDR2 DIMM |
| Speed | 667MHz (PC2-5300) |
| Error Correction | Non-ECC |
| Form Factor | DIMM (for Desktops/Workstations) |
| Voltage | Standard DDR2 voltage (typically 1.8V) |
| Product Dimensions | 6.7 x 3.6 x 0.4 inches |
| Item Weight | 1.8 ounces |
| Manufacturer | A-Tech |
9. Warranty Information
A-Tech provides a Lifetime Warranty for this memory kit. This warranty covers defects in materials and workmanship for the lifetime of the product. For detailed terms and conditions, please refer to the official A-Tech website or contact customer support.
10. Customer Support
For technical assistance, warranty claims, or further inquiries, please contact A-Tech customer support through their official channels.
- Website: atechmemory.com
- Amazon Seller Page: A-Tech Components on Amazon

Figure 4: The A-Tech brand logo.


