1. Introduction
This manual provides comprehensive instructions for the safe installation, operation, and maintenance of the Lightolier Controls PS-3P-I 3-Way SPDT Wall Light Switch. This switch is designed for multi-location control of lighting fixtures, allowing a single light or group of lights to be controlled from two different switch locations. Please read this manual thoroughly before beginning installation or use.
2. Safety Information
WARNING: RISK OF ELECTRIC SHOCK. IMPROPER INSTALLATION CAN RESULT IN SERIOUS INJURY OR DEATH.
- Always turn off power at the circuit breaker or fuse box before installing, servicing, or removing the switch.
- Verify that power is off by testing the circuit with a voltage tester before handling any wires.
- All wiring must be performed in accordance with national and local electrical codes. If you are unsure about any part of these instructions, consult a qualified electrician.
- Do not use this switch with loads exceeding its specified ratings.
- Ensure all wire connections are secure and properly insulated.
- This device is intended for indoor use only.
3. Package Contents
Verify that your package contains the following items:
- Lightolier Controls PS-3P-I 3-Way SPDT Wall Light Switch (Ivory)
- Matching Wall Plate
- Instruction Manual

The product packaging box, showing the model number PS-3P-I (Ivory) checked, along with options for PS-3P-W (White) and PS-3P-BR (Brown). This confirms the specific model and color of the enclosed switch.
4. Product Overview
The Lightolier Controls PS-3P-I is an ivory-colored, single-pole, double-throw (SPDT) 3-way wall switch. It features a classic rocker design for simple ON/OFF control and is specifically designed to work in conjunction with another 3-way switch to control a single lighting circuit from two distinct locations.
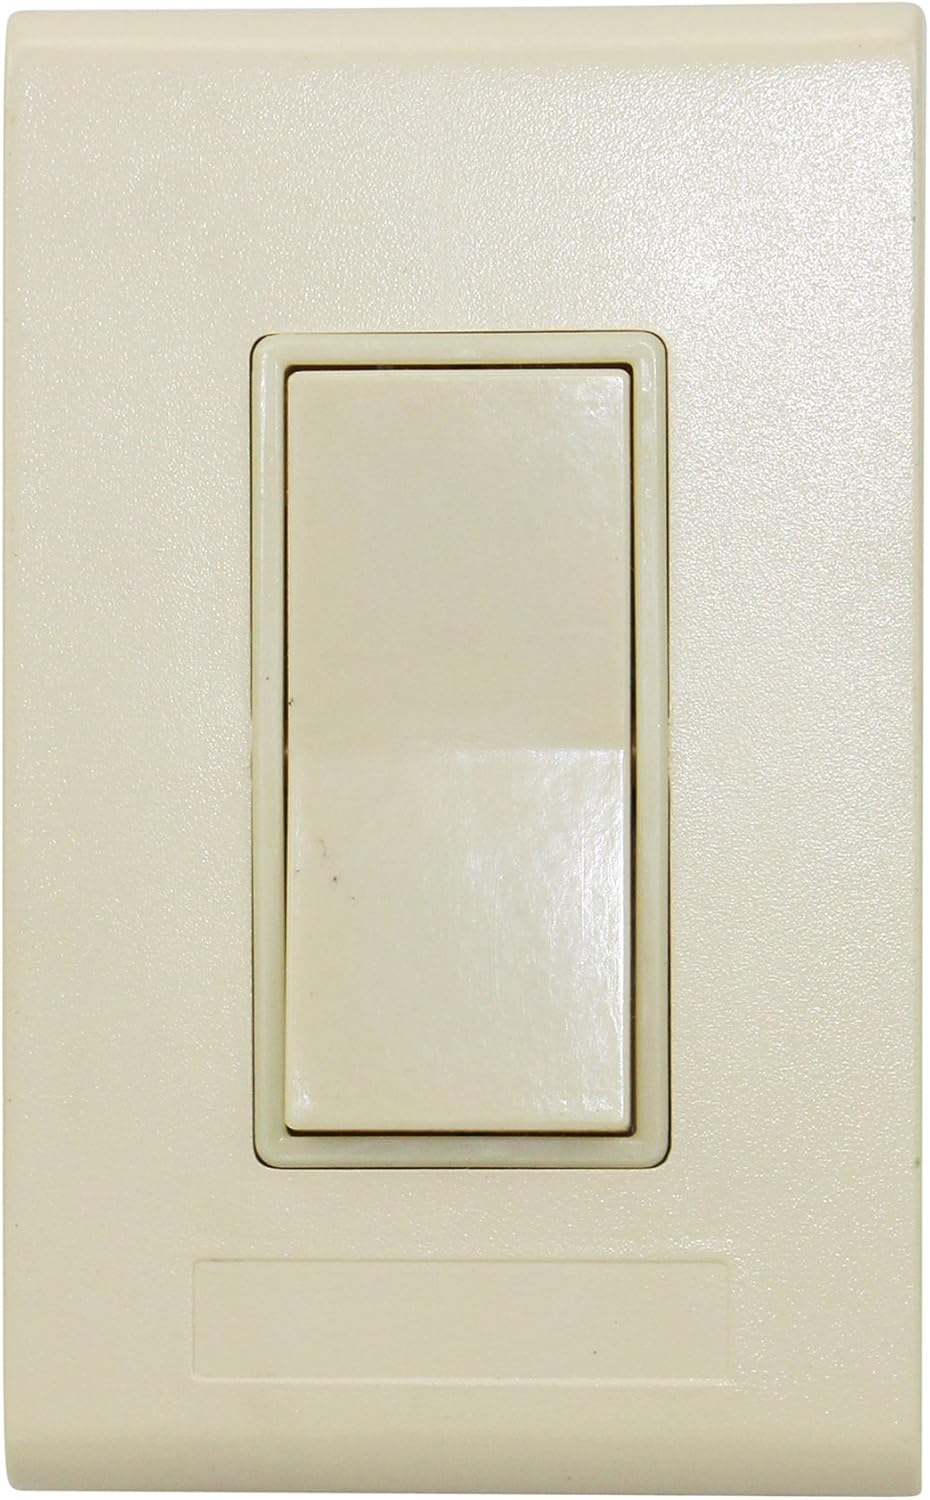
This image displays the front of the Lightolier Controls PS-3P-I wall switch. It features a single rocker-style button in an ivory finish, designed to blend with standard wall plates.
5. Specifications
| Feature | Specification |
|---|---|
| Model Number | PS-3P-I |
| Operation Mode | ON-OFF |
| Contact Type | Normally Open |
| Connector Type | Clamp |
| Brand | Lightolier |
| Terminal | SPDT (Single-Pole, Double-Throw) |
| Circuit Type | 3-Way |
| Actuator Type | Push Button (Rocker) |
| Contact Material | Copper |
| International Protection Rating | IP54 |
| Number of Positions | 3 |
| Control Method | Remote |
| Connectivity Protocol | X-10 |
| Color | Ivory |
| Item Weight | 1 pound (approximate) |
| Package Dimensions | 1 x 1 x 1 inches (approximate) |
6. Installation
IMPORTANT: Installation should only be performed by a qualified electrician or a person with thorough knowledge of electrical wiring and building codes. Always ensure power is OFF before starting.
6.1 Tools Required
- Screwdrivers (Phillips and Flathead)
- Wire Strippers
- Electrical Tape
- Voltage Tester
6.2 Pre-Installation Steps
- Turn Off Power: Locate the circuit breaker or fuse that controls the light fixture and switch locations. Turn it OFF.
- Verify Power Off: Use a voltage tester to confirm that power is completely off at both switch locations.
- Remove Existing Switch: Carefully remove the wall plate and unscrew the existing switch from the electrical box. Disconnect the wires, noting their connections (e.g., common, traveler 1, traveler 2, ground).
6.3 Wiring the PS-3P-I Switch
A 3-way switch system involves two switches controlling one light. Each 3-way switch has three terminals: one common terminal (often darker or labeled 'COM'), and two traveler terminals. There will also be a ground terminal.
- Identify Wires: In the electrical box, identify the incoming hot wire (common), the two traveler wires that run between the two 3-way switches, and the ground wire.
- Connect Ground Wire: Connect the bare copper or green insulated ground wire from the electrical box to the green ground screw on the PS-3P-I switch.
- Connect Common Wire: Connect the common (incoming hot) wire to the common terminal screw on the PS-3P-I switch.
- Connect Traveler Wires: Connect the two traveler wires to the remaining two traveler terminal screws on the PS-3P-I switch. The order of traveler wires typically does not matter for functionality, but consistency with the other 3-way switch is recommended.
- Secure Connections: Ensure all wire connections are tight and secure. Use electrical tape to cover any exposed wire if necessary.
6.4 Mounting and Finishing
- Mount Switch: Carefully push the wired switch back into the electrical box, ensuring wires are not pinched. Secure the switch to the box using the provided screws.
- Attach Wall Plate: Install the matching wall plate over the switch and secure it with its screws.
- Restore Power: Return to the circuit breaker or fuse box and turn the power back ON.
- Test Operation: Test the switch from both locations to ensure proper functionality.
7. Operation
The Lightolier Controls PS-3P-I 3-Way SPDT Wall Light Switch operates like a standard ON/OFF switch, but in conjunction with a second 3-way switch. Pressing the top or bottom of the rocker switch will toggle the connected light fixture between ON and OFF states. The state of the light (ON or OFF) depends on the position of both 3-way switches in the circuit.
- To turn the light ON or OFF, simply press the rocker switch.
- The light can be controlled independently from either of the two 3-way switch locations.
8. Maintenance
The Lightolier Controls PS-3P-I switch requires minimal maintenance.
- Cleaning: To clean the switch and wall plate, wipe with a soft, damp cloth. Do not use abrasive cleaners, solvents, or harsh chemicals, as these can damage the finish.
- No User-Serviceable Parts: There are no user-serviceable parts inside the switch. Do not attempt to open or repair the device.
- Regular Inspection: Periodically check the switch and wall plate for any signs of damage or loose connections. If any issues are observed, turn off power at the breaker and consult a qualified electrician.
9. Troubleshooting
If you experience issues with your Lightolier Controls PS-3P-I switch, refer to the following common troubleshooting steps:
| Problem | Possible Cause | Solution |
|---|---|---|
| Light does not turn ON or OFF from either switch. | No power to the circuit. Loose or incorrect wiring. Faulty light bulb. | Check the circuit breaker or fuse. Turn off power and re-check all wiring connections. Replace the light bulb. |
| Light only turns ON/OFF from one switch, not the other. | Incorrect 3-way wiring. Faulty traveler wire connection. | Turn off power and carefully review the 3-way wiring diagram. Ensure common and traveler wires are correctly connected to both switches. Check for loose connections on traveler terminals. |
| Switch feels loose or makes unusual noises. | Loose mounting screws. Internal damage. | Turn off power and tighten mounting screws. If internal damage is suspected, replace the switch. Do not attempt to repair. |
If the problem persists after attempting these solutions, turn off power to the circuit and consult a qualified electrician.
10. Warranty and Support
For information regarding the warranty coverage for your Lightolier Controls PS-3P-I switch, please refer to the documentation provided at the point of purchase or contact your retailer. Specific warranty terms and conditions may vary.
For technical support or further assistance, please contact Lightolier customer service or your authorized dealer. Contact information can typically be found on the manufacturer's website or product packaging.


