
Keter 9725000
Keter Linear Low Plastic Cupboard Model 9725000 Instruction Manual
Adjustable Storage Cabinet
1. Introduction
This manual provides comprehensive instructions for the assembly, installation, operation, and maintenance of your Keter Linear Low Plastic Cupboard, Model 9725000. Please read this manual thoroughly before beginning assembly or use to ensure proper function and safety. Keep this manual for future reference.
The Keter Linear Low cabinet is a versatile storage solution designed for various spaces. It features a soft-touch ergonomic handle and is designed to accommodate a padlock for security. Its compact size and adjustable shelf make it suitable for organizing items in different environments, including garages and laundry rooms.
2. Important Safety Information
- Always use a padlock with the cabinet to secure contents. Never leave keys inside the cabinet.
- Ensure the cabinet is securely mounted to the wall to prevent it from tipping or falling, especially if children are present.
- Do not exceed the maximum load capacity of 15 kilograms (33 pounds) per shelf. Overloading can compromise stability and structural integrity.
- Assembly requires careful attention. Follow all steps precisely to ensure the cabinet is stable and safe.
- Keep small parts away from children during assembly to prevent choking hazards.
3. Package Contents
Before beginning assembly, verify that all components are present and undamaged. If any parts are missing or damaged, do not proceed with assembly and contact customer support.
- Cabinet panels (sides, top, bottom, back, doors)
- Adjustable shelf (1)
- Handles (2)
- Wall mount hardware
- Assembly fasteners and connectors
- Adjustable feet/legs
4. Assembly Instructions
Assembly time is approximately 10 minutes. Two people are recommended for easier and safer assembly.
- Unpack Components: Carefully remove all parts from the packaging and lay them out on a clean, flat surface. Verify against the package contents list.
- Assemble Base: Attach the adjustable feet/legs to the bottom panel of the cabinet. Ensure they are securely fastened.
- Connect Side Panels: Attach the side panels to the bottom panel using the provided fasteners. Ensure the grooves for the back panel are correctly oriented.
- Insert Back Panel: Slide the back panel into the grooves of the side and bottom panels.
- Attach Top Panel: Secure the top panel to the side and back panels.
- Install Shelf Supports: Insert the shelf supports at the desired height for the adjustable shelf.
- Place Shelf: Position the adjustable shelf onto the installed supports.
- Attach Doors: Mount the doors to the cabinet frame using the hinges. Ensure they open and close smoothly.
- Install Handles: Attach the ergonomic handles to the doors.
- Final Check: Ensure all connections are tight and the cabinet is stable.

Figure 1: Interior view of the Keter Linear Low Plastic Cupboard, illustrating the adjustable shelf.

Figure 2: Detail of the adjustable foot, allowing for leveling on uneven surfaces.
5. Wall Mounting
The Keter Linear Low Plastic Cupboard includes hardware for wall mounting. Wall mounting is highly recommended to prevent tipping, especially in households with children or in areas prone to seismic activity.
- Choose Location: Select a suitable wall location, ensuring it is free from electrical wires or plumbing. The wall must be capable of supporting the cabinet's weight when fully loaded.
- Mark Drilling Points: Position the cabinet against the wall in its final location. Mark the drilling points for the wall mount brackets on the wall.
- Drill Holes: Drill pilot holes at the marked points using an appropriate drill bit for your wall type (e.g., masonry, drywall with studs).
- Install Anchors: Insert wall anchors (if required for your wall type) into the drilled holes.
- Attach Brackets: Secure the wall mount brackets to the wall using the provided screws.
- Secure Cabinet: Attach the cabinet to the wall mount brackets. Ensure the connection is firm and the cabinet is stable and flush against the wall.
6. Operation
6.1 Opening and Closing Doors
The cabinet features two doors with ergonomic handles. To open, gently pull the handles. To close, push the doors until they are flush with the cabinet frame.

Figure 3: Detail of the ergonomic handle for comfortable door operation.
6.2 Adjusting Shelves
The cabinet includes one adjustable shelf. To change the shelf height:
- Empty the shelf of all contents.
- Carefully lift the shelf and remove it from its current supports.
- Relocate the shelf supports to the desired height within the cabinet's pre-drilled holes.
- Place the shelf back onto the new supports, ensuring it is level and securely seated.
6.3 Security
The cabinet is designed with a predisposition for a padlock. To secure your belongings, insert a standard padlock (not included) through the designated holes on the doors.
7. Maintenance
- Cleaning: Clean the cabinet surfaces with a soft cloth and mild soap and water. Avoid abrasive cleaners or solvents, as these can damage the plastic finish.
- Inspection: Periodically check all fasteners and wall mounts to ensure they remain tight and secure. Re-tighten if necessary.
- Load Management: Do not exceed the maximum weight capacity per shelf. Distribute weight evenly to maintain stability.
8. Troubleshooting
- Cabinet is Unstable: Ensure all assembly fasteners are tightened. Verify that the adjustable feet are properly leveled. If wall-mounted, check the security of the wall anchors and brackets.
- Doors Do Not Close Properly: Check for any obstructions. Ensure the cabinet is level and square. Re-check hinge alignment during assembly.
- Shelf Sags: Reduce the weight on the shelf. Ensure the shelf supports are correctly inserted and the shelf is properly seated. Do not exceed the 15 kg weight limit per shelf.
9. Specifications
| Feature | Detail |
|---|---|
| Brand | Keter |
| Model Name | Linear |
| Item Model Number | 9725000 |
| Product Dimensions | 15.35"D x 26.77"W x 35.43"H (39cm D x 68cm W x 90cm H) |
| Item Weight | 12.54 pounds (5.7 Kilograms) |
| Material | Plastic (Frame, Top, Handle, Back) |
| Color | Light Grey/Black (Hellgrau-schwarz) |
| Number of Shelves | 1 (Adjustable) |
| Weight Limit (per shelf) | 15 Kilograms (33 pounds) |
| Mounting Type | Wall Mount |
| Special Feature | Adjustable Shelf |
| Lock Type | Padlock (predisposition) |
| Assembly Required | Yes |
| GTIN | 08013183074463 |

Figure 4: Front view of the assembled Keter Linear Low Plastic Cupboard.
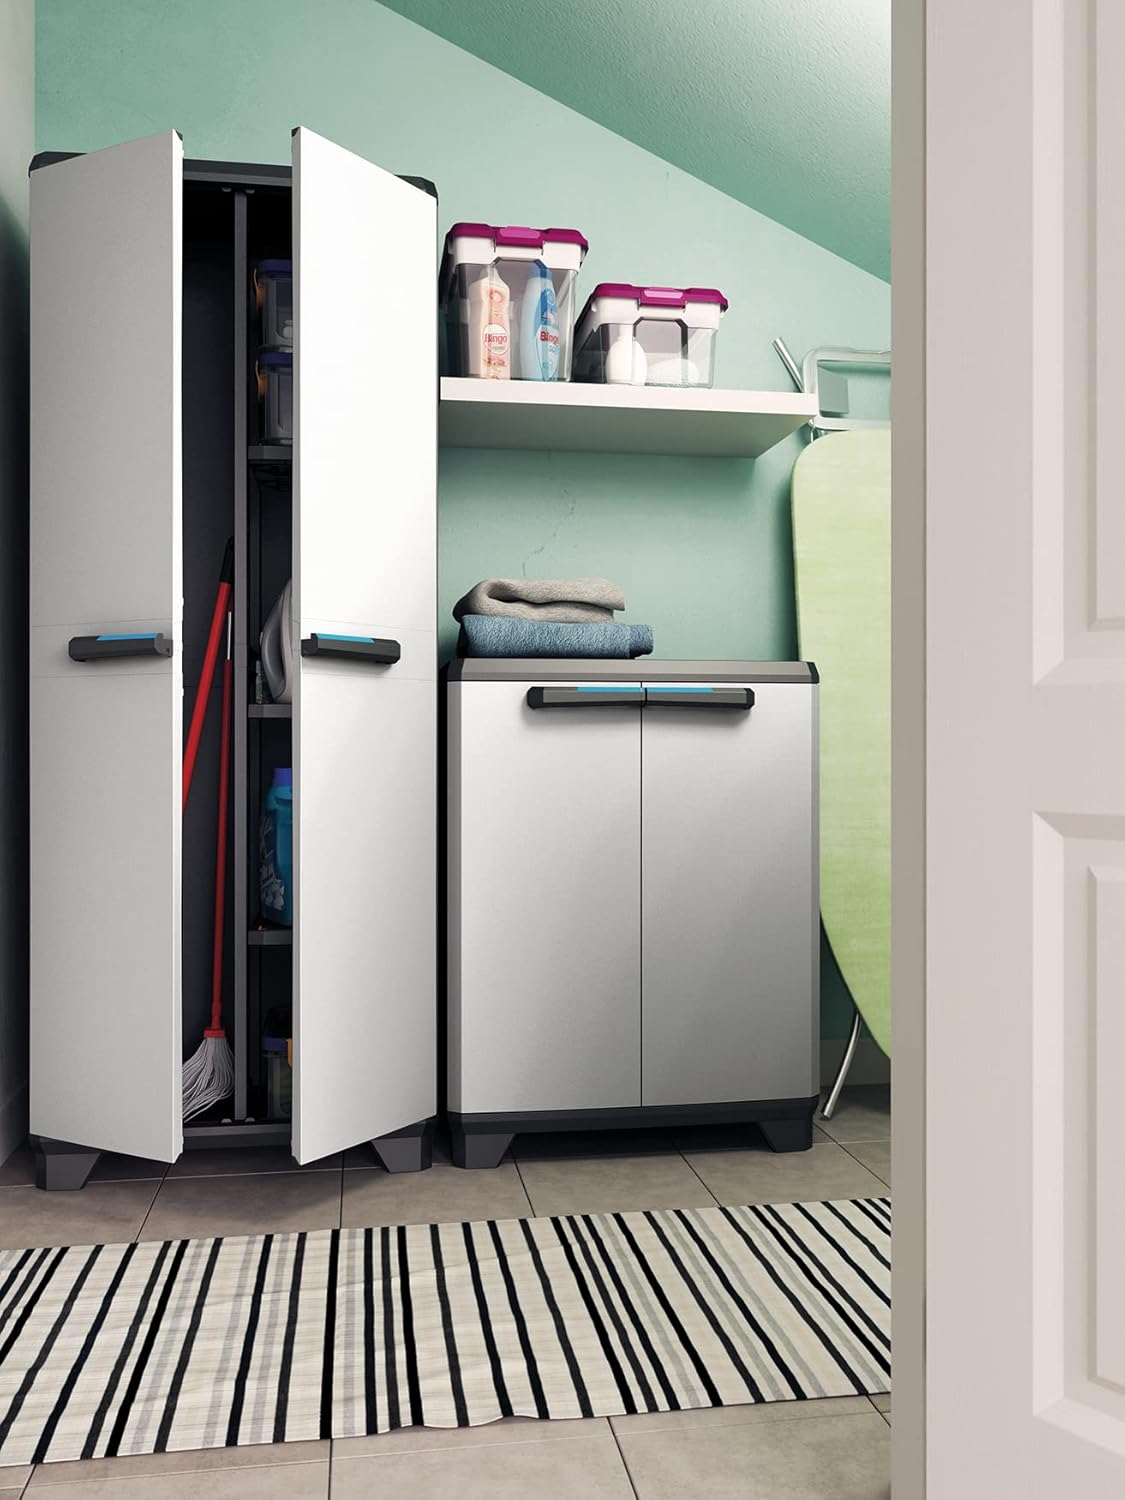
Figure 5: The Keter Linear Low Plastic Cupboard integrated into a laundry room environment.

Figure 6: The Keter Linear Low Plastic Cupboard providing storage in a kitchen or pantry area.
10. Warranty and Support
For warranty information or customer support, please refer to the documentation included with your purchase or visit the official Keter website. Keep your proof of purchase for any warranty claims.
Ask a question about this manual
Ask about setup, troubleshooting, compatibility, parts, safety, or missing instructions. Manuals+ will review the question and use this page’s manual context to help answer it.