1. Introduction
This manual provides comprehensive instructions for the installation, operation, and maintenance of the Axis Communications 5900-334 T8134 Midspan PoE Injector. This device is designed to provide high power over Ethernet, offering an efficient and cost-effective solution for powering network video products, particularly PTZ (pan/tilt/zoom) and PTZ dome network cameras, without the necessity of installing additional power outlets or electrical cabling.
Key features include:
- Compatibility with Axis network video products.
- Outdoor-ready operation, supporting temperatures from -40 °C to 65 °C.
- Capable of supplying up to 60 watts of power.
2. Safety Information
Please read all safety instructions carefully before installing or operating the device. Failure to follow these instructions may result in injury or damage to the product.
- Ensure the power source matches the voltage requirements specified on the device label.
- Do not expose the device to water or excessive moisture.
- Avoid placing the device near heat sources or in direct sunlight for prolonged periods.
- Only use accessories and attachments specified by the manufacturer.
- Refer all servicing to qualified service personnel.
3. Package Contents
Verify that all items are present in the package:
- Axis Communications T8134 Midspan PoE Injector (External)
If any items are missing or damaged, please contact your supplier immediately.
4. Setup
Follow these steps to set up your PoE Injector:
- Identify Ports: Locate the "DATA IN" and "DATA PWR OUT" Ethernet ports on the front of the PoE injector. The "DATA IN" port connects to your network switch/router, and the "DATA PWR OUT" port connects to your PoE-compatible device (e.g., network camera).

Figure 4.1: Front view of the PoE Injector, highlighting the DATA IN and DATA PWR OUT ports for network and device connections.
- Connect Network Cable: Connect an Ethernet cable from your network switch or router to the "DATA IN" port on the PoE injector.
- Connect Device Cable: Connect another Ethernet cable from the "DATA PWR OUT" port on the PoE injector to the network port of your PoE-compatible device (e.g., Axis PTZ camera).
- Connect Power Cable: Connect the AC power cable to the power input on the rear of the PoE injector and then plug it into a suitable power outlet.
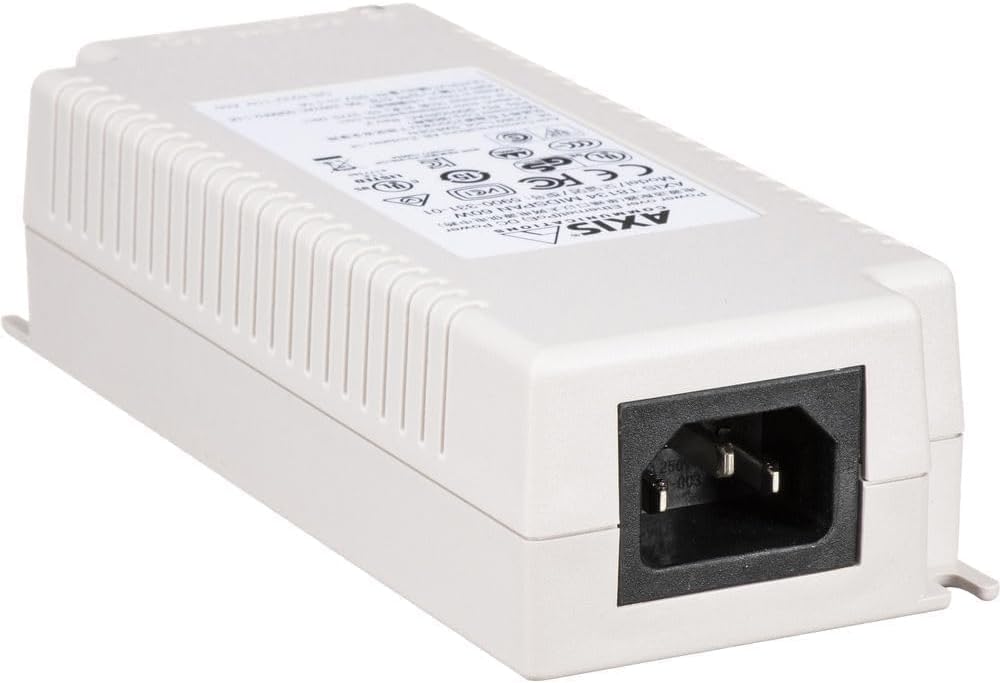
Figure 4.2: Rear view of the PoE Injector, showing the AC power input socket.
- Verify Indicators: Once powered, check the LED indicators on the injector. The "ON" indicator should illuminate, and the "DATA PWR OUT" indicator should show activity when a device is connected and receiving power.
5. Operating
The Axis T8134 Midspan PoE Injector operates automatically once connected. It provides power and data connectivity to your PoE-enabled devices over a single Ethernet cable.
- Power Delivery: The injector delivers up to 60W of power, suitable for high-power PoE devices such as PTZ cameras.
- Data Transmission: It supports standard Ethernet data rates, ensuring seamless communication with your network devices.
- Environmental Adaptability: Designed for robust performance, it functions reliably in a wide range of outdoor temperatures.
No user configuration is typically required for basic operation. The device is plug-and-play for compatible PoE devices.
6. Maintenance
The Axis T8134 Midspan PoE Injector requires minimal maintenance. Follow these guidelines to ensure optimal performance and longevity:
- Cleaning: Periodically clean the exterior of the device with a soft, dry cloth. Do not use liquid cleaners or aerosol sprays.
- Ventilation: Ensure that the ventilation openings are not blocked to prevent overheating.
- Cable Integrity: Regularly inspect all connected cables for any signs of damage or wear. Replace damaged cables immediately.
- Firmware Updates: While the injector itself typically does not have user-updatable firmware, ensure that connected Axis network devices have their firmware kept up-to-date for best compatibility and security.
7. Troubleshooting
If you encounter issues with your PoE Injector, refer to the following common problems and solutions:
| Problem | Possible Cause | Solution |
|---|---|---|
| No power to connected device. |
|
|
| No data connection. |
|
|
| Device intermittently loses connection. |
|
|
If the problem persists after trying these solutions, please contact Axis Communications support.
8. Specifications
| Attribute | Detail |
|---|---|
| Brand | Axis Communications |
| Model Number | 5900-334 |
| Series | FBA_5900-334 |
| Product Type | PoE Injector (Midspan) |
| Power Output | 60W |
| Hardware Interface | Ethernet |
| Data Transfer Rate | 480 Megabits Per Second |
| Color | White |
| Item Weight | 0.32 ounces (approx. 9.07 g) |
| Product Dimensions (LxWxH) | 2.4 x 5.9 x 1.5 inches (approx. 6.1 x 15 x 3.8 cm) |
| Operating Temperature | -40 °C to 65 °C |
| Compatible Devices | Desktop (and PoE-compatible network devices) |
| Date First Available | March 4, 2015 |
9. Warranty Information
Specific warranty details for the Axis Communications 5900-334 T8134 Midspan PoE Injector were not available in the provided product data. Please refer to the official Axis Communications website or contact your point of purchase for current warranty terms and conditions.
10. Support
For technical support, product inquiries, or further assistance, please visit the official Axis Communications support website or contact their customer service department. Contact information can typically be found on the manufacturer's website or on the product packaging.
No official product videos were available in the provided data for inclusion in this manual.


