1. Introduction
The Netis DL4323 is a versatile 3-in-1 device designed to provide comprehensive internet connectivity. It integrates the functions of a high-speed ADSL2+ modem, a 4-port NAT router, and a wireless N access point. This device offers a single solution for acquiring and sharing high-speed internet access across both wired and wireless networks. Supporting the latest ADSL standards, the DL4323 delivers faster internet speeds compared to traditional dial-up connections. It also includes practical features such as Port Mapping for IPTV, Ethernet WAN, SNMP, IPv6, and TR-069, enabling a robust networking experience for applications like wireless HD video streaming.
2. Package Contents
Verify that all items are present in your package. If any item is missing or damaged, please contact your retailer.
- Netis DL4323 N300Mbps Wireless ADSL2+ Modem Router Unit
- Power Adapter
- Ethernet Cable (RJ45)
- Phone Cable (RJ11)
- Quick Installation Guide / Brochure
3. Product Overview
3.1 Front Panel
The front panel of the DL4323 features LED indicators that display the operational status of the device.
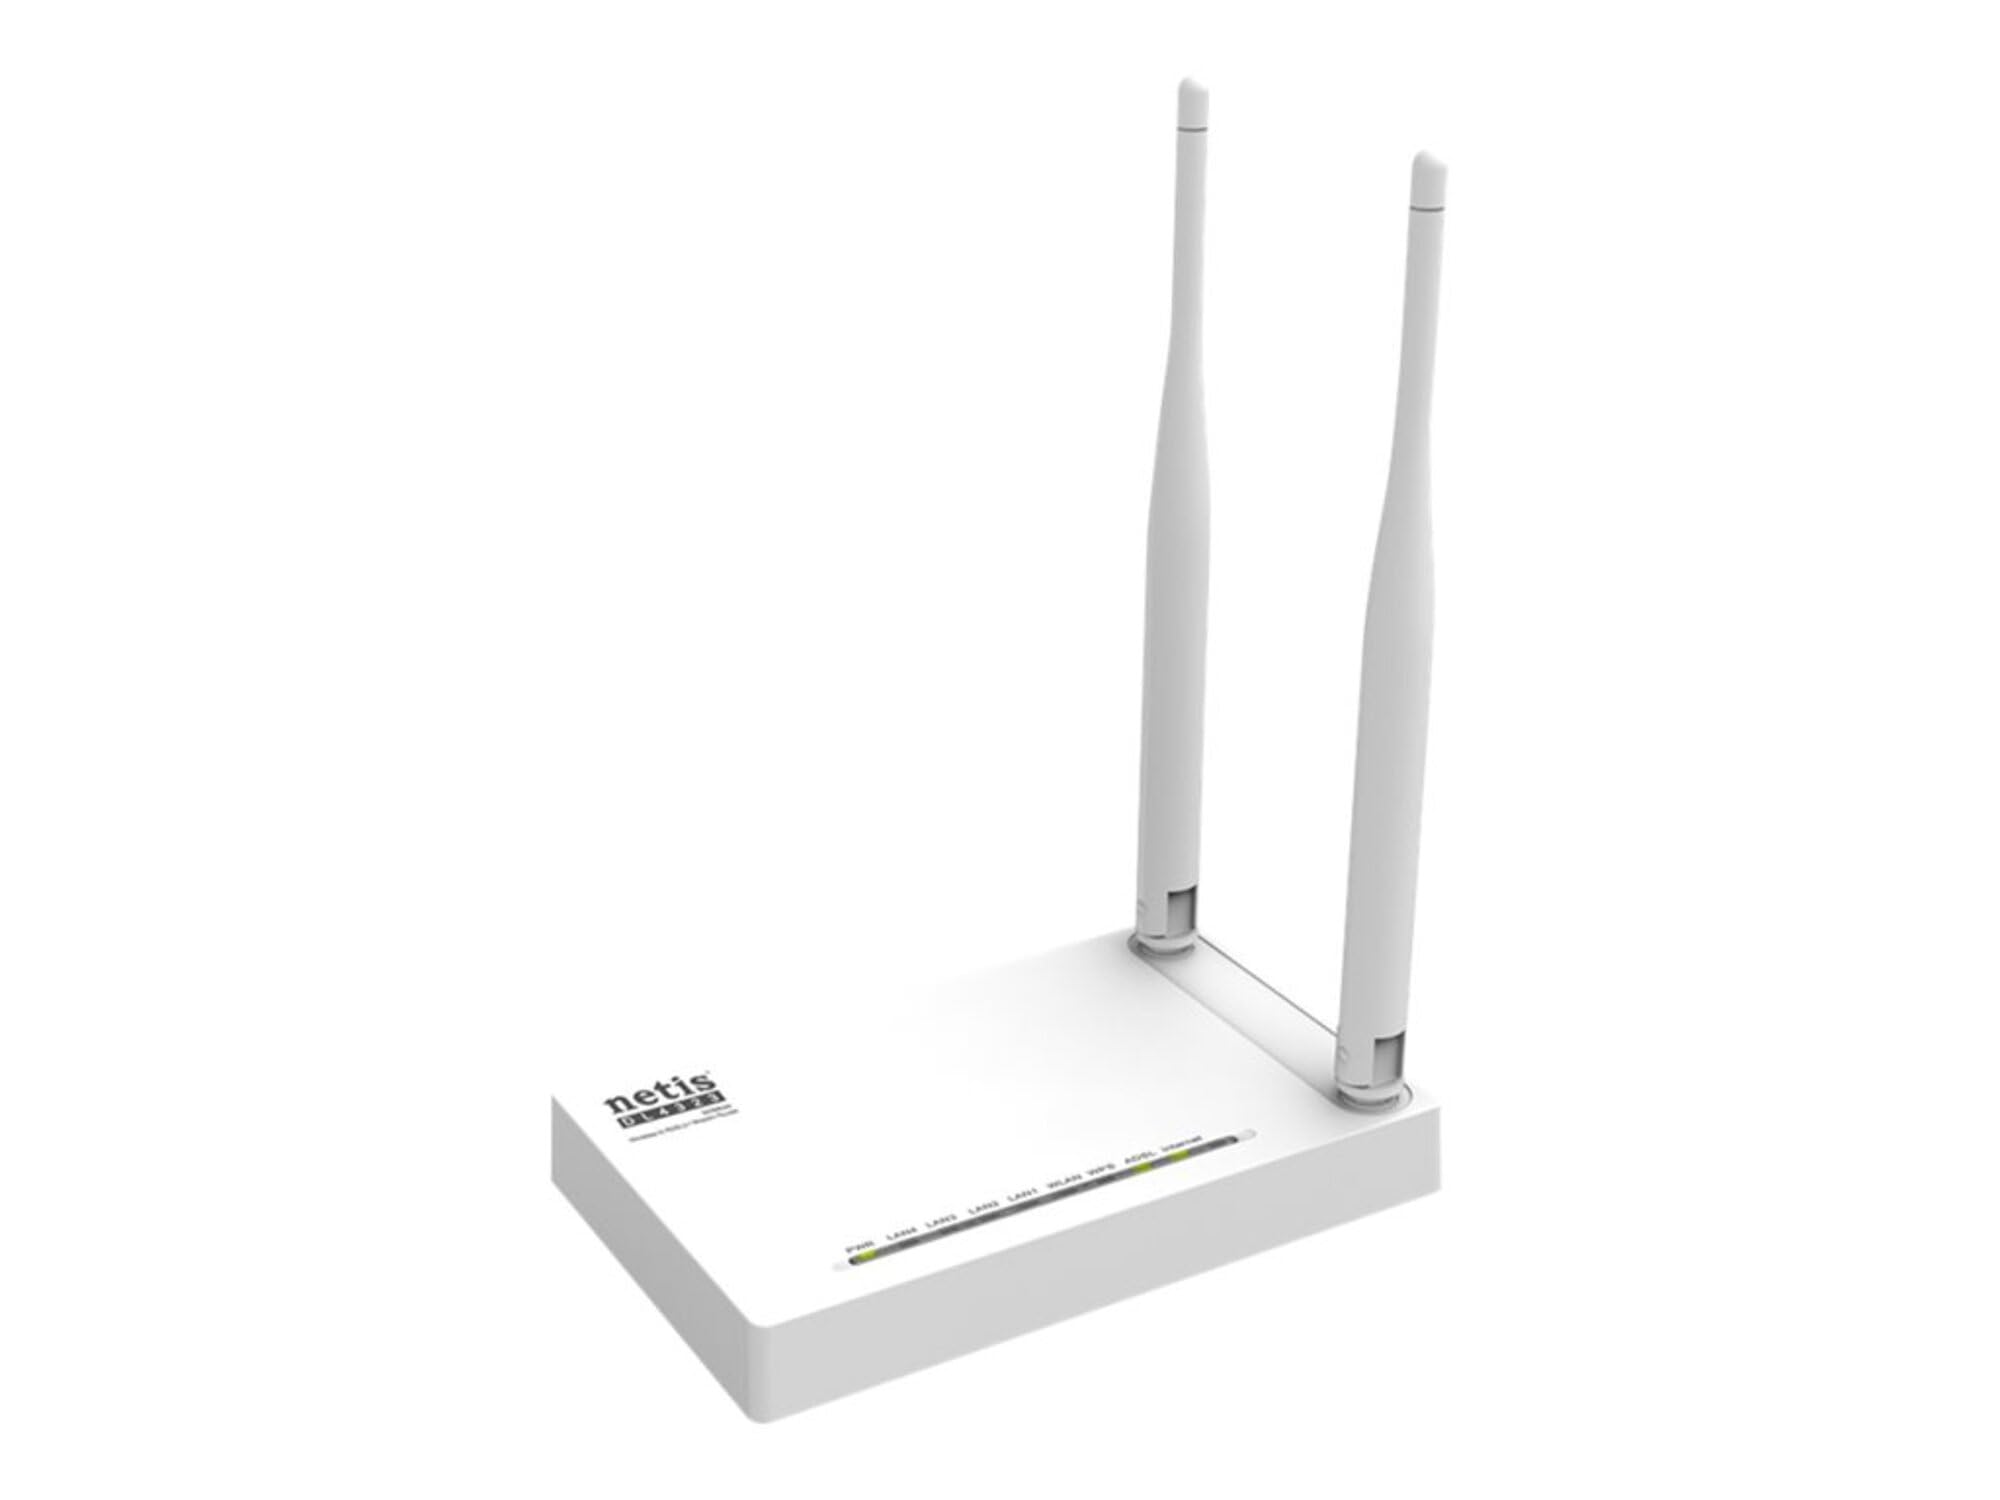
Image 3.1.1: Front view of the Netis DL4323 N300Mbps Wireless ADSL2+ Modem Router. This image shows the device's front panel, which typically includes LED indicators for Power, DSL, Internet, WLAN, and LAN ports, providing visual feedback on the device's status and connectivity.
LED Indicators:
- Power: Indicates the power status. On: Device is powered on. Off: Device is powered off.
- DSL: Indicates the ADSL connection status. On: DSL line is connected. Blinking: Synchronizing. Off: No DSL connection.
- Internet: Indicates internet access status. On: Internet is accessible. Blinking: Data activity. Off: No internet access.
- WLAN: Indicates wireless network status. On: Wireless function is enabled. Blinking: Data activity. Off: Wireless function is disabled.
- LAN (1-4): Indicates LAN port connection status. On: A device is connected to the corresponding LAN port. Blinking: Data activity. Off: No device connected.
3.2 Rear Panel
The rear panel contains all the physical ports and buttons for connecting the device to your network and power.

Image 3.2.1: Rear view of the Netis DL4323 N300Mbps Wireless ADSL2+ Modem Router. This image illustrates the back panel, showing the various ports including the DSL port, LAN ports (RJ45), Power input, and buttons such as the Power On/Off button and the WPS/Reset button.
Ports and Buttons:
- Power Port: Connect the provided power adapter here.
- Power On/Off Button: Press to turn the device on or off.
- DSL Port (RJ11): Connect to your ADSL line (phone jack) using the provided phone cable.
- LAN Ports (1-4, RJ45): Connect to your computers or other network devices using Ethernet cables.
- WPS/Reset Button:
- WPS Function: Press and hold for 1-3 seconds to activate WPS (Wi-Fi Protected Setup) for easy wireless connection.
- Reset Function: Press and hold for more than 8 seconds to restore the device to factory default settings.
4. Setup
4.1 Hardware Connection
Follow these steps to connect your DL4323 modem router:
- Connect the DSL Line: Connect one end of the phone cable (RJ11) to the DSL port on the rear panel of the DL4323 and the other end to your telephone wall jack (or ADSL splitter).
- Connect to Computer (Optional for initial setup): Connect one end of the Ethernet cable (RJ45) to a LAN port (1-4) on the DL4323 and the other end to the Ethernet port of your computer.
- Connect Power: Connect the power adapter to the Power port on the DL4323 and plug the other end into a standard electrical outlet.
- Power On: Press the Power On/Off button on the rear panel. The Power LED should light up. Wait for the DSL LED to become solid green, indicating a stable ADSL connection.

Image 4.1.1: Hardware connection diagram for the Netis DL4323. This diagram illustrates how to connect the power adapter, DSL line, and an Ethernet cable to a computer for initial setup.
4.2 Initial Configuration (Web Interface)
After connecting the hardware, you can configure the modem router via its web-based management interface.
- Ensure your computer is connected to the DL4323 via Ethernet or Wi-Fi (default Wi-Fi name and password are usually on a label on the device).
- Open a web browser (e.g., Chrome, Firefox, Edge).
- In the address bar, type the default IP address: 192.168.1.1 and press Enter.
- A login window will appear. Enter the default username and password.
- Username: admin
- Password: admin (or check the label on the device)
- Click "Login" to access the management interface.
4.3 ADSL/Internet Setup
Once logged in, use the Quick Setup Wizard or navigate to the WAN settings to configure your internet connection.
- Follow the on-screen instructions of the Quick Setup Wizard, if available.
- You will need to enter parameters provided by your Internet Service Provider (ISP), such as:
- VPI/VCI: Virtual Path Identifier / Virtual Channel Identifier (e.g., 0/35, 8/35)
- Connection Type: PPPoE, PPPoA, IPoE, Bridge, etc.
- Encapsulation: LLC or VC-MUX
- Authentication Type: PAP, CHAP (for PPPoE/PPPoA)
- ISP Username and Password: Provided by your ISP.
- Save the settings and reboot the device if prompted. The Internet LED should turn solid green once connected.
4.4 Wireless Setup
Configure your wireless network (Wi-Fi) settings for secure access.
- In the web interface, navigate to the "Wireless" or "WLAN" settings.
- SSID (Network Name): Change the default SSID to a unique name for your Wi-Fi network.
- Security Mode: Select a strong encryption method, such as WPA2-PSK.
- Password (Pre-Shared Key): Set a strong, memorable password for your wireless network.
- Save the settings. Your wireless network will now be broadcast with the new name and secured with the chosen password.
5. Operating the Device
5.1 Connecting Devices
- Wired Devices: Connect computers, gaming consoles, or other network devices to the LAN ports using Ethernet cables.
- Wireless Devices: On your wireless device (smartphone, tablet, laptop), search for available Wi-Fi networks. Select your configured SSID and enter the wireless password.
5.2 Advanced Features
The DL4323 offers several advanced features accessible through its web management interface:
- Port Forwarding: Allows external users to access services on your local network (e.g., game servers, IP cameras).
- Quality of Service (QoS): Prioritizes network traffic for specific applications or devices to ensure optimal performance.
- Parental Control: Manage internet access times and block specific websites for connected devices.
- Dynamic DNS (DDNS): Access your network remotely using a domain name even if your public IP address changes.
- Guest Network: Create a separate Wi-Fi network for guests, keeping your main network secure.
- IPv6 Support: The device supports the next generation of internet protocol.
- TR-069: Enables remote management by your ISP.
Refer to the full user manual (often available for download from the Netis website) for detailed instructions on configuring these advanced features.
6. Maintenance
6.1 Firmware Update
Periodically check the Netis official website for firmware updates. Firmware updates can improve performance, add new features, and fix bugs.
- Download the latest firmware file for your DL4323 model from the Netis support website.
- Log in to the web management interface (192.168.1.1).
- Navigate to "System Tools" or "Firmware Upgrade".
- Browse to the downloaded firmware file and initiate the upgrade process.
- Important: Do not power off the device during the firmware upgrade process. This can cause permanent damage.
6.2 Factory Reset
A factory reset will revert all settings to their default values. This is useful for troubleshooting or when reconfiguring the device.
- Using the Reset Button: With the device powered on, press and hold the WPS/Reset button on the rear panel for more than 8 seconds. Release the button when the LEDs flash. The device will reboot with factory settings.
- Using the Web Interface: Log in to the web management interface, navigate to "System Tools" > "Factory Defaults" or "Backup & Restore", and select the option to restore factory settings.
6.3 Cleaning
Keep the device clean to ensure proper ventilation and operation.
- Power off the device and unplug the power adapter before cleaning.
- Use a soft, dry cloth to wipe the exterior of the device.
- Do not use liquid cleaners or aerosol sprays.
- Ensure ventilation openings are free from dust and obstructions.
7. Troubleshooting
This section addresses common issues you might encounter with your DL4323 modem router.
7.1 No Power
- Ensure the power adapter is securely connected to the device and a working electrical outlet.
- Verify the Power On/Off button is pressed.
- Check if the power outlet is functional by plugging in another device.
7.2 No DSL Connection (DSL LED is off or blinking)
- Ensure the phone cable is correctly connected to the DSL port on the router and the telephone wall jack.
- If using an ADSL splitter, ensure it is correctly installed.
- Contact your ISP to confirm your ADSL line is active and there are no service outages.
7.3 No Internet Access (Internet LED is off)
- Verify that the DSL LED is solid green. If not, resolve the DSL connection issue first.
- Check your ADSL/Internet settings in the web interface (VPI/VCI, connection type, ISP username/password). Ensure they match the information provided by your ISP.
- Reboot the modem router and your computer.
- Contact your ISP to confirm your account status and settings.
7.4 Cannot Access Web Management Interface (192.168.1.1)
- Ensure your computer is connected to the router via Ethernet or Wi-Fi.
- Verify your computer's IP address is set to obtain automatically (DHCP).
- Try a different web browser.
- If you have changed the router's IP address, use the new IP address.
- Perform a factory reset if you have forgotten the login credentials or changed the IP address and cannot recall it.
7.5 Wireless Connection Issues
- Ensure the WLAN LED is on, indicating the wireless function is enabled.
- Verify you are selecting the correct SSID (Wi-Fi network name) and entering the correct password.
- Check the wireless settings in the web interface. Ensure the wireless radio is enabled.
- Move closer to the router to improve signal strength.
- Avoid interference from other electronic devices (e.g., cordless phones, microwaves).
8. Specifications
| Feature | Description |
|---|---|
| Model | DL4323 |
| Wireless Standards | IEEE 802.11b/g/n |
| Wireless Speed | Up to 300Mbps |
| Frequency Band | 2.4 GHz |
| ADSL Standards | ADSL, ADSL2, ADSL2+ |
| Interfaces | 1x RJ11 DSL Port, 4x 10/100Mbps RJ45 LAN Ports |
| Antennas | Dual 5dBi High Gain Antennas |
| Buttons | Power On/Off, WPS/Reset |
| Power Supply | External Power Adapter (e.g., 9V/0.6A, specific voltage/current may vary) |
| Dimensions (L x W x H) | Approximately 11 x 6 x 3 inches (279 x 152 x 76 mm) |
| Weight | Approximately 5.6 ounces (159 grams) |
| Operating System | Netis proprietary OS |
| Special Features | Access Point Mode, WPS, Port Mapping for IPTV, Ethernet WAN, SNMP, IPv6, TR-069 |
9. Warranty and Support
9.1 Product Warranty
Netis products typically come with a limited warranty. The specific terms and duration of the warranty may vary by region and retailer. Please refer to the warranty card included with your product or visit the official Netis website for detailed warranty information. Keep your purchase receipt as proof of purchase for warranty claims.
9.2 Technical Support
For technical assistance, troubleshooting, or further inquiries, please contact Netis customer support.
- Website: Visit the official Netis website for FAQs, firmware downloads, and support resources. (e.g., www.netis-systems.com/support)
- Email/Phone: Contact information for support may be available on the Netis website or in your product's documentation.
When contacting support, please have your product model (DL4323) and a detailed description of your issue ready.


