
1. Introduction
This manual provides instructions for the safe and effective use of your Aspira AirFresher. This device functions as an air ionizer and humidifier, designed to improve air quality and diffuse fragrances in your living space. It features an integrated LED lighting system for ambient effects.
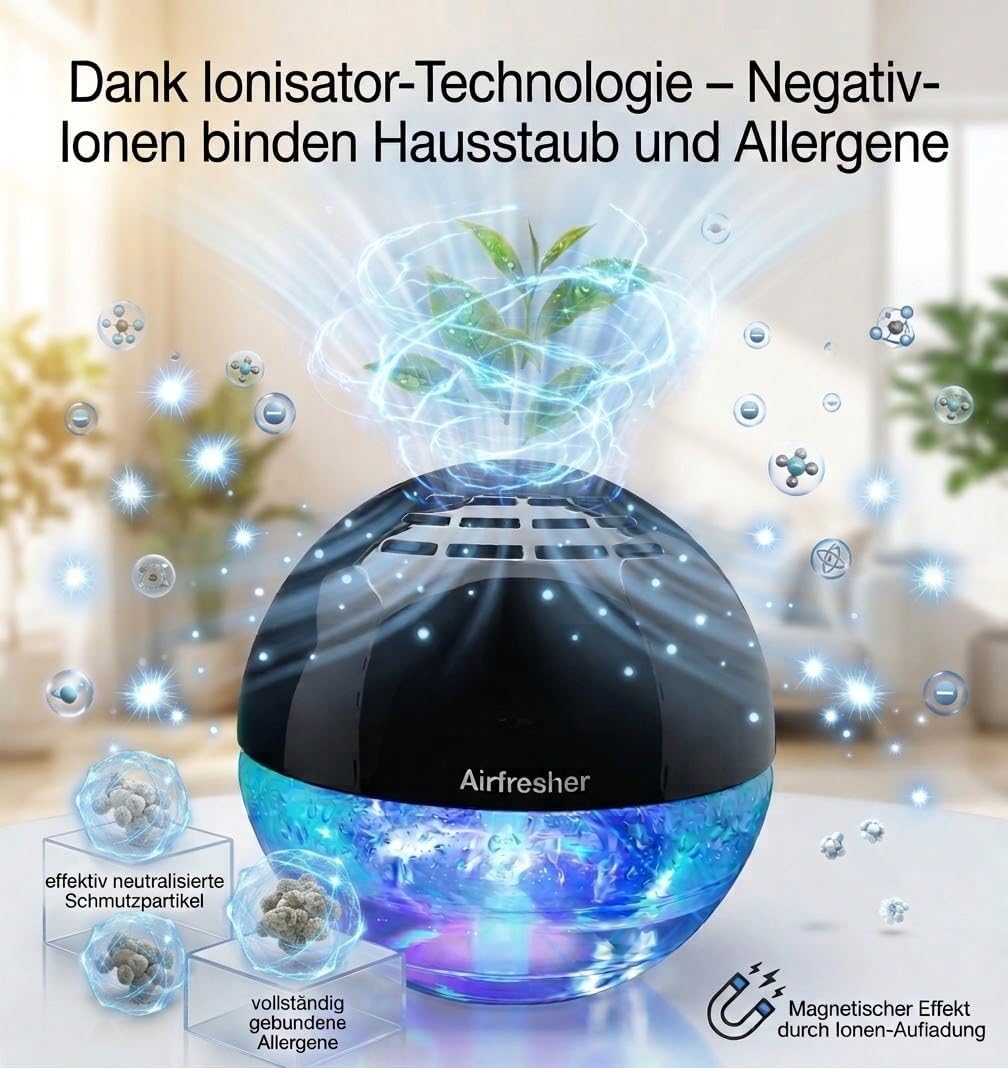
Image 1.1: The Aspira AirFresher unit alongside its packaging.
2. Safety Instructions
- Read all instructions before operating the device.
- Do not immerse the device in water or other liquids.
- Ensure the power cord is not damaged and is properly connected to a suitable power outlet.
- Keep out of reach of children and pets.
- Do not block air vents during operation.
- Use only clean tap water or distilled water.
- Unplug the device before cleaning or refilling.
- Do not use abrasive cleaners or solvents on the device.
3. Package Contents
Verify that all items are present in the package:
- Aspira AirFresher Unit
- Power Adapter
- User Manual
- Remote Control
4. Setup
- Placement: Place the AirFresher on a flat, stable surface away from direct sunlight or heat sources.
- Fill Water Tank: Carefully remove the top cover of the unit. Fill the water tank with clean tap water or distilled water up to the maximum fill line. Do not overfill.
- Add Fragrance (Optional): If desired, add a few drops of your preferred essential oil or fragrance concentrate directly into the water tank.
- Replace Cover: Securely place the top cover back onto the unit.
- Connect Power: Plug the power adapter into the unit and then into a standard electrical outlet.

Image 4.1: The AirFresher utilizing ionizer technology to bind dust and allergens.

Image 4.2: Adding essential oils to the AirFresher for a customized aroma. Essential oils are not included.
5. Operating Instructions
5.1 Power On/Off
Press the power button on the unit or the remote control to turn the device on or off. The unit will begin air purification and humidification.
5.2 Air Purification and Humidification
The AirFresher uses hydro-ionic technology for 360-degree air purification, effectively covering areas up to 40 square meters. It operates quietly to maintain a comfortable environment.
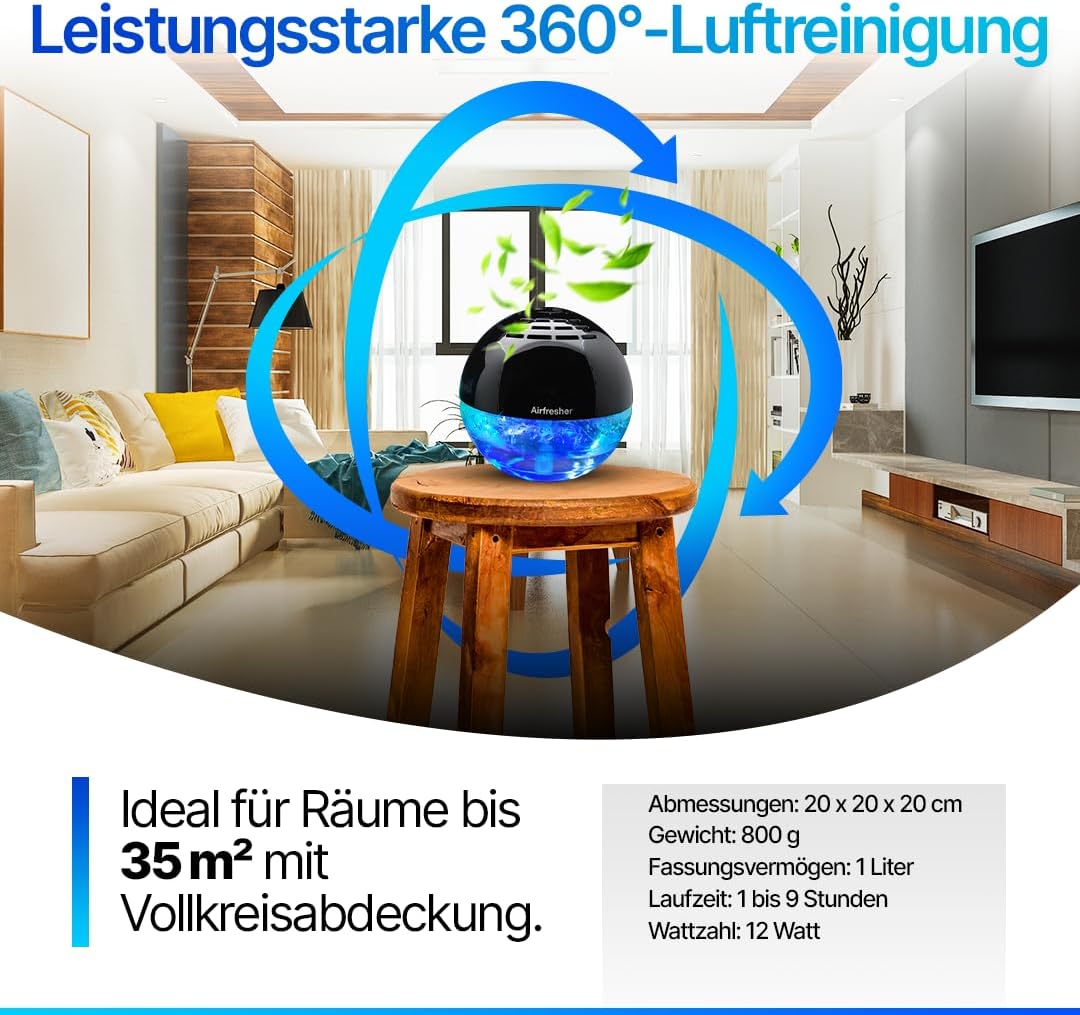
Image 5.1: The AirFresher providing 360-degree air purification in a room.
5.3 LED Lighting
The device features 14 different LED color effects. Use the dedicated button on the unit or remote control to cycle through the color options or turn the lighting off.
5.4 Operating Modes
The AirFresher offers different operating modes:
- Normal Mode: Activates a stronger water flow for thorough air purification.
- Sleep Mode: Provides ultra-quiet operation with minimal water movement, ideal for undisturbed nights.

Image 5.2: Comparison of Sleep Mode (ultra-quiet operation) and Normal Mode (stronger air purification).
5.5 Odor Control
The AirFresher effectively neutralizes pet odors, food smells, and nicotine odors, contributing to a fresher indoor environment.

Image 5.3: The AirFresher effectively managing pet odors.
6. Maintenance
Regular cleaning ensures optimal performance and longevity of your AirFresher.
- Unplug: Always unplug the device from the power outlet before cleaning.
- Empty Water Tank: Remove the top cover and empty any remaining water from the tank.
- Clean Unit: Wipe the interior and exterior surfaces of the unit with a soft, damp cloth or microfiber cloth. Do not use harsh chemicals or abrasive materials.
- Rinse Tank: Rinse the water tank thoroughly with clean water.
- Dry: Allow all parts to air dry completely before reassembling and storing or refilling.
Important: The water tank is not suitable for dishwashers.

Image 6.1: Regular cleaning with a soft cloth ensures optimal performance.
7. Troubleshooting
If you encounter issues with your Aspira AirFresher, refer to the following common problems and solutions:
- Device not turning on:
- Ensure the power adapter is securely plugged into both the unit and the wall outlet.
- Check if the power outlet is functional.
- No mist or reduced mist:
- Check if there is enough water in the tank.
- Ensure the unit is clean and free from mineral buildup, especially around the mist outlet.
- Make sure the top cover is correctly seated.
- Unusual noise:
- Ensure the unit is placed on a flat, stable surface.
- Check for any foreign objects in the water tank or around the fan.
- LED lights not working:
- Press the LED light button on the unit or remote control to cycle through options.
- Ensure the unit is powered on.
If the problem persists, please contact customer support.
8. Specifications
| Feature | Specification |
|---|---|
| Model Number | AirFresher (AS10061) |
| Dimensions (L x W x H) | 17 x 17 x 17 cm |
| Weight | 800 grams |
| Power Source | Corded Electric |
| Power Consumption | 15 Watts |
| Noise Level | 50 Decibels |
| Coverage Area | Up to 40 square meters |
| Filter Type | Electrostatic |
| Control Method | Remote Control |
| LED Effects | 14 different color settings |
| Certifications | CE Certified |

Image 8.1: Quality certification details for the Aspira Home Air Freshener/Humidifier.
9. Warranty and Support
9.1 Warranty Information
The Aspira AirFresher comes with a 3-year manufacturer's warranty, covering defects in materials and workmanship under normal use. Please retain your proof of purchase for warranty claims.
9.2 Customer Support
For technical assistance, troubleshooting not covered in this manual, or warranty inquiries, please contact Aspira customer support. Contact details can typically be found on the product packaging or the official Aspira website.