
Product Overview
The Zenna Home Adjustable Curtain Tension Rod provides a secure and tool-free solution for hanging curtains. Featuring a "Twist and Shout" mechanism, this rod is designed for easy installation without drilling, making it suitable for various window types and temporary setups. It extends from 48 to 84 inches and supports up to 20 lbs.

Image: Zenna Home Adjustable Curtain Tension Rod with decorative finials.
Safety Information
- Ensure the rod is securely installed before hanging curtains.
- Do not exceed the maximum recommended load of 20 lbs.
- Keep small parts away from children to prevent choking hazards.
- Avoid placing the rod in areas where it may be easily dislodged.
Package Contents
- 1 x Adjustable Tension Rod
- 2 x Decorative Round Finials (pre-attached)
- Installation Instructions (this manual)
Installation Guide
Follow these steps for a secure and easy installation of your Zenna Home Adjustable Curtain Tension Rod.
Step 1: Measure Your Window Frame
Measure the inside width of your window frame. This measurement will determine the appropriate size range for your tension rod. Ensure the rod you have purchased matches this range (e.g., 48 to 84 inches).

Image: Measure the inside of your window frame to determine the correct rod size.
Step 2: Confirm Clearance
Confirm that you have at least 5 inches (13 cm) of flat clearance from the inside of your window frame outwards on both sides. This space is necessary for the finials and the tension mechanism to function correctly and provide a stable hold.
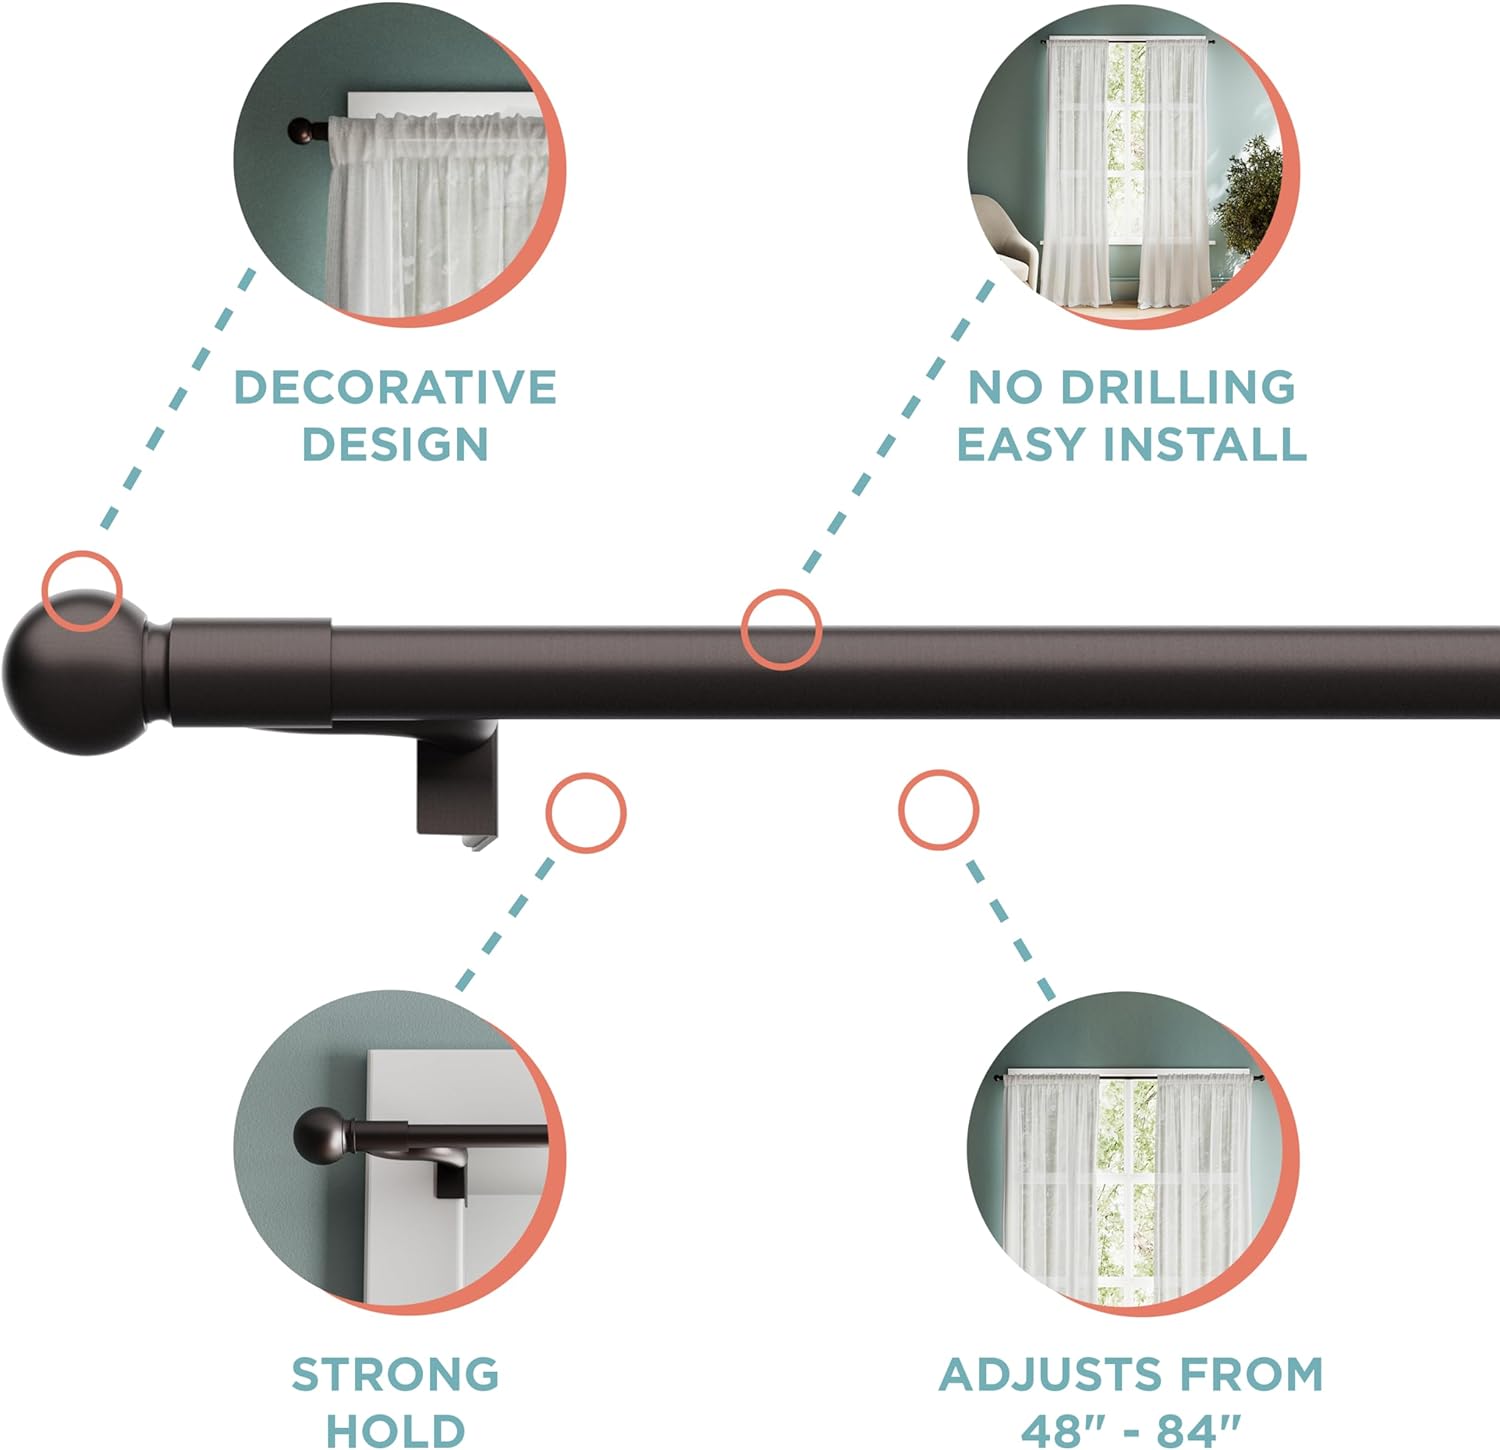
Image: Ensure 5 inches of clearance on each side of the window frame.
Step 3: Verify Flat Surface
The inside surface of your window frame where the rod will rest must be flat to ensure proper tension and stability. Uneven or curved surfaces may prevent the rod from holding securely.

Image: The rod works best on molding with a flat interior surface.
Step 4: Install the Rod using "Twist and Shout" Technology
- Hold the rod with one hand on each end.
- Extend the rod by pulling the two sections apart until it is slightly wider than your window opening.
- Position the rod inside the window frame.
- Twist one of the finials (typically the larger, decorative end) in the direction indicated for "LOCK" (usually clockwise). This engages the internal tension mechanism.
- Continue twisting until the rod is firmly secured between the window frames. Do not overtighten, as this can damage the rod or the window frame.
- Gently tug on the rod to ensure it is stable and will not slip.
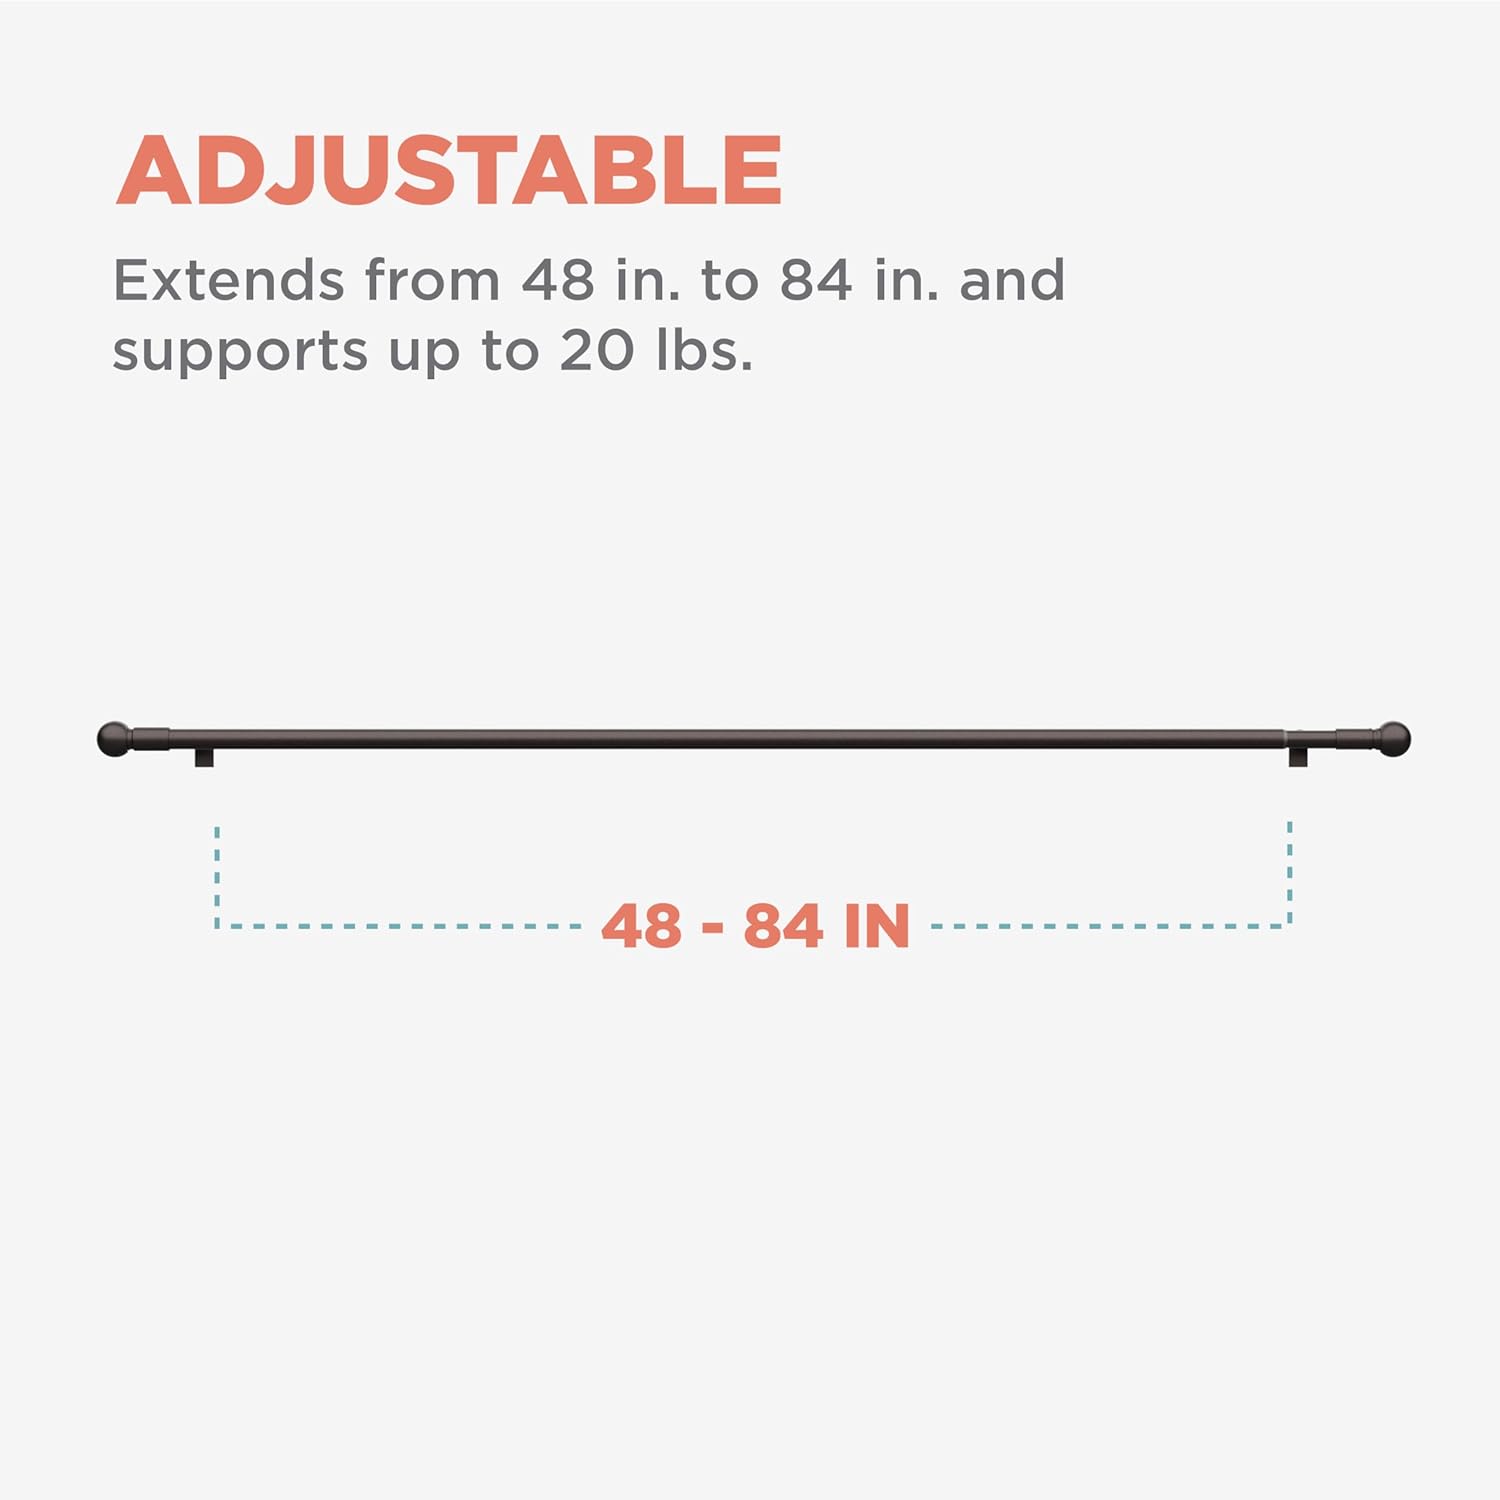
Image: Key features of the tension rod, including its adjustable length and strong hold.

Image: The rod extends from 48 to 84 inches and supports up to 20 lbs.
Watch the Installation Video:
Video: Official "Twist & Shout Window Tension Rod - Interactive Instructions" from Maytex (Zenna Home's manufacturer). This video demonstrates the installation process using 3D animated instructions.
For detailed 3D interactive instructions, scan the QR code:
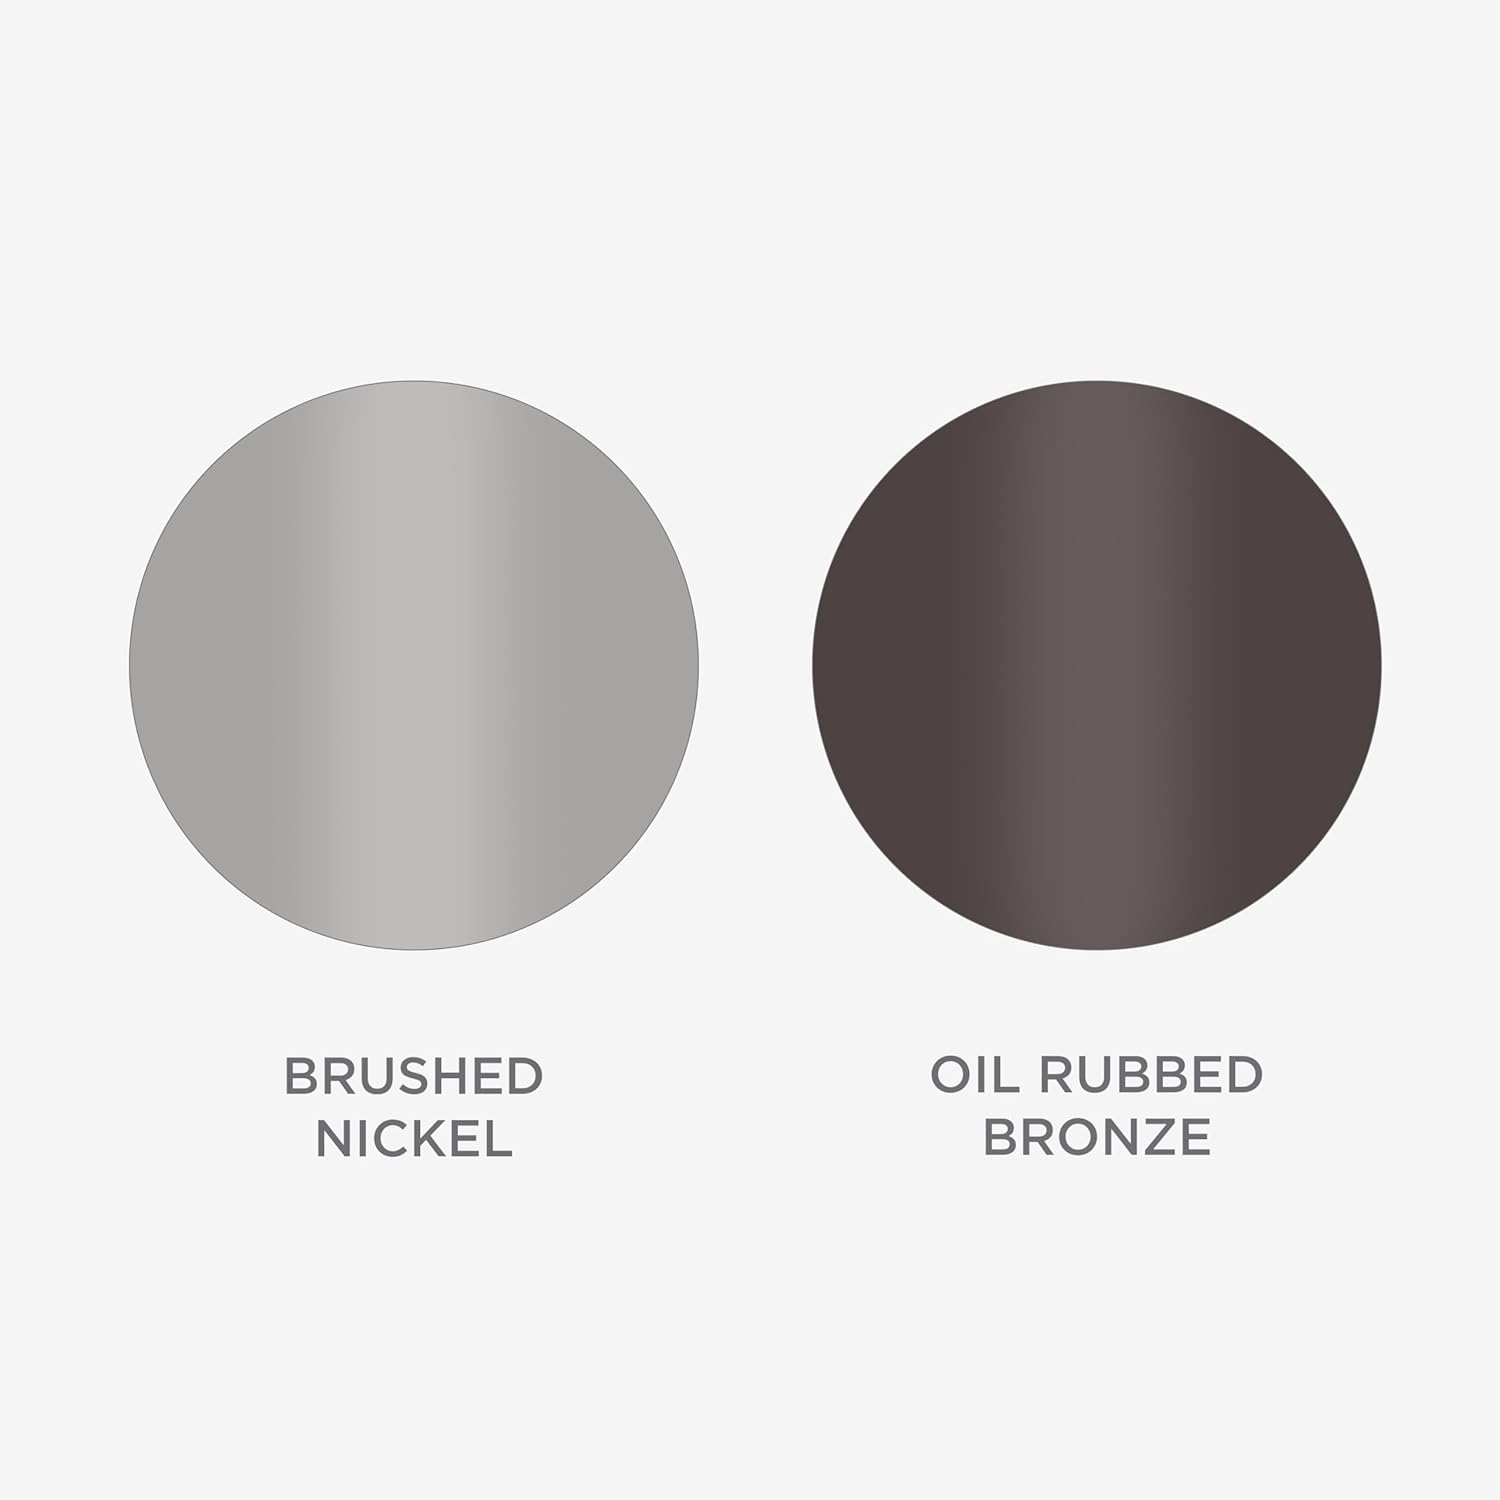
Image: Scan this QR code to download the BILT app for interactive 3D installation guides. Download BILT App
Operating Instructions
Once installed, the Zenna Home Adjustable Curtain Tension Rod requires minimal operation.
- Adjusting Length: To adjust the length after initial installation, gently twist the finial in the "UNLOCK" direction (counter-clockwise) to release tension. Adjust the rod to the desired length, then twist back to "LOCK" (clockwise) to secure it.
- Removing the Rod: To remove the rod, twist one of the finials in the "UNLOCK" direction until the tension is released, then carefully pull the rod down.
Maintenance
- Cleaning: Wipe the rod with a soft, damp cloth. Avoid abrasive cleaners or harsh chemicals, as these may damage the finish.
- Inspection: Periodically check the rod for secure tension. If it feels loose, re-tighten it by twisting the finial in the "LOCK" direction.
- The rod is designed to be rust-resistant, suitable for various indoor environments.
Troubleshooting
| Problem | Possible Cause | Solution |
|---|---|---|
| Rod keeps falling down or is not secure. | Insufficient tension; uneven window frame surface; rod extended too far; weight exceeding limit. | Ensure the rod is twisted firmly to engage tension. Verify the window frame surface is flat. Do not extend the rod beyond its recommended range. Reduce the weight of curtains if exceeding 20 lbs. |
| Difficulty twisting the finial. | Mechanism is stuck or overtightened. | Apply gentle, firm pressure. If overtightened, try twisting in the opposite direction with more force. Avoid excessive force to prevent damage. |
| Rod sags in the middle. | Excessive weight; rod extended to maximum length with heavy curtains. | Ensure total curtain weight does not exceed 20 lbs. For very wide windows and heavy curtains, consider using a center support bracket (not included) or a different type of curtain rod. |
Specifications
| Brand: | Zenna Home |
| Model Number: | 6099 |
| Color: | Oil Rubbed Bronze |
| Product Dimensions: | Adjustable from 48 to 84 inches (Length) x 2 inches (Width) |
| Material: | Resin |
| Mounting Type: | Tension Mounted |
| Item Weight: | 2.25 Pounds |
| Maximum Recommended Load: | 20 Pounds |
| Assembly Required: | No |
| Number of Pieces: | 1 (rod with pre-attached finials) |
Warranty and Support
For warranty information or customer support, please refer to the manufacturer's official website or contact their customer service directly. Contact details are typically provided on the product packaging or the brand's official online presence.
Manufacturer: Maytex
Brand: Zenna Home

