Introduction
This manual provides detailed instructions for the installation, operation, and maintenance of your DS18 EXL Series EXL-A3K1 Monoblock Class D Digital Amplifier. Please read this manual thoroughly before attempting installation or operation to ensure proper use and to prevent damage to the unit or your vehicle's electrical system.
The DS18 EXL-A3K1 is a high-performance 1-channel monoblock amplifier designed to deliver powerful and clear audio output for your car audio system.
Safety Information
Always observe the following safety precautions during installation and operation:
- Disconnect the vehicle's negative battery terminal before starting any installation.
- Ensure all wiring is properly routed and secured to prevent pinching or damage.
- Use appropriate gauge wiring for power and ground connections as specified.
- Do not mount the amplifier in areas exposed to direct sunlight, excessive heat, moisture, or dust.
- Never operate the amplifier with damaged wiring.
- Seek professional assistance if you are unsure about any part of the installation process.
Package Contents
Please check the contents of the package to ensure all items are present:
- DS18 EXL-A3K1 Monoblock Amplifier
- Mounting Hardware (screws)
- User Manual (this document)
Setup and Installation
Proper installation is crucial for optimal performance and longevity of your amplifier. Follow these steps carefully:
Mounting Location
Choose a mounting location that is dry, well-ventilated, and away from direct heat sources. Common locations include under a seat, in the trunk, or behind a panel. Ensure there is sufficient airflow around the amplifier for cooling.
Wiring Connections
Refer to the image below for a visual representation of the amplifier's layout and connection points. Always use high-quality wiring.
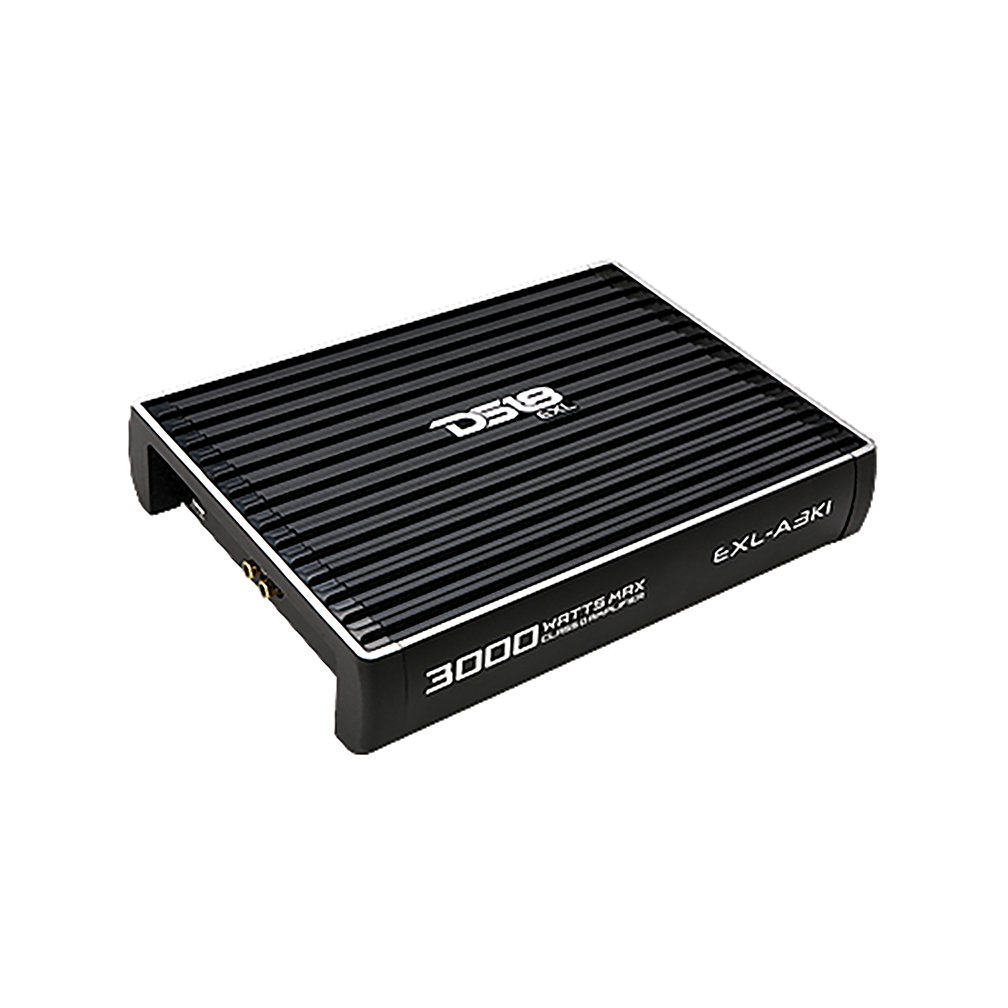
Image Description: A top-down view of the DS18 EXL-A3K1 Monoblock Class D Digital Amplifier. The amplifier is black with a ribbed heat sink design on top. The DS18 logo and "EXL" are visible on the top surface. The model number "EXL-A3K1" is printed on the right side, and "3000 WATTS MAX" is printed on the left side. The overall shape is rectangular with slightly flared ends, designed for efficient heat dissipation.
- Power Connection (+12V): Connect a heavy-gauge power cable (e.g., 4 AWG or larger, depending on power requirements) directly from the positive terminal of your vehicle's battery to the +12V terminal on the amplifier. Install an in-line fuse holder within 18 inches (45 cm) of the battery.
- Ground Connection (GND): Connect a heavy-gauge ground cable (same gauge as power cable) from the GND terminal on the amplifier to a clean, unpainted metal surface of the vehicle's chassis. Ensure a good electrical connection by scraping away any paint or rust.
- Remote Turn-On (REM): Connect a remote turn-on wire (typically 18 AWG) from your head unit's remote output to the REM terminal on the amplifier. This wire signals the amplifier to turn on when the head unit is powered.
- RCA Input: Connect RCA cables from your head unit's pre-amp output to the RCA input jacks on the amplifier.
- Speaker Output: Connect your subwoofer(s) to the speaker output terminals on the amplifier. Ensure correct polarity (+ to + and - to -) for optimal sound. This is a monoblock amplifier, designed for a single channel output.
Initial Settings
- Gain Control: Start with the gain control set to minimum. Gradually increase it until the desired volume is achieved without distortion. This is not a volume control; it matches the amplifier's input sensitivity to the head unit's output.
- Low Pass Filter (LPF): Adjust the LPF to filter out high frequencies, typically setting it between 50Hz and 250Hz for subwoofers.
- Bass Boost: Use the bass boost sparingly and carefully to avoid distortion and potential damage to speakers. Start at minimum.
Operating the Amplifier
Once properly installed, the amplifier will turn on automatically when your vehicle's head unit is powered on, provided the remote wire is connected correctly. A power indicator light (usually blue or green) will illuminate on the amplifier.
- Ensure your head unit's volume is at a low level before turning on the system.
- Gradually increase the volume and adjust the amplifier's gain control for optimal sound without distortion.
- If the protection indicator light (usually red) illuminates, the amplifier has detected a fault (e.g., short circuit, overheating, low voltage) and has entered protection mode. Turn off the system immediately and troubleshoot the issue.
Maintenance
The DS18 EXL-A3K1 amplifier requires minimal maintenance. Follow these guidelines to ensure its longevity:
- Keep the amplifier clean and free of dust. Use a soft, dry cloth to wipe down the exterior.
- Ensure proper ventilation around the amplifier. Do not block the heat sink fins.
- Periodically check all wiring connections to ensure they are secure and free from corrosion.
- Avoid exposing the amplifier to extreme temperatures or moisture.
Troubleshooting
If you experience issues with your amplifier, consult the following table before seeking professional service:
| Problem | Possible Cause | Solution |
|---|---|---|
| No Power / Amplifier does not turn on |
|
|
| No Sound Output |
|
|
| Distorted Sound |
|
|
| Amplifier Overheating / Protection Mode |
|
|
Specifications
| Feature | Value |
|---|---|
| Model | EXL-A3K1 |
| Brand | DS18 |
| Number of Channels | 1 (Monoblock) |
| Output Power | 3000 Watts Max |
| Amplifier Class | Class D Digital |
| Item Dimensions (L x W x H) | 24.8 x 21.3 x 5.3 Centimeters |
| Voltage | 8 Volts (Operating Voltage Range) |
| Mounting Type | Freestanding |
| Item Weight | 3.18 kg (3 kg 180 g) |
| UPC | 663593055842 |
Warranty and Support
DS18 products are designed and manufactured to the highest quality standards. This product is covered by a limited warranty against defects in materials and workmanship. For specific warranty terms and conditions, please refer to the warranty card included with your product or visit the official DS18 website.
For technical support, troubleshooting assistance, or warranty claims, please contact DS18 customer service through their official channels. Keep your purchase receipt as proof of purchase.


