Introduction
The KMC e9 EPT Bicycle Chain is designed for 9-speed e-bikes, featuring Eco Proteq treatment for enhanced rust resistance. This manual provides essential information for the proper installation, operation, and maintenance of your chain to ensure optimal performance and longevity.
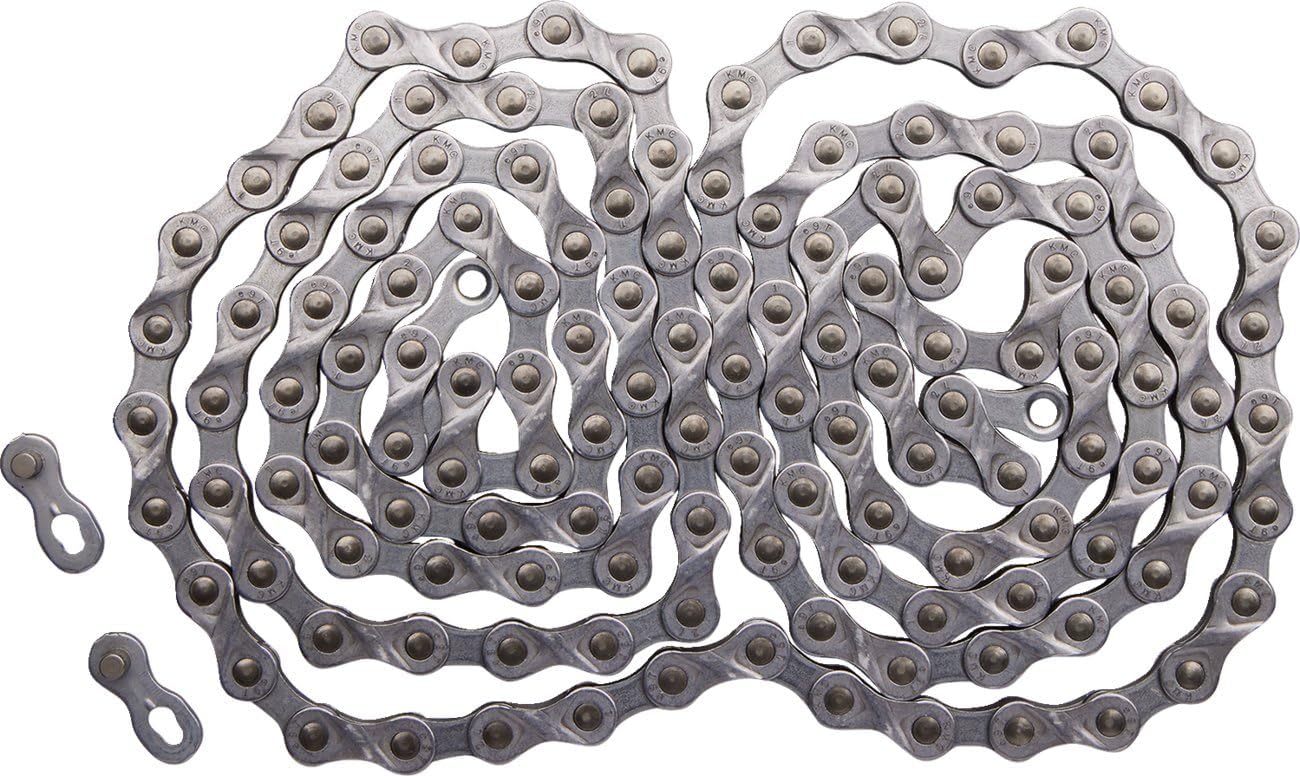
Image: KMC e9 EPT Bicycle Chain, silver, 136 links, coiled with a quick link shown separately.
Specifications
| Brand | KMC |
| Model Name | e9-EPT |
| Chain Size | 1/2" x 11/128" x 136L |
| Compatibility | Shimano, Campagnolo, and SRAM 9-speed systems |
| Material | Alloy Steel |
| Special Features | Eco Proteq Technology (enhanced rust resistance), Special design for mid-motor E-bikes |
| Recommended Uses | eBike riding, rugged terrain, 9-speed gear systems |
| Load Capacity | 330-440 pounds |
Installation Instructions
Proper installation of your KMC e9 EPT chain is crucial for performance and safety. This chain is compatible with Shimano, Campagnolo, and SRAM 9-speed systems and is specifically designed for mid-motor e-bikes.
- Remove Old Chain: If replacing an existing chain, use a chain tool to carefully remove the old chain.
- Determine Correct Length: Compare the new KMC e9 EPT chain with your old chain to determine the correct length. If the new chain is too long, use a chain tool to remove excess links. Ensure the chain is long enough to wrap around the largest chainring and largest cog without stretching the derailleur excessively.
- Route the New Chain: Carefully thread the new chain through the front and rear derailleurs, ensuring it passes correctly over all guide pulleys and through the chainrings and cogs.
- Connect the Chain: Use the provided quick link (missing link) to connect the two ends of the chain. Ensure the quick link is properly seated and locked. Some quick links are designed for single use only.
- Check for Proper Engagement: After installation, manually rotate the pedals to ensure the chain moves smoothly through all gears without binding or skipping.
Video: Bicycle Chain Installation
Video Description: This video demonstrates the process of installing a bicycle chain, including removing the old chain, determining the correct length, routing the new chain through the derailleur, and connecting it with a quick link. It highlights the use of a chain tool and quick link pliers for efficient installation.
Operating Your Bicycle Chain
The KMC e9 EPT chain is engineered for smooth and quiet operation on 9-speed e-bikes. Its robust construction is designed to handle the increased torque from mid-motor systems.
- Smooth Shifting: Ensure your derailleur is properly adjusted for seamless gear changes across your 9-speed cassette.
- Avoid Cross-Chaining: To prolong chain life and maintain optimal performance, avoid extreme gear combinations (e.g., largest chainring with largest cog, or smallest chainring with smallest cog).
- Listen for Noise: Unusual noises like squeaking or grinding can indicate a need for lubrication or cleaning.
Video: BUCKLOS Bike Chain (General Product Overview)
Video Description: This video provides a general overview of a BUCKLOS bike chain, showcasing its appearance and smooth operation on a bicycle. It demonstrates the chain's movement through the gears during a ride.
Maintenance
Regular maintenance is essential for extending the life of your KMC e9 EPT chain and ensuring consistent performance. The Eco Proteq Technology provides excellent rust resistance, but proper care is still necessary.
- Cleaning: Clean your chain regularly, especially after riding in wet or dirty conditions. Use a dedicated chain cleaner and brush to remove grime and old lubricant.
- Lubrication: After cleaning and drying, apply a high-quality bicycle chain lubricant. For dry conditions, use a dry lube; for wet conditions, use a wet lube. Apply lubricant to each roller, then wipe off any excess to prevent dirt accumulation.
- Chain Wear Check: Periodically check your chain for wear using a chain wear indicator tool. Replace the chain when it shows significant wear to prevent premature wear on your cassette and chainrings.
- Inspection: Regularly inspect the chain for any bent links, cracks, or signs of damage. Replace the chain immediately if any significant damage is found.
Troubleshooting Common Issues
- Chain Skipping:
- Cause: Worn chain, worn cassette/chainrings, or improperly adjusted derailleur.
- Solution: Check chain wear and replace if necessary. Inspect cassette and chainrings for wear. Adjust derailleur indexing.
- Excessive Noise (Squeaking/Grinding):
- Cause: Lack of lubrication, dirty chain, or misaligned components.
- Solution: Clean and lubricate the chain. Ensure all drivetrain components are properly aligned.
- Chain Breaking:
- Cause: Extreme wear, improper installation of quick link, or excessive force.
- Solution: Replace the chain. Ensure quick link is correctly installed and locked. Avoid shifting under heavy load.
Warranty and Support
Information regarding specific warranty terms and customer support for the KMC e9 EPT Bicycle Chain was not provided in the product details. Please refer to the manufacturer's official website or contact your retailer for detailed warranty information and support options.


