
1. Introduction
The BRESSER Galaxia 114/900 EQ-Sky Newtonian Telescope is designed for beginners interested in astronomical observation. With a 114mm mirror diameter and a 900mm focal length, this telescope provides sufficient light-gathering capability for viewing the Moon, planets, and brighter deep-sky objects. The included equatorial mount (EQ-Sky) allows for precise tracking of celestial bodies as they move across the night sky. This manual provides essential information for the assembly, operation, and maintenance of your telescope.
2. Safety Information
WARNING: NEVER look directly at the sun through your telescope or its finder scope without a professionally manufactured solar filter properly installed over the front of the telescope. Permanent and irreversible eye damage, including blindness, can result. Always use the provided solar filter for solar observation.
Ensure all components are securely fastened during assembly and operation to prevent accidental damage or injury. Keep the telescope away from moisture and extreme temperatures.
3. Package Contents
Before beginning assembly, verify that all parts listed below are present in your package:
- Optical Tube Assembly (OTA)
- Equatorial Mount EQ-Sky with mounting rings and counterweight
- Aluminium Tripod with accessory tray and eyepiece holder
- LED Viewfinder
- Eyepieces (31.7mm / 1.25"): K-4mm, K-20mm
- 3x Barlow Lens
- Smartphone Camera Adapter
- Astronomy Software (web download)
- Telescope Brochure (German, web download)
- Moon Map (web download)
- Instruction Manual (this document)

Image: Key accessories including eyepieces, Barlow lens, LED viewfinder, and solar filter.
4. Setup and Assembly
Follow these steps to assemble your BRESSER Galaxia 114/900 EQ-Sky telescope:
- Tripod Assembly: Extend the legs of the aluminium tripod and secure them. Attach the accessory tray to the center brace for added stability and storage.
- Mounting the Equatorial Head: Place the EQ-Sky equatorial mount head onto the tripod. Secure it firmly using the locking screw underneath the tripod head.
- Attaching the Optical Tube: Open the mounting rings on the equatorial mount. Carefully place the Optical Tube Assembly (OTA) into the rings and close them securely. Ensure the telescope is balanced.
- Counterweight Installation: Slide the counterweight onto the counterweight shaft and secure it. Adjust its position to balance the telescope, preventing strain on the mount and allowing for smoother movement.
- LED Viewfinder Attachment: Mount the LED viewfinder onto its designated bracket on the telescope tube. This will be used for initial targeting of celestial objects.
- Eyepiece Insertion: Insert the desired eyepiece (e.g., K-20mm for wider views) into the focuser. Secure it with the thumbscrew.
- Smartphone Camera Adapter: To use the smartphone adapter, attach it to an eyepiece. Then, secure your smartphone onto the adapter, aligning its camera with the eyepiece lens.
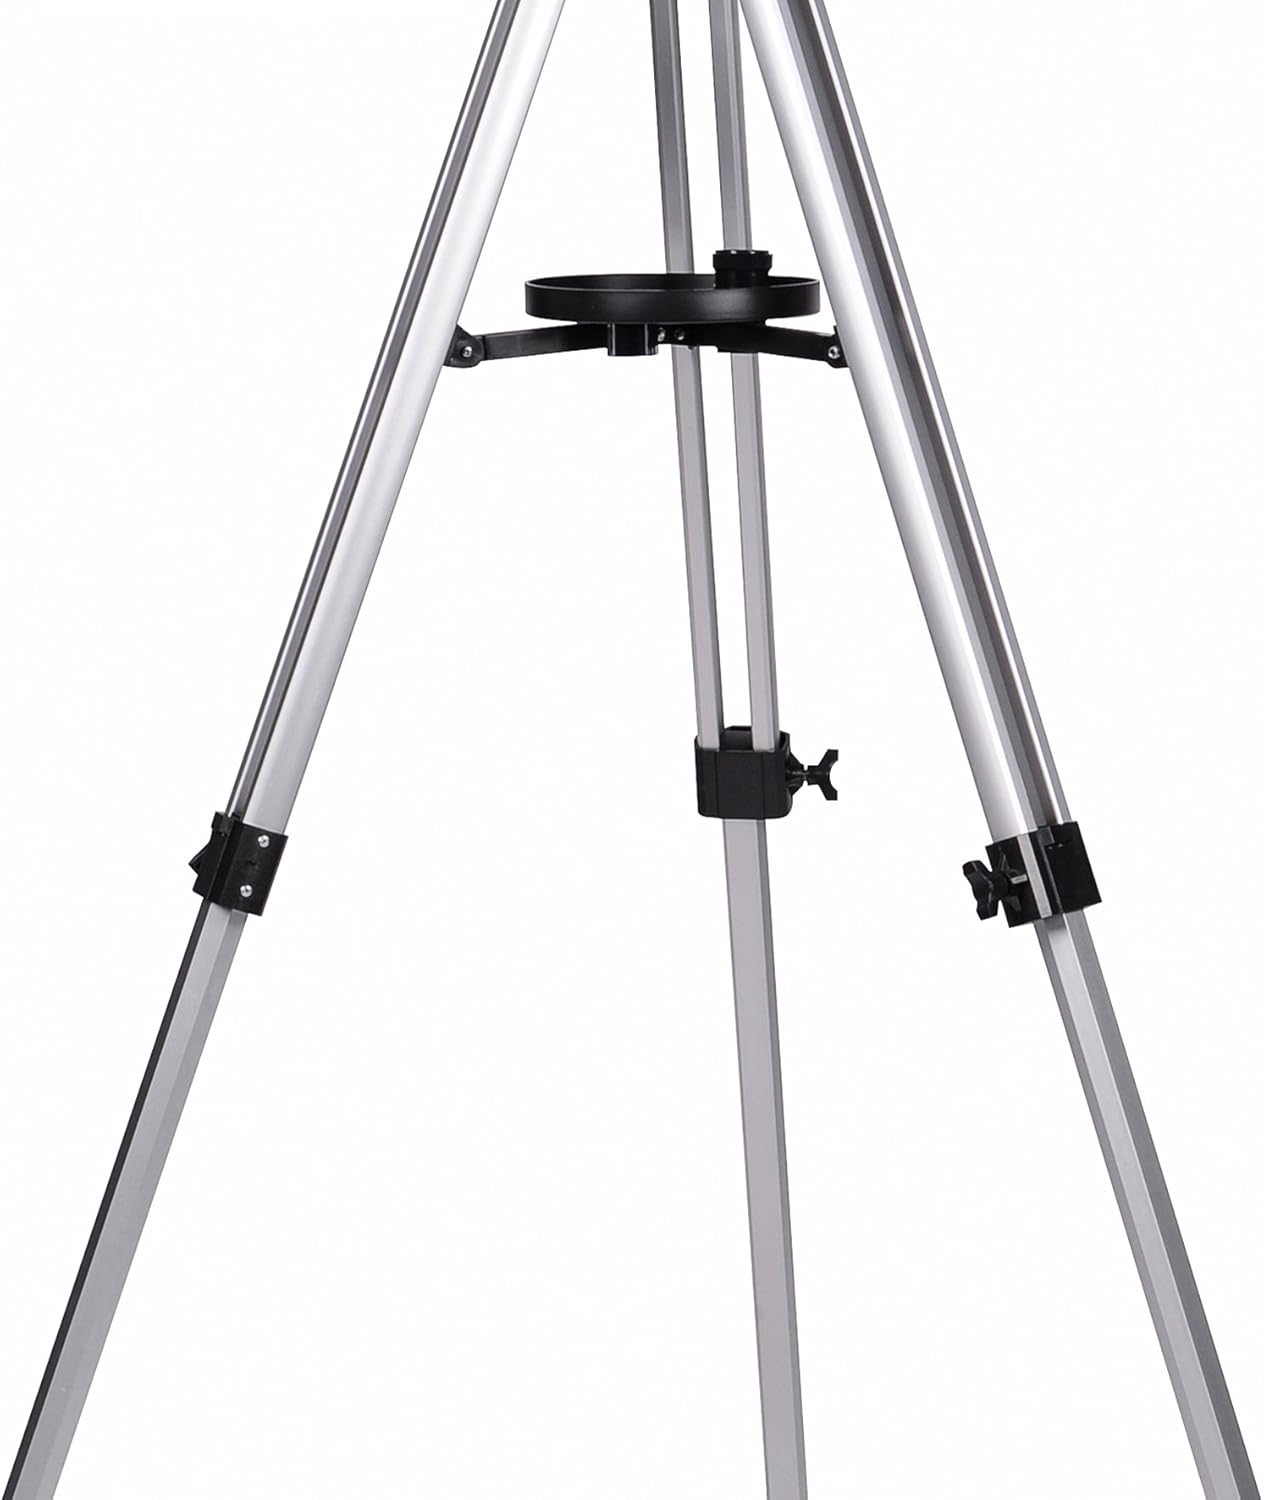
Image: The sturdy aluminum tripod base with the accessory tray in place.

Image: The LED Viewfinder, used for quick targeting of celestial objects.

Image: Smartphone camera adapter attached to the telescope, ready for astrophotography.
5. Operating the Telescope
5.1. Aligning the LED Viewfinder
The LED viewfinder projects a red dot onto a small window, helping you point the telescope. To align it, point the main telescope at a distant, stationary object during daylight hours. Look through the LED viewfinder and adjust its alignment screws until the red dot is centered on the same object you see in the main telescope's eyepiece.
5.2. Observing Celestial Objects
- Targeting: Use the LED viewfinder to locate your desired celestial object. Once centered in the viewfinder, it should be visible in the main telescope's eyepiece.
- Focusing: Use the focuser knobs to achieve a sharp image. Start with the K-20mm eyepiece for a wider field of view, then switch to the K-4mm eyepiece for higher magnification if needed.
- Using the Barlow Lens: The 3x Barlow lens triples the magnification of any eyepiece. Insert the Barlow lens into the focuser first, then insert an eyepiece into the Barlow lens. Note that higher magnifications can result in dimmer and less stable images.
- Tracking with the Equatorial Mount: Once an object is in view, the equatorial mount allows you to track its movement across the sky by slowly turning the Right Ascension (RA) slow-motion control knob. This compensates for Earth's rotation, keeping the object centered in your eyepiece.
5.3. Astrophotography with Smartphone Adapter
With the smartphone adapter, you can capture images and videos of celestial objects. Ensure your smartphone camera is aligned with the eyepiece. For best results, use a remote shutter release or a timer to avoid vibrations when pressing the shutter button.

Image: A smartphone capturing an image of the moon using the telescope adapter.

Image: Example of a lunar observation through the telescope.
5.4. Solar Observation
IMPORTANT: Only observe the sun using the provided solar filter. Attach the solar filter securely to the front of the telescope's objective lens before pointing it at the sun. Never use the solar filter on the eyepiece end.

Image: A smartphone capturing an image of the sun using the telescope adapter and solar filter.

Image: Examples of solar observations, including sunspots and transits.
6. Maintenance
- Cleaning Optics: Use a soft, lint-free cloth specifically designed for optical surfaces. Gently wipe away dust. For stubborn smudges, use a specialized optical cleaning solution sparingly. Avoid touching optical surfaces with bare hands.
- Cleaning the Telescope Body: Wipe the exterior of the telescope tube and mount with a soft, damp cloth. Avoid abrasive cleaners.
- Storage: Store the telescope in a dry, dust-free environment. If possible, use the original packaging or a dedicated telescope case to protect it from impacts and environmental elements.
- Regular Checks: Periodically check all screws and fasteners to ensure they are tight, especially on the mount and tripod, to maintain stability.
7. Troubleshooting
- Image is blurry: Adjust the focuser knobs slowly until the image is sharp. Ensure the eyepiece is fully inserted and secured. Atmospheric conditions can also cause blurring.
- Cannot find objects: Ensure the LED viewfinder is properly aligned with the main telescope. Start with the lowest magnification eyepiece (K-20mm) for a wider field of view.
- Image is dim or dark: This is common with very high magnifications (e.g., using the 4mm eyepiece with the Barlow lens). Try a lower magnification eyepiece. Light pollution can also reduce visibility.
- Telescope is shaky: Ensure the tripod legs are fully extended and locked, and all mount fasteners are tight. Observe from a stable surface. High magnifications will amplify any vibrations. Some users have noted that the tripod can be less stable when fully extended; try observing with the tripod at a lower height if possible.
- Difficulty with 4mm Eyepiece or Barlow Lens: The K-4mm eyepiece and 3x Barlow lens provide very high magnification. This can make images appear dim, blurry, or unstable, especially under less-than-ideal viewing conditions or if the telescope is not perfectly collimated. These accessories are best used for bright objects like the Moon or planets on nights with excellent atmospheric stability.
8. Specifications
| Feature | Detail |
|---|---|
| Brand | BRESSER |
| Model Name | Galaxia 114/900 |
| Optical Design | Newtonian Reflector |
| Objective Lens Diameter | 11.4 cm (114mm) |
| Focal Length | 900 mm |
| Focal Ratio | f/7.9 |
| Telescope Mount | Equatorial Mount (EQ-Sky) |
| Optical Tube Length | 90 cm |
| Product Dimensions (D x W x H) | 5.12" x 35.43" x 5.12" |
| Item Weight | 14 kg |
| Focus Type | Manual Focus |
| Finderscope | Reflex (LED) |
| Eyepieces (1.25") | K-4mm, K-20mm |
| Barlow Lens | 3x |
| Magnification Range | 45x - 675x (Recommended Max: 230x) |
| Compatible Devices | Smartphone |
| Additional Features | Smartphone Adapter, Carbon Design |
| Model Number | 4614909 |
| ASIN | B00SJ2O17Y |
9. Warranty and Support
For warranty information, please refer to the documentation provided with your purchase or visit the official BRESSER website. For technical support, spare parts, or further assistance, please contact BRESSER customer service directly. Contact details can typically be found on the BRESSER website or in your product packaging.


