
EUG 500D+001
EUG LED Mini Projector User Manual
Model: EUG 600D (500D+001)
1. Introduction
Thank you for purchasing the EUG LED Mini Projector. This portable projector is designed to provide a versatile and immersive viewing experience for home theater, parties, and gaming. Its compact size allows for ultimate portability, making it suitable for various environments, from indoor entertainment to outdoor movie nights.
This manual provides essential information for setting up, operating, and maintaining your projector to ensure optimal performance and longevity. Please read it thoroughly before using the product.
2. Safety Information
To ensure safe operation and prevent damage, please observe the following precautions:
- Do not block the ventilation openings. Ensure adequate airflow around the projector.
- Do not expose the projector to rain or moisture to prevent fire or electric shock.
- Avoid looking directly into the projector lens when the lamp is on, as the bright light can cause eye strain or damage.
- Place the projector on a stable, level surface to prevent it from falling.
- Use only the power adapter supplied with the projector.
- Do not attempt to disassemble or repair the projector yourself. Refer all servicing to qualified personnel.
- Keep the projector away from heat sources and direct sunlight.
3. Package Contents
Please check the package contents upon unboxing. If any items are missing or damaged, contact your retailer.
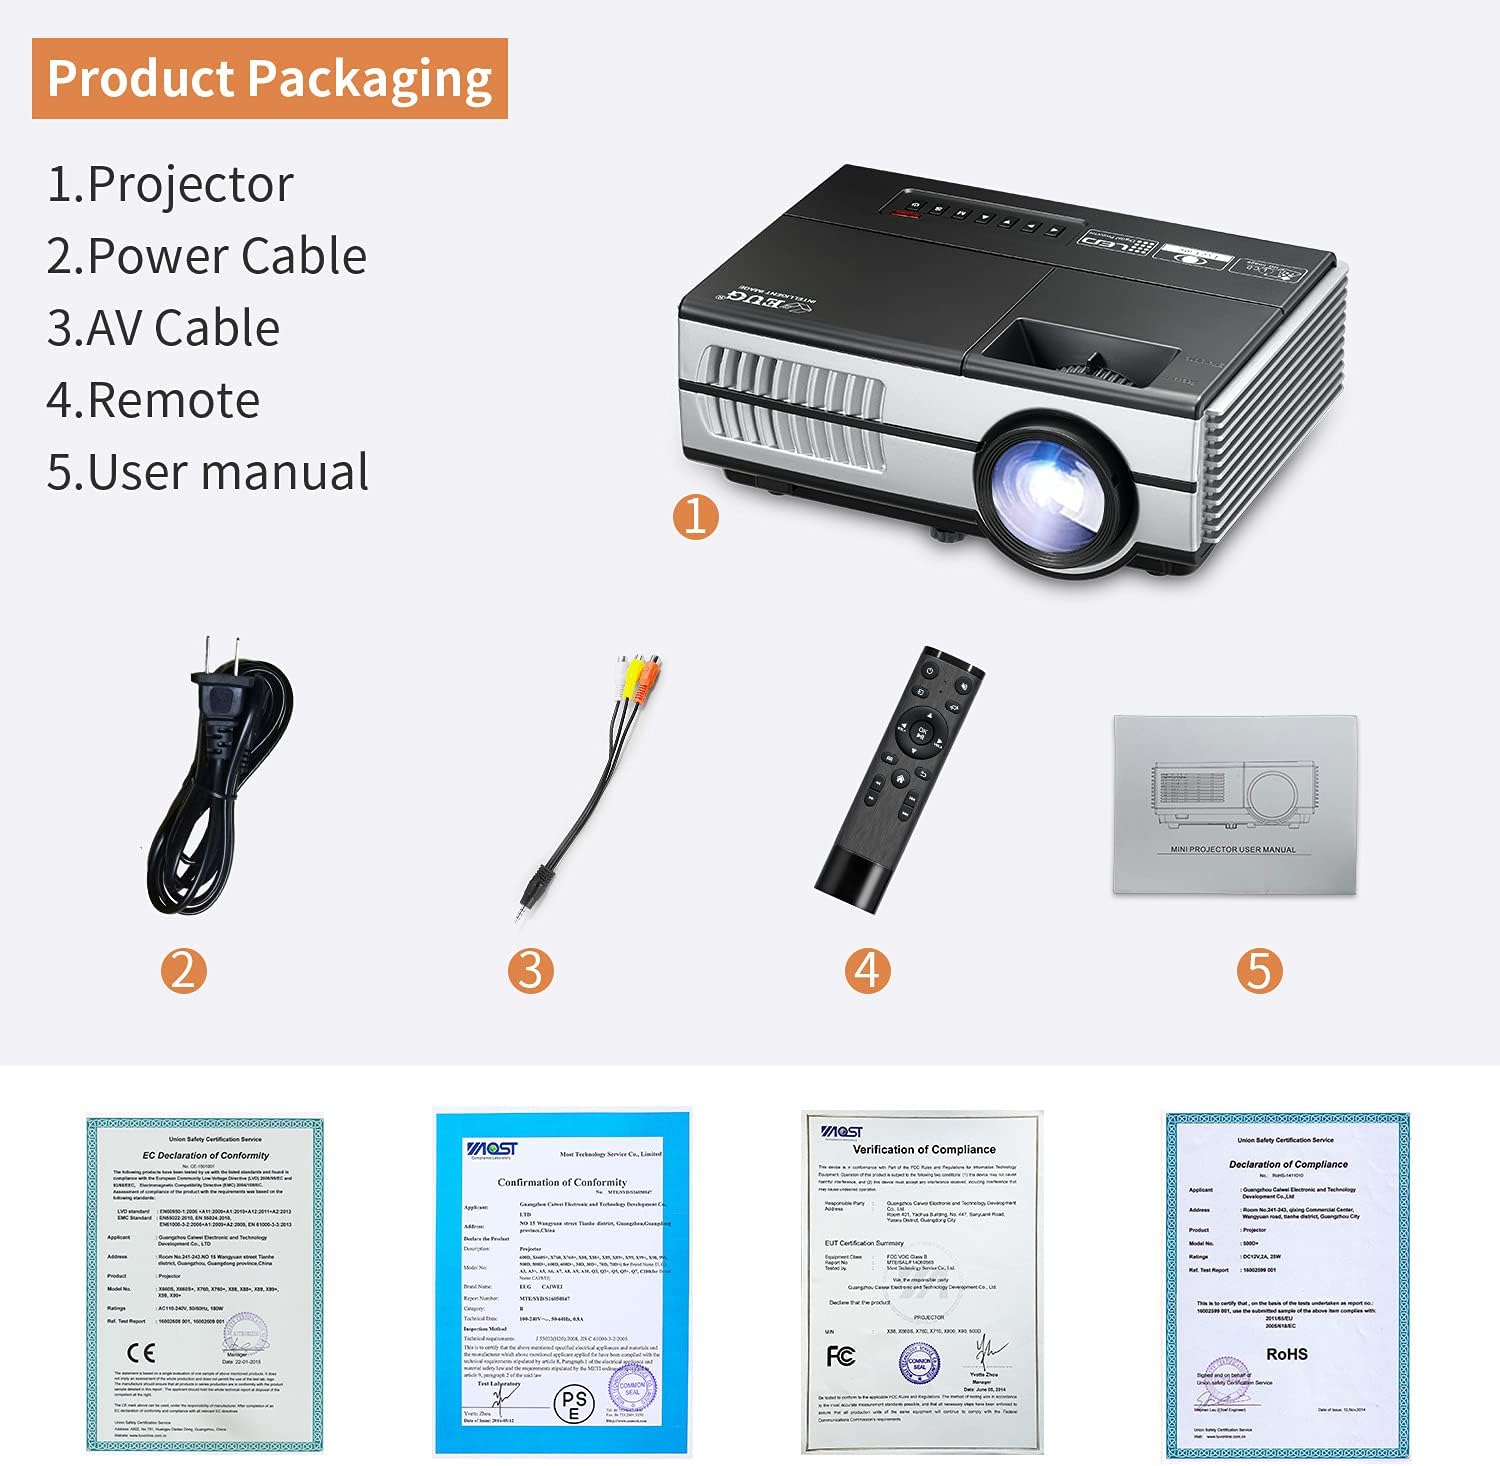
Image: Contents of the EUG Mini Projector package, showing the projector, power cable, AV signal cable, remote control, and user manual.
- 1x EUG Mini Projector
- 1x Power Cable
- 1x AV Signal Cable
- 1x Remote Control
- 1x User Manual (this document)
4. Product Overview
The EUG Mini Projector is designed for ease of use and portability. Below are key features and dimensions.

Image: The EUG Mini Projector, demonstrating its compact size by being held in a hand.

Image: Diagram illustrating the physical dimensions of the EUG Mini Projector: 8.3 inches (length), 5.7 inches (width), 3.1 inches (height), and a weight of 2.4 lbs.
5. Setup
5.1 Placement and Screen Size
The projector can display an image size from 20 to 80 inches. The optimal throw distance ranges from 2.6 to 7.5 feet (80-240 cm) to achieve the desired screen size.

Image: A visual guide demonstrating the relationship between projection size (20-120 inches) and throw distance (2.5-12.3 ft) for the EUG Mini Projector. Note: The product description states 20-80 inches and 2.6-7.5ft, while the image shows a wider range. Please adhere to the product description's stated range for optimal performance.
The projector supports various mounting options: front projection, rear projection, and ceiling mount (M5 screws needed for ceiling mount, not included).

Image: Illustrations of different projector placement options (front, rear, ceiling) and a diagram explaining keystone and focus wheel adjustments.
5.2 Power Connection
- Connect the supplied power cable to the projector's power input port.
- Plug the other end of the power cable into a standard AC 100-240V/50-60Hz electrical outlet.
5.3 Connecting Devices
The projector offers multiple connectivity options for various devices:

Image: A visual representation of the EUG Mini Projector's connectivity ports (HDMI, USB, VGA, AV, 3.5mm Audio-out) and compatible devices such as game consoles, TV sticks, external speakers, PCs, DVD players, and headphones.
- HDMI: Connect Blu-ray players, game consoles (PS3, Xbox), TV boxes, PCs, laptops, Fire TV Stick, Roku, Chromecast, or other HDMI-enabled devices.
- USB: Play media files directly from a USB flash drive.
- VGA: Connect older PCs or laptops.
- AV: Use the supplied AV signal cable to connect devices with RCA (yellow, white, red) outputs.
- 3.5mm Audio Jack: Connect external speakers or headphones.
5.4 Focus and Keystone Adjustment
After placing the projector and connecting your source, adjust the image for clarity and shape:
- Focus Wheel: Rotate the focus wheel (typically located near the lens) until the projected image appears sharp and clear.
- Keystone Correction: If the projected image appears trapezoidal (wider at the top or bottom), use the keystone correction dial (Vertical ±15°) to adjust the image to a rectangular shape.
6. Operating
6.1 Powering On/Off
- Power On: Press the power button on the projector or the remote control. The indicator light will change, and the projector will start.
- Power Off: Press the power button again. Confirm shutdown if prompted. Allow the projector to cool down before unplugging.
6.2 Input Source Selection
After powering on, select the desired input source:
- Press the "Source" or "Input" button on the remote control or the projector's control panel.
- Use the arrow keys to navigate through the available inputs (HDMI, USB, VGA, AV).
- Press "OK" or "Enter" to confirm your selection.
6.3 Menu Navigation
Use the remote control to access and navigate the projector's on-screen display (OSD) menu for settings adjustments.
- Press the "Menu" button to open the OSD.
- Use the arrow keys to navigate between menu options.
- Press "OK" or "Enter" to select an option or confirm a setting.
- Press "Exit" or "Menu" again to close the OSD.
6.4 Supported Media Formats (USB Playback)
When playing media directly from a USB drive, the projector supports the following formats:
- Audio: MP3, WMA, ASF, OGG, AAC, WAV
- Image: JPEG, BMP, PNG
- Video: 3GP, AVI, FLV, MOV, MP4, MPG, VOB, RMVB
- Text: TXT
7. Maintenance
Proper maintenance ensures the longevity and optimal performance of your projector.
- Lens Cleaning: Use a soft, lint-free cloth specifically designed for optical lenses to gently wipe the projector lens. Do not use abrasive cleaners or excessive force.
- Ventilation: Regularly check and clean the ventilation openings to prevent dust buildup, which can lead to overheating. Use a soft brush or compressed air.
- Storage: When not in use for extended periods, store the projector in a cool, dry place, protected from dust and extreme temperatures.
- Lamp Life: The upgraded LED light technology provides an extended lamp life of up to 50,000 hours, reducing the need for frequent lamp replacement.

Image: Illustration highlighting the diffuse reflection imaging for eye protection and the 50,000-hour lifespan of the LED light source, emphasizing energy efficiency.
8. Troubleshooting
| Problem | Possible Cause | Solution |
|---|---|---|
| No image projected | Power cable not connected; Incorrect input source; Device not powered on. | Ensure power cable is securely connected; Select the correct input source (HDMI, USB, VGA, AV); Power on the connected device. |
| Image is blurry | Focus not adjusted; Projector too close/far from screen. | Adjust the focus wheel; Adjust the throw distance. |
| Image is trapezoidal | Keystone not adjusted. | Adjust the keystone correction dial. |
| No sound | Volume too low; Muted; External speakers not connected properly. | Increase volume; Unmute; Check external speaker connection or use built-in speakers. |
| Remote control not working | Batteries low/dead; Obstruction between remote and projector. | Replace batteries; Ensure clear line of sight to the IR receiver on the projector. |
9. Specifications
| Feature | Detail |
|---|---|
| Type | LED Lamp LCD Projector |
| Brightness | 2800 Lumen |
| Native Resolution | 960*640 |
| Max. Supported Resolution | 1920*1080 (1080P) |
| Contrast Ratio | 2500:1 |
| Image Size | 20-80 inches |
| Throw Distance | 80-240 cm (2.6-7.5 ft) |
| Aspect Ratio | 16:9 / 4:3 |
| Keystone Correction | Vertical ±15° |
| Lamp Life | 50,000 hours (LED light source) |
| Power Supply | AC 100-240V / 50-60Hz |
| Power Consumption | <60W |
| Interfaces | HDMI, USB, VGA, AV, 3.5mm audio jack |
| Dimensions | 21.08 x 14.48 x 7.87 cm |
| Weight | 1.09 kg |
10. Warranty and Support
For warranty information and technical support, please refer to the documentation provided at the time of purchase or contact EUG customer service. Keep your purchase receipt as proof of purchase.
For further assistance, please visit the official EUG website or contact their support team directly.
Ask a question about this manual
Ask about setup, troubleshooting, compatibility, parts, safety, or missing instructions. Manuals+ will review the question and use this page’s manual context to help answer it.