Introduction
This manual provides detailed instructions for the safe installation, operation, and maintenance of your Elk Home Xenia 6-Light Chandelier. Please read all instructions carefully before beginning installation and retain this manual for future reference. Proper installation is crucial for safety and optimal performance.
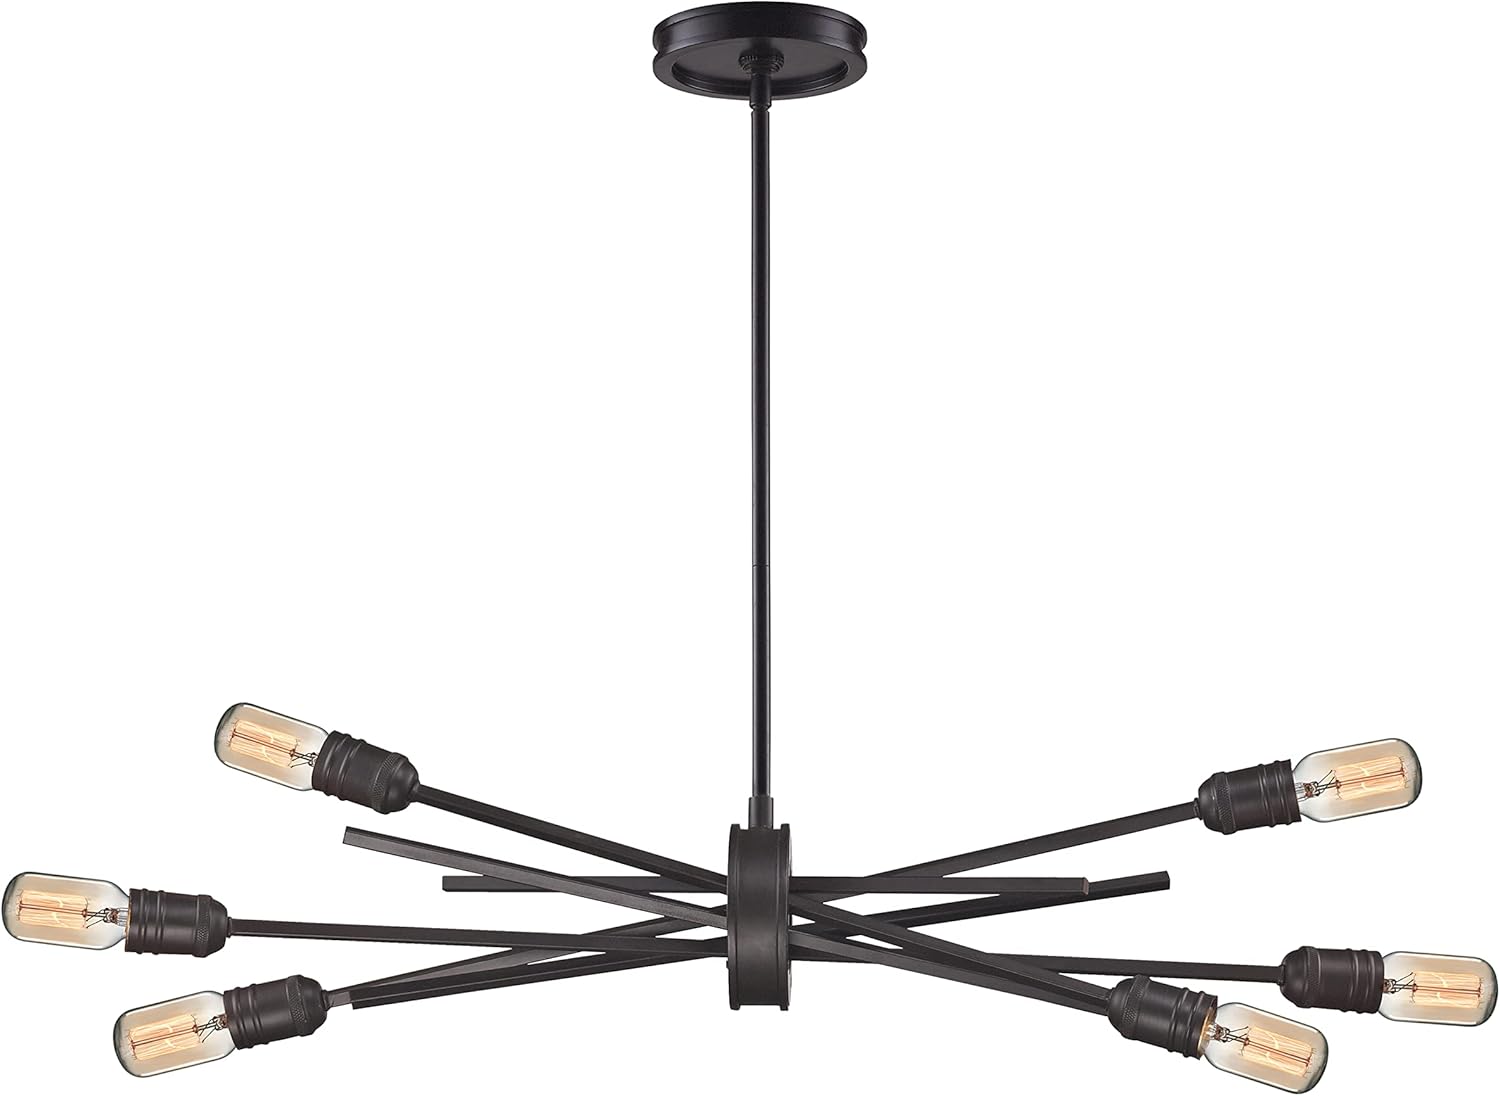
Image: The Elk Home Xenia 6-Light Chandelier, featuring a central connection with six adjustable arms extending outwards, each terminating in an exposed bulb socket. The fixture has an oil rubbed bronze finish.
Safety Information
WARNING: Risk of Electric Shock. Disconnect power at the fuse box or circuit breaker before installation or servicing.
- All electrical connections must be in accordance with local codes, ordinances, or the National Electric Code (NEC). Contact a qualified electrician if you are unfamiliar with proper electrical wiring connections.
- Use only UL/cUL listed wire connectors.
- This fixture is designed for indoor use only.
- Do not exceed the maximum wattage specified for the bulbs.
- Ensure the fixture is securely mounted to a structural ceiling component.
Package Contents
Verify that all components are present before discarding packaging materials.
- Chandelier Frame with Arms and Sockets
- Canopy/Mounting Plate
- Extension Rods (various lengths for adjustable height)
- Mounting Hardware (screws, wire nuts, etc.)
- Instruction Manual
Note: Six (6) 60 Watt A19 bulbs with E26 Medium bases are required and are not included.
Setup and Installation
Professional installation is recommended. Ensure power is disconnected at the circuit breaker before proceeding.
- Prepare Mounting Location: Turn off power at the main electrical panel. Remove the existing fixture and mounting bracket from the junction box.
- Install Mounting Plate: Secure the new mounting plate to the junction box using the provided screws. Ensure it is firmly attached to a structural ceiling element.
- Assemble Extension Rods: Determine the desired hanging height for your chandelier. The fixture includes multiple extension rods (e.g., 6-inch, 12-inch, 24-inch) that can be combined to achieve the preferred length. Thread the chosen rods together and attach them to the fixture body and the canopy.
- Adjust Chandelier Arms: The Xenia chandelier features adjustable arms. These can be positioned from a near parallel configuration to a more spread-out, loosely gathered look to suit your aesthetic preference. Carefully adjust each arm by hand.
- Wire Connections: Carefully lift the fixture and make the electrical connections. Connect the fixture's black wire to the house's black (hot) wire, the fixture's white wire to the house's white (neutral) wire, and the fixture's ground wire to the house's ground wire (or green ground screw on the mounting plate). Secure connections with wire nuts.
- Mount Canopy: Tuck all wires into the junction box. Secure the canopy to the mounting plate using the provided screws or nuts, ensuring a snug fit against the ceiling. This fixture is compatible with sloped or vaulted ceilings.
- Install Bulbs: Screw six (6) 60 Watt A19 bulbs (E26 Medium base) into the sockets. Do not overtighten.
- Restore Power: Once installation is complete, restore power at the circuit breaker and test the fixture.
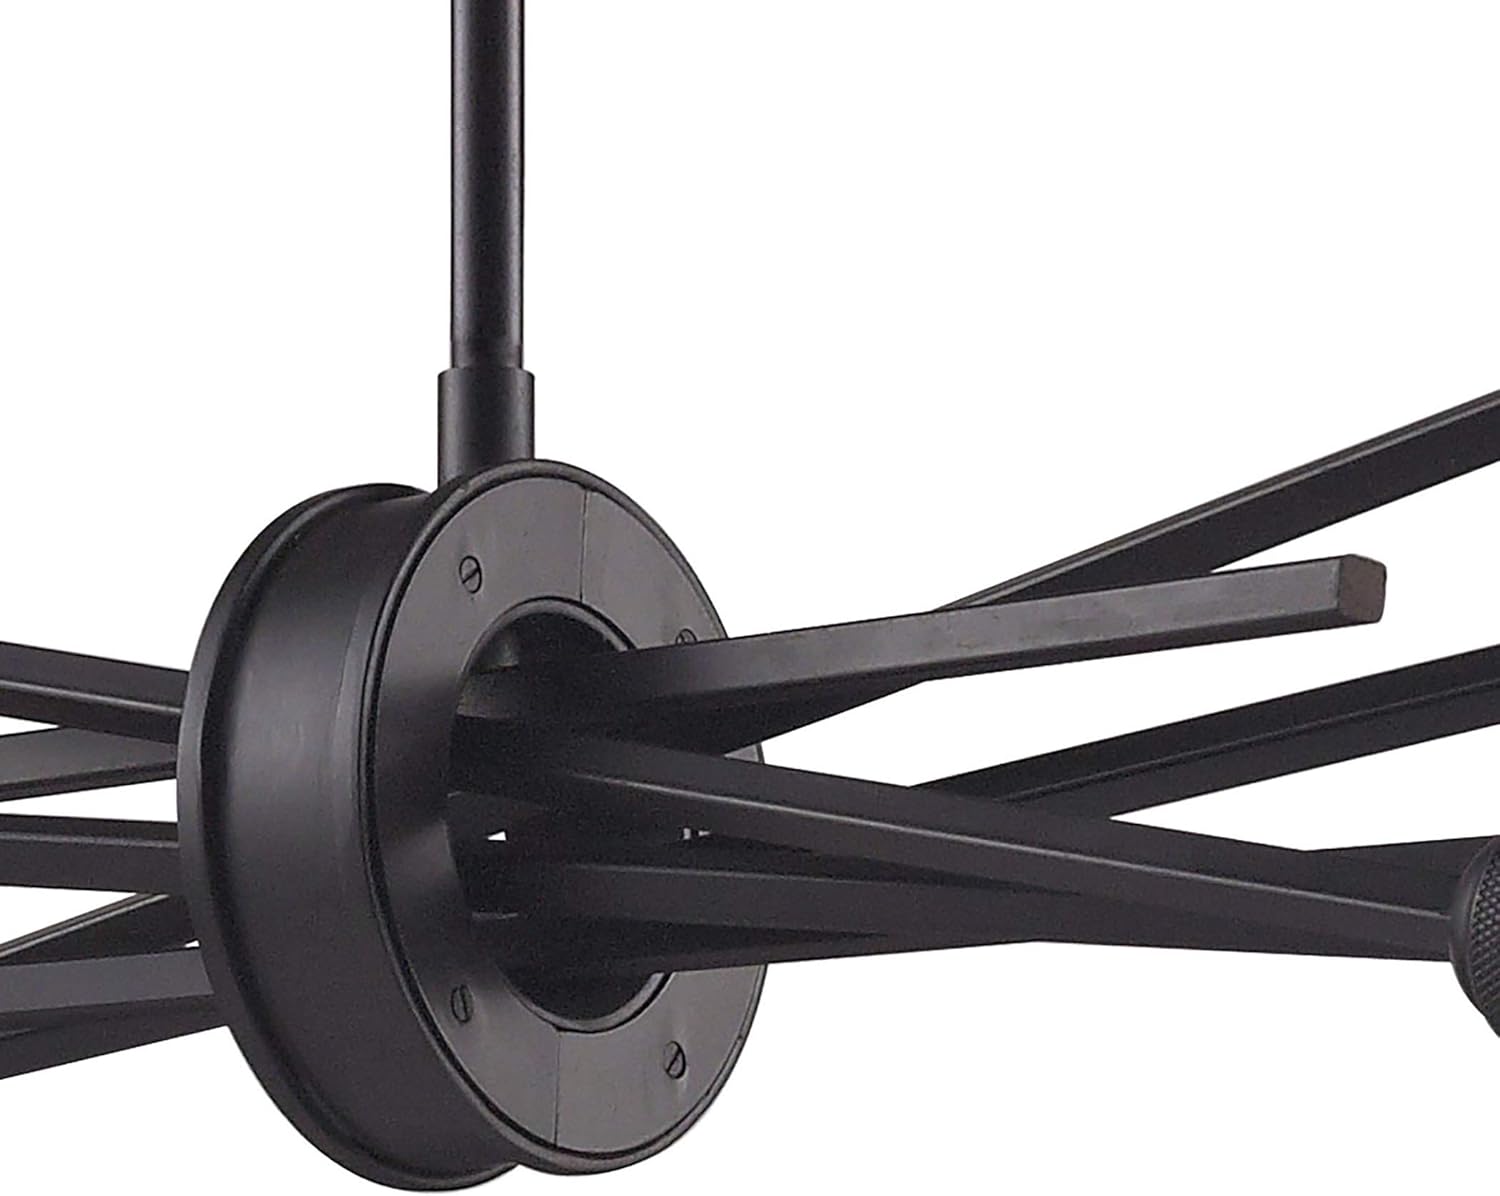
Image: A detailed view of the chandelier's central hub, showing how the metal arms intersect and can be adjusted. This image highlights the mechanism for arm positioning.
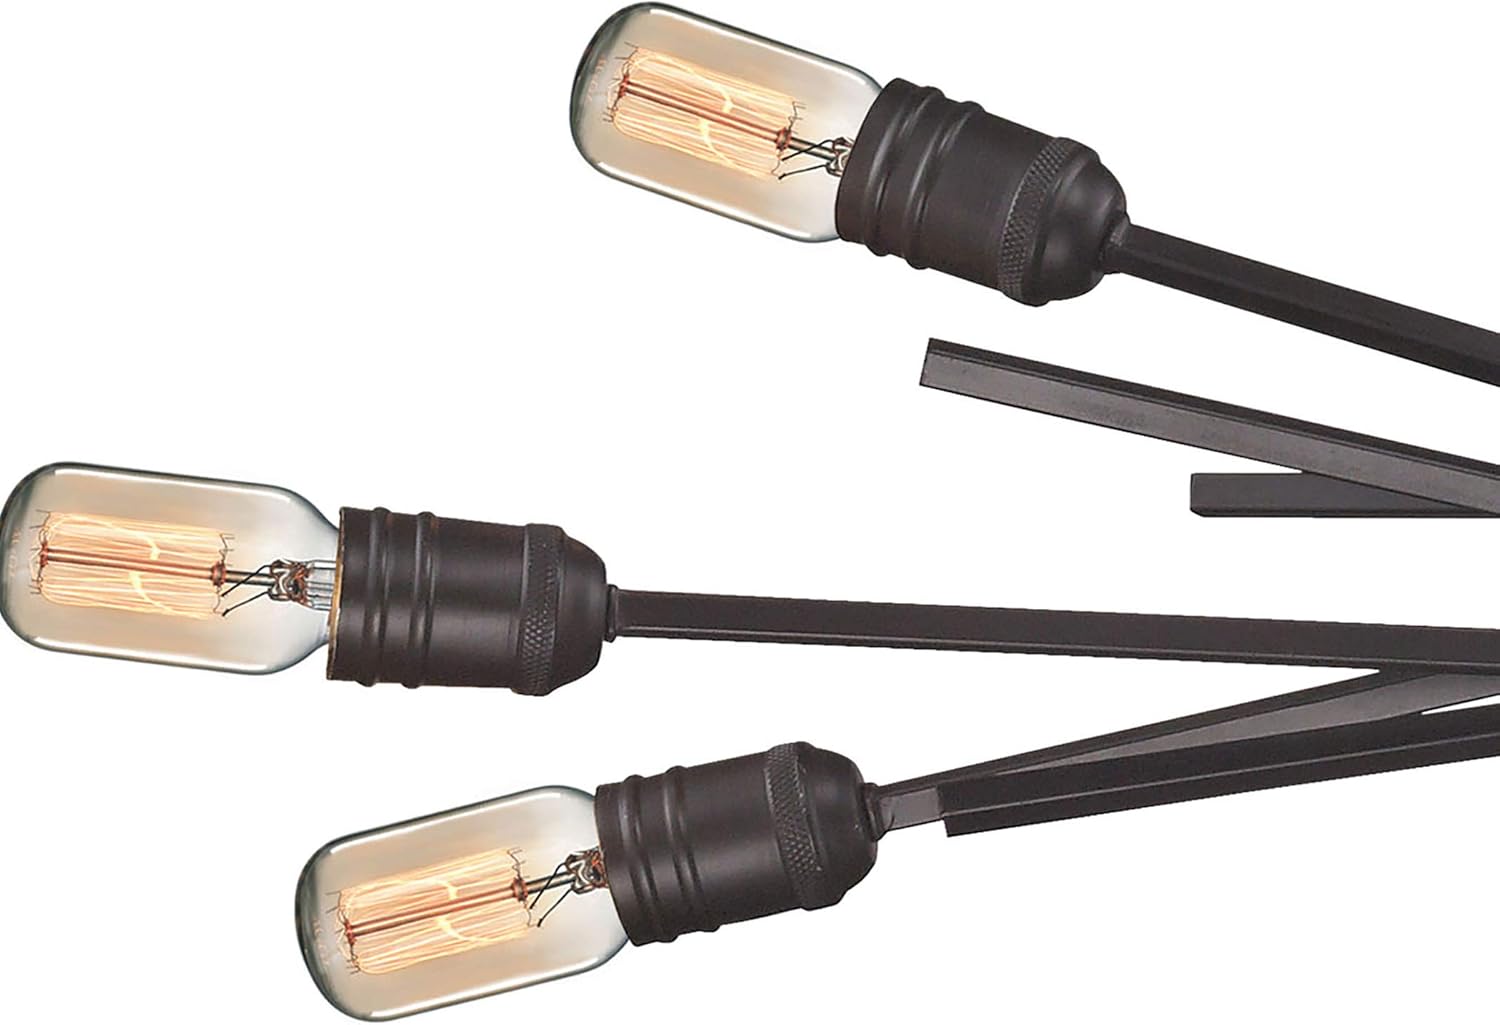
Image: A close-up of the chandelier's exposed bulb sockets, showing the E26 medium base. Edison-style bulbs are shown installed, demonstrating the fixture's aesthetic.
Operating Instructions
The Elk Home Xenia Chandelier is operated via a standard wall switch. For dimming functionality, ensure you use dimmable bulbs and a compatible dimmer switch (both not included). This allows for adjustment of brightness and ambiance.
Maintenance
To maintain the appearance and functionality of your chandelier, follow these guidelines:
- Cleaning: Disconnect power before cleaning. Use a soft, dry, or slightly damp cloth to wipe the metal surfaces. Avoid abrasive cleaners, solvents, or polishes as they may damage the oil rubbed bronze finish.
- Bulb Replacement: Ensure power is off before replacing bulbs. Allow bulbs to cool completely before handling. Replace with six (6) 60 Watt A19 bulbs (E26 Medium base) or equivalent LED/CFL bulbs.
- Inspection: Periodically check all connections and mounting hardware to ensure they remain secure.
Troubleshooting
| Problem | Possible Cause | Solution |
|---|---|---|
| Fixture does not light | No power to fixture | Check circuit breaker or fuse. Ensure wall switch is ON. |
| Loose wire connections | Turn off power. Check all wire connections. | |
| Faulty bulb | Replace bulb(s). | |
| Flickering lights | Loose bulb | Tighten bulb(s). |
| Incompatible dimmer or bulbs | Ensure dimmable bulbs are used with a compatible dimmer switch. |
Specifications
| Feature | Detail |
|---|---|
| Brand | Elk Home |
| Model Name | Xenia Chandelier |
| Part Number | 66911/6 |
| Color | Oil-Rubbed Bronze |
| Material | Metal (Fixture), Glass (Shade Material) |
| Style | Modern |
| Light Fixture Form | Chandelier |
| Product Dimensions | 31"L x 18"W x 16"H |
| Item Weight | 6 Pounds |
| Power Source | Corded Electric |
| Voltage | 120 Volts |
| Number of Light Sources | 6 |
| Wattage | 60 watts (per bulb) |
| Bulb Base | E26 Medium |
| Light Source Type | Incandescent, LED, CFL compatible |
| Special Features | Adjustable Height, Dimmable, Sloped Ceiling Compatible, Adjustable Arms |
| Control Method | Wall Switch |
| Assembly Required | Yes |
| Indoor/Outdoor Usage | Indoor |
| UPC | 748119088280 |
Warranty and Support
Warranty: This Elk Home Xenia Chandelier comes with a 1-year manufacturer's warranty against defects.
Customer Support: For technical assistance, missing parts, or warranty claims, please contact Elk Home customer service. Refer to the packaging or the official Elk Home website for current contact information.
Please check your local laws before purchasing this product.


