
1. Introduction
This manual provides essential information for the proper use and maintenance of your Western Digital WD Elements 1TB Portable Hard Drive. The WD Elements portable hard drive offers reliable, high-capacity storage in a compact design, making it suitable for various computing environments.
Key features include:
- Digital Storage Capacity: 1TB
- Form Factor: 2.5-inch
- Connectivity: SuperSpeed USB 3.0 port, backward compatible with USB 2.0
- Compatibility: Pre-formatted NTFS for Windows, can be reformatted for Mac or other operating systems
- Durability: Engineered for shock tolerance and long-term reliability
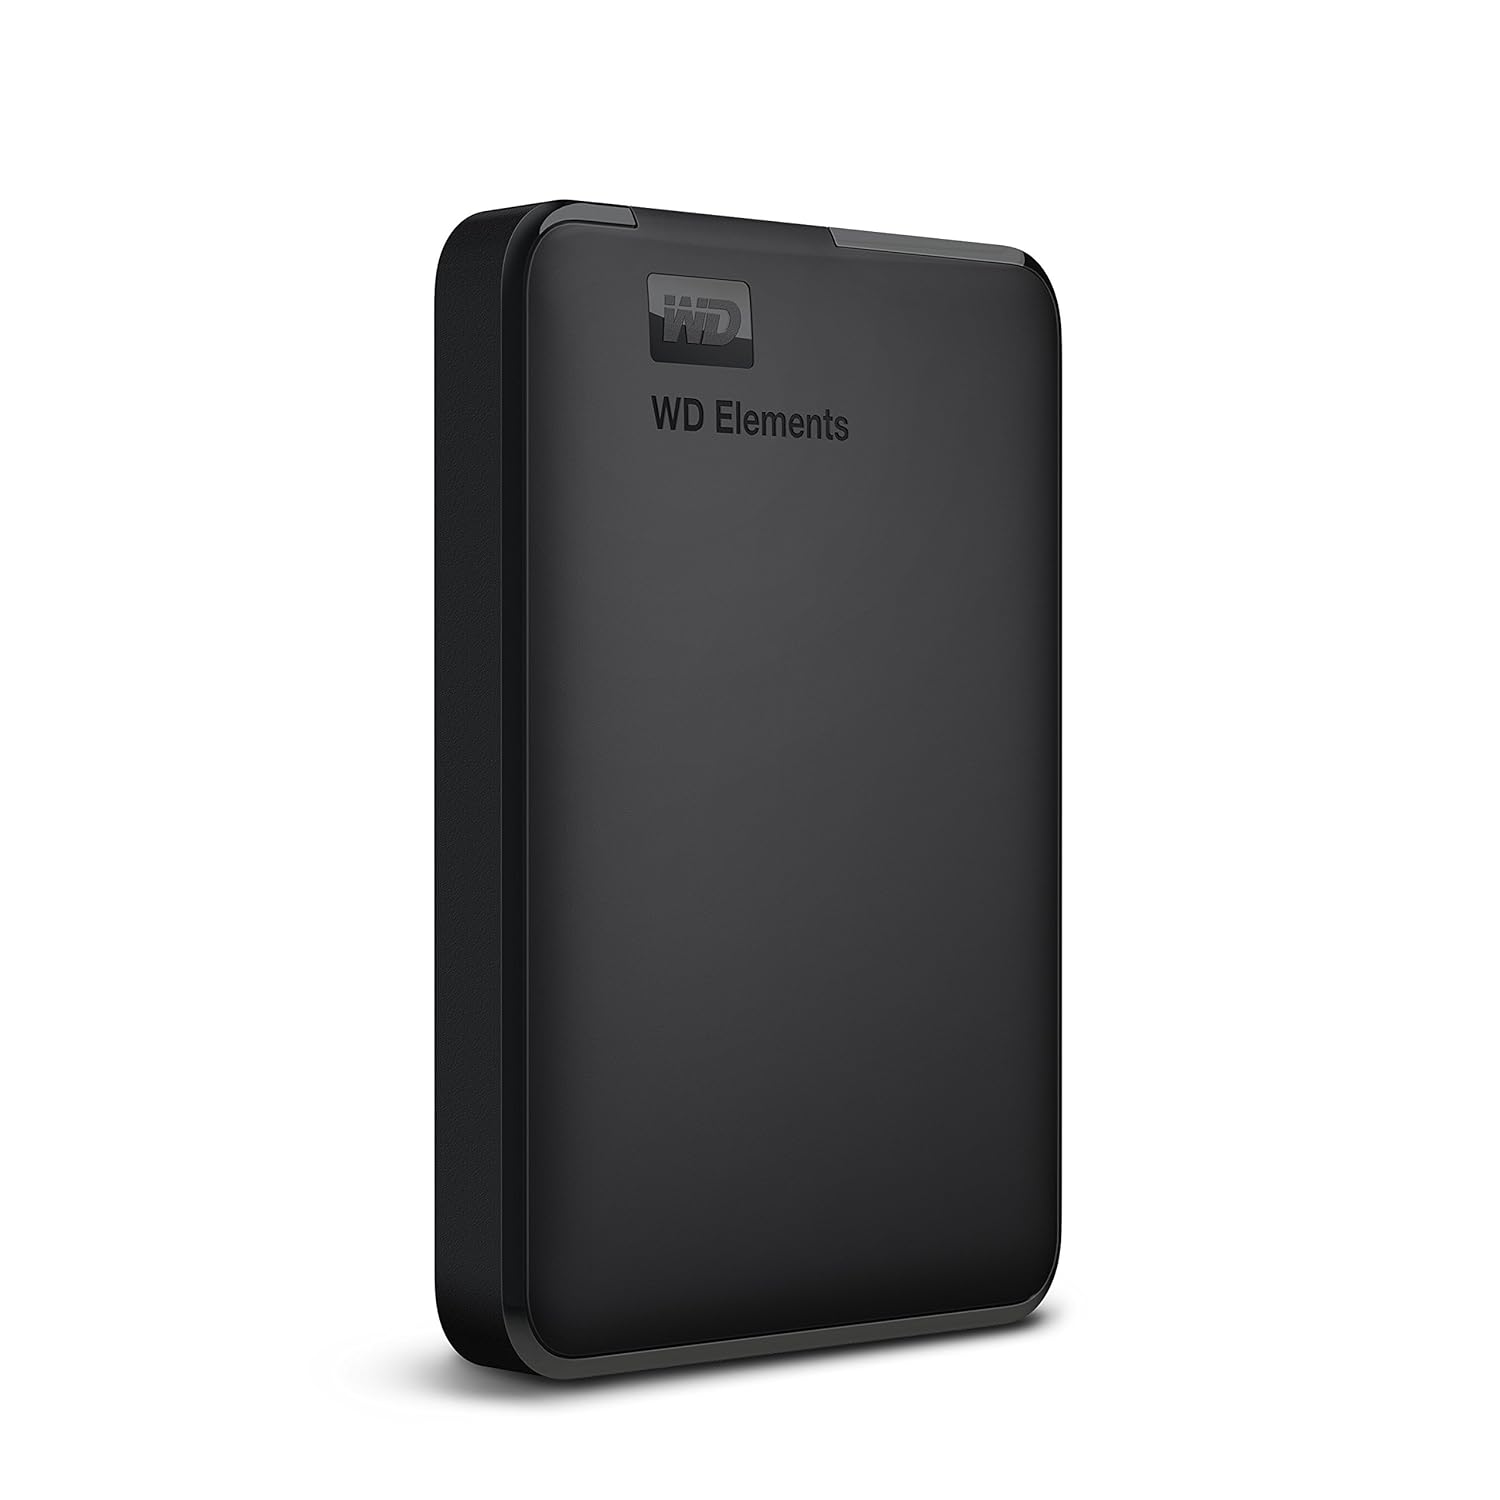
Image 1.1: The Western Digital WD Elements 1TB Portable Hard Drive, showcasing its compact and sleek design.
2. Package Contents
Verify that all items are present in the package:
- Western Digital Elements Portable Hard Disk Drive
- USB 3.0 Cable
- Quick Start Guide
3. Setup
3.1 Connecting the Hard Drive
- Locate an available USB port on your computer (PC, Mac, PS4, or Xbox). For optimal performance, use a USB 3.0 port.
- Connect the small end of the included USB 3.0 cable to the USB port on the WD Elements portable hard drive.
- Connect the larger end of the USB 3.0 cable to the USB port on your computer or console.
- The drive will automatically power on and be detected by your operating system.

Image 3.1: The WD Elements portable hard drive connected to a laptop, demonstrating USB 3.0 and USB 2.0 compatibility.
3.2 Initial Use and Formatting
The drive comes pre-formatted with the NTFS file system, making it ready for immediate use with Windows operating systems. For Mac users or other operating systems, reformatting the drive is necessary.
For Windows:
No special action is required. The drive will appear as a new storage device in 'This PC' or 'My Computer'.
For Mac:
- Connect the drive to your Mac.
- Open 'Disk Utility' (Applications > Utilities > Disk Utility).
- Select the WD Elements drive from the sidebar.
- Click 'Erase'.
- Choose a suitable format (e.g., APFS or Mac OS Extended (Journaled)) and a name for the drive.
- Click 'Erase' again to confirm. Warning: This will delete all data on the drive.
4. Operating Instructions
4.1 Data Transfer
To transfer files, simply drag and drop them to and from the WD Elements drive icon on your desktop or in your file explorer. The USB 3.0 interface ensures fast data transfer speeds.

Image 4.1: A laptop screen displaying a data transfer progress bar, illustrating the fast data transfer capabilities of the drive.
4.2 Safe Removal
Always safely eject the hard drive before disconnecting it to prevent data corruption. For Windows, use the 'Safely Remove Hardware and Eject Media' icon in the system tray. For Mac, drag the drive icon to the Trash or use the 'Eject' option in Finder.
5. Maintenance
To ensure the longevity and optimal performance of your WD Elements portable hard drive:
- Keep the drive in a clean, dry environment, away from extreme temperatures and direct sunlight.
- Avoid dropping or subjecting the drive to physical shocks.
- Do not block ventilation openings, if any.
- Clean the exterior with a soft, dry cloth. Do not use liquid cleaners.
- Regularly back up important data to another storage device.
6. Troubleshooting
6.1 Drive Not Detected
- Ensure the USB cable is securely connected to both the drive and the computer/console.
- Try connecting the drive to a different USB port.
- Test the drive with a different USB cable, if available.
- Restart your computer or console.
- For Windows, check 'Disk Management'. For Mac, check 'Disk Utility' to see if the drive is recognized but unformatted.
6.2 Slow Data Transfer Speeds
- Ensure the drive is connected to a USB 3.0 port on your computer. USB 2.0 ports will result in slower speeds.
- Verify that your computer's USB 3.0 drivers are up to date.
- Avoid running multiple demanding applications during large file transfers.
6.3 Drive Making Unusual Noises
If the drive emits clicking, grinding, or other unusual noises, immediately back up any accessible data and discontinue use. Contact Western Digital support for assistance.
7. Specifications

Image 7.1: Visual representation of the compact dimensions of the WD Elements portable hard drive.
| Feature | Detail |
|---|---|
| Brand | Western Digital |
| Model Number | WDBHHG0010BBK-EESN |
| Series | Elements |
| Digital Storage Capacity | 1TB (1024 GB) |
| Hard Drive Size | 1 TB |
| Hard Disk Description | Mechanical Hard Disk |
| Form Factor | 2.5-inch |
| Hard Drive Interface | USB 3.0 |
| Connectivity Technology | USB |
| Hardware Platform | Mac, PC, Unix |
| Colour | Black |
| Product Dimensions (LxWxH) | 11.1 x 8.2 x 1.5 cm |
| Item Weight | 300 g |
| Country of Origin | Thailand |
8. Warranty and Support
8.1 Warranty Information
The Western Digital WD Elements 1TB Portable Hard Drive comes with a 3-Year Limited Warranty. This warranty covers defects in materials and workmanship under normal use. Please retain your proof of purchase for warranty claims.

Image 8.1: A visual representation of the product's warranty coverage. Note: The image shows '2-Year Limited Warranty', but the product specifications state '3-Year Warranty'. Please refer to your product packaging for the most accurate warranty period.
8.2 Technical Support
For technical assistance, product registration, or to access the full user manual and software downloads, please visit the official Western Digital support website:
You may also find helpful resources and FAQs on the Western Digital brand store:


