Introduction
The Directed 4X10 is an all-in-one remote start (RS) system designed for a wide range of vehicles. This system features multi-bus advanced OBD2 connectivity for SMARTSTART integration, offering enhanced vehicle control and security. This manual provides essential information for the proper setup, operation, and maintenance of your 4X10 system.
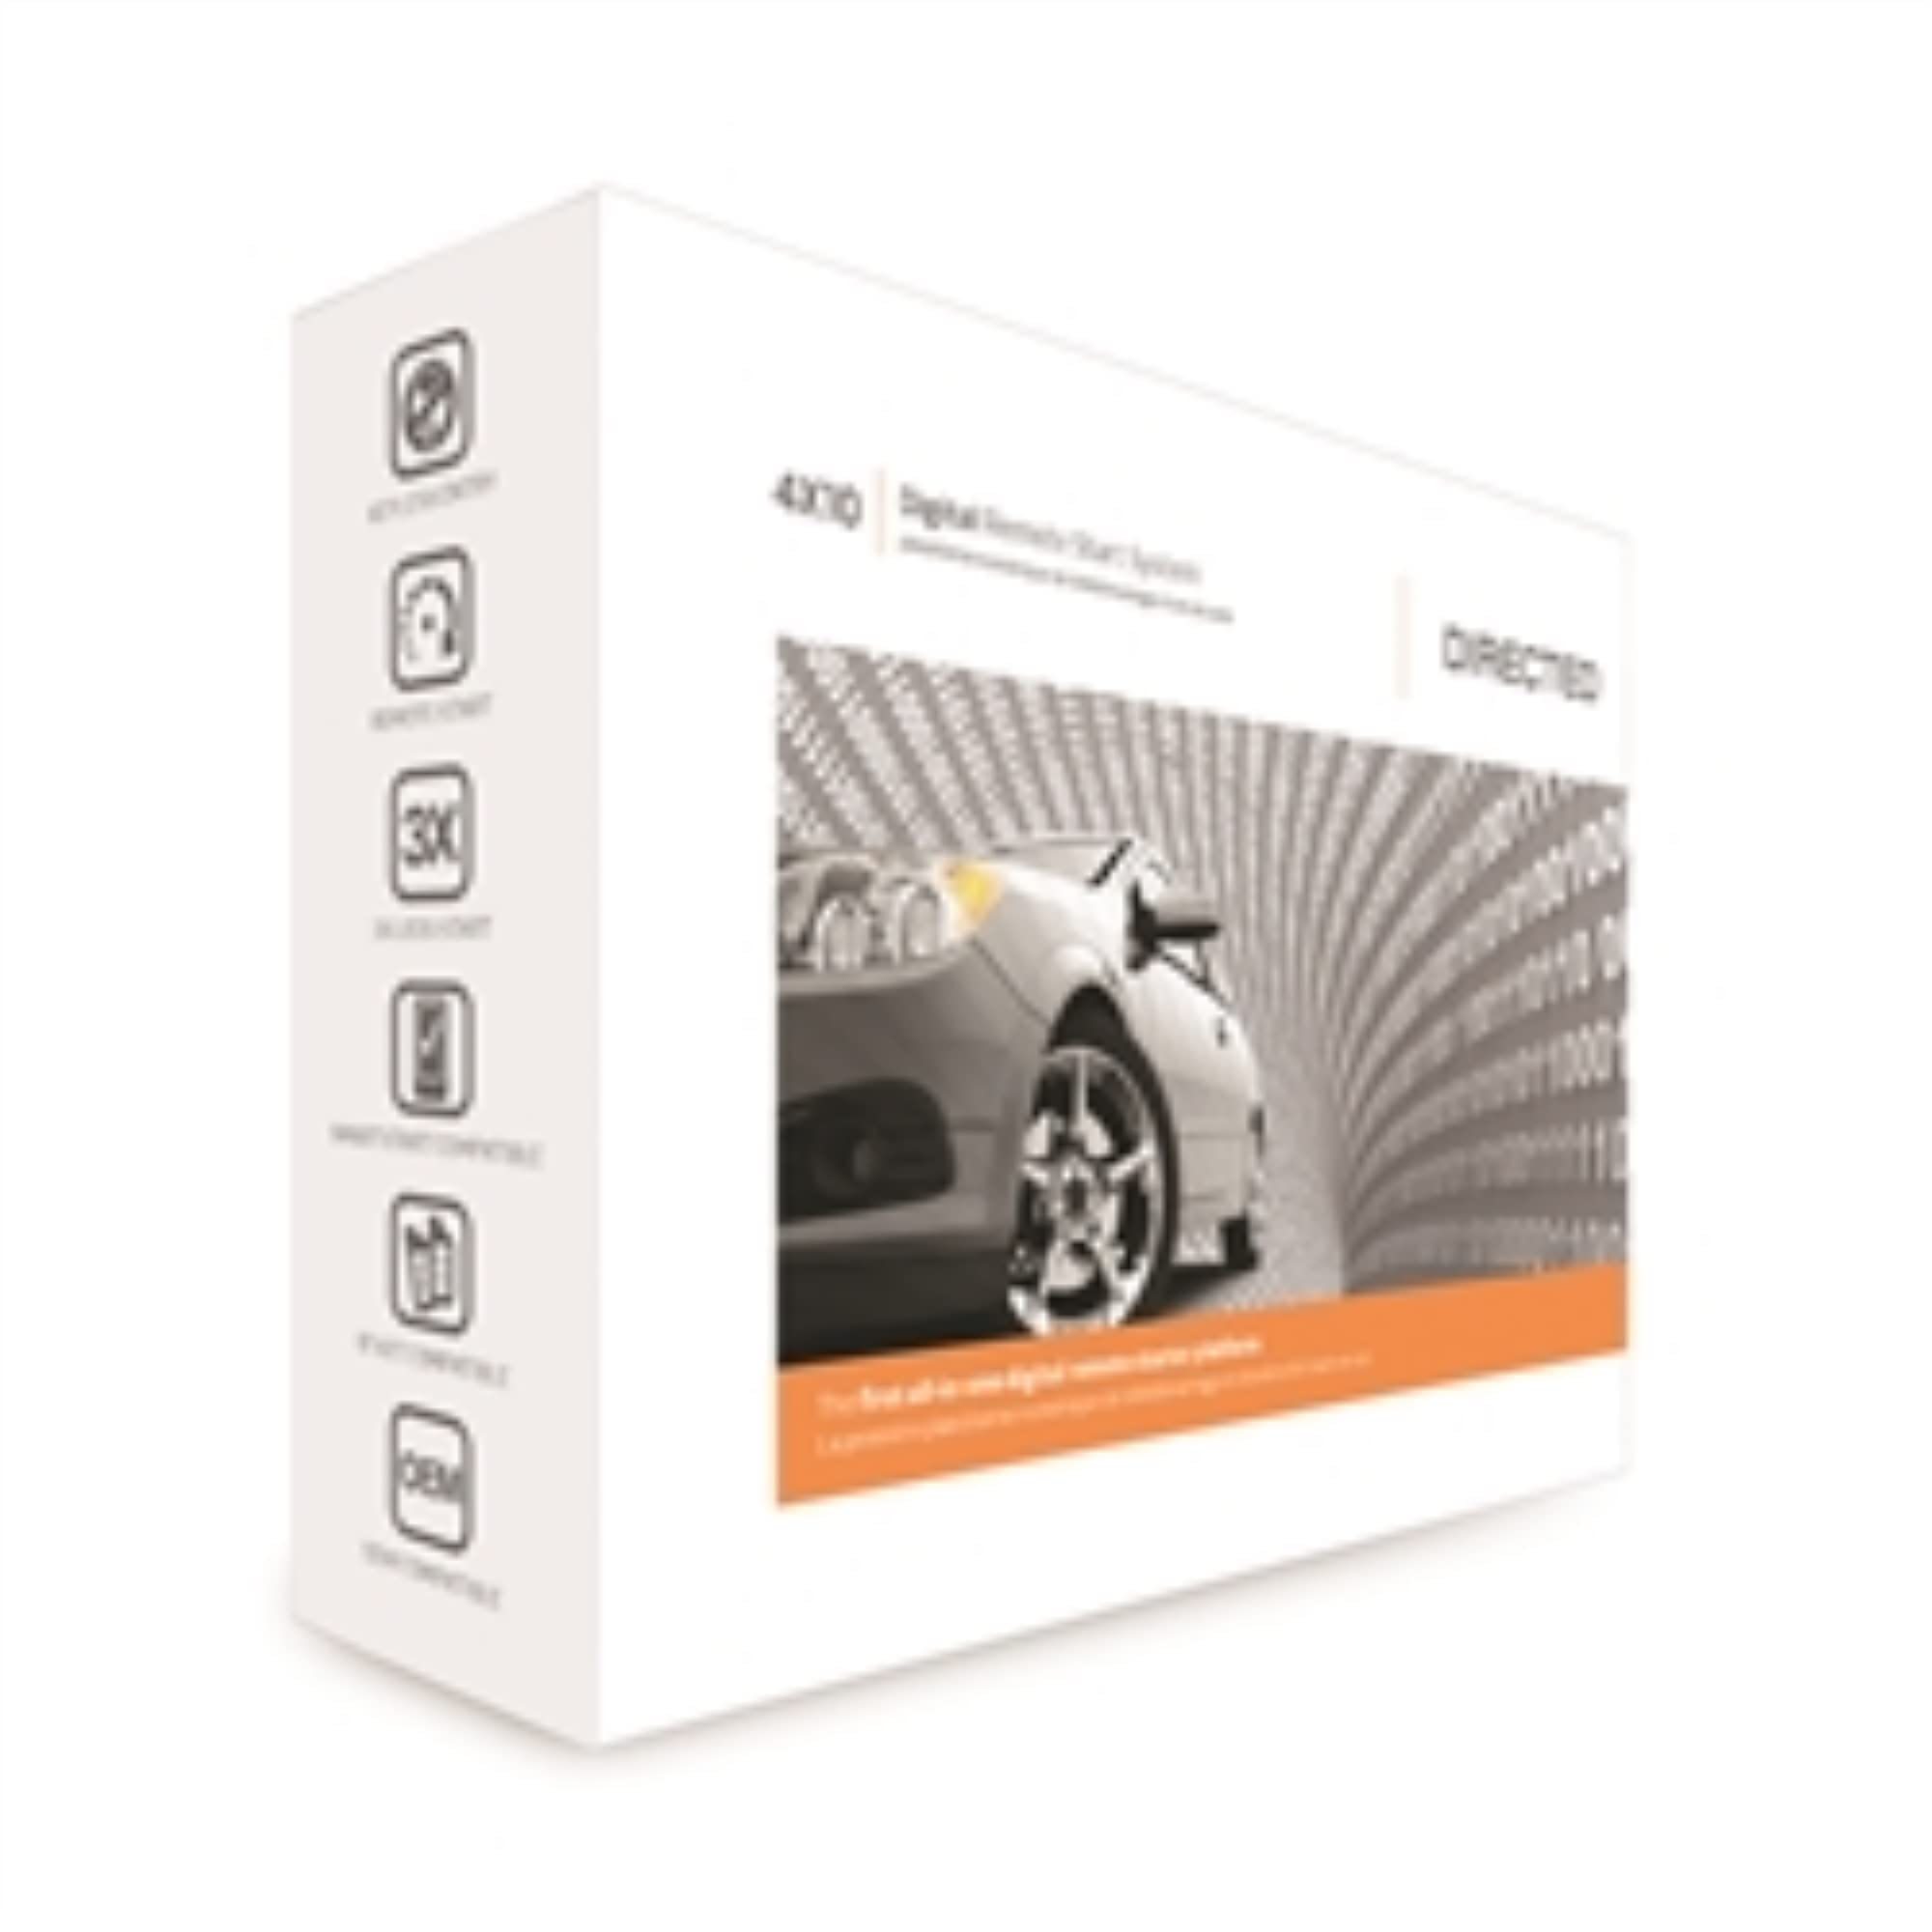
Image: Directed Electronics 4X10 Digital Remote Start System main unit.
Features
- Customizable features
- RF Port for radio frequency communication
- 2x On-board high current relays for robust performance
- D2D Port for direct-to-digital communication
- Web Configurable for easy updates and customization
Setup
Initial setup of the Directed 4X10 system often involves flashing and updating the Blade module and Compustar controller. This process ensures compatibility with your specific vehicle and enables all system features.
Blade & Controller Programming
To flash and update your Blade module and Compustar controller, follow these steps:
- Create an account on compustar.idatalink.com. It is recommended to use Internet Explorer and allow ActiveX if prompted.
- Gather necessary items: a computer, an ADS-USB cable, your Compustar controller, and the Blade AL/TB module.
- Dock your Blade module into your Compustar controller.
- Plug the ADS-USB cable into your computer's USB port.
- Connect the cable labeled 'idatalink module' to the black RS232 data port on the controller.
- Launch Internet Explorer and navigate to compustar.idatalink.com.
- Select 'Flash Your Module'. The system will detect the hardware.
- On the programming home screen, select the year, make, and model of your vehicle.
- Choose to either configure features for the Blade or select 'Flash' to load default settings.
- The site will provide an appropriate installation guide for download.
- While the controller is still plugged in, select the 'Remote Starter' tab. Here you can configure additional features like remote start run time, programmable outputs, and double pulse unlock. These settings can also be adjusted in the vehicle using an OP500.
- This tab also allows you to update the firmware for the controller when available.
Video: Demonstrates the process of flashing and updating the Blade module and Compustar controller firmware using the iDatalink website. This includes connecting the hardware, selecting vehicle details, configuring features, and downloading installation guides.
Operating the System
The Directed 4X10 system provides convenient control over your vehicle's security and remote start functions through its multi-button remote control transmitter.
Basic Remote Functions
- Lock/Unlock: Use the dedicated lock and unlock buttons on the remote to secure or open your vehicle. The remote's display will indicate the current status (locked/unlocked).
- Remote Start: To remotely start your vehicle, press and hold the designated remote start button. The remote's display will show 'REMOTE START ON' and a countdown timer for the engine run time.
- Remote Stop: To turn off the engine after remote starting, press the remote start button again. The display will show 'REMOTE START OFF'.
- Auxiliary Functions: The remote may include an 'AUX' button for additional programmable functions, such as trunk release or other custom features.
Video: Illustrates the convenience of using a Compustar long-range remote starter to warm up or cool down a vehicle. It shows a person starting their car remotely and then driving in comfort, highlighting the benefits in both hot and cold weather conditions.
Maintenance
To ensure the longevity and optimal performance of your Directed 4X10 Digital Remote Start System, consider the following maintenance tips:
- Remote Control Battery: Replace the remote control battery as needed. Refer to the remote's specific model for battery type and replacement instructions.
- System Updates: Regularly check the iDatalink website for firmware updates for your Blade module and Compustar controller. Keeping the software updated ensures the best performance and compatibility.
- Professional Inspection: Have the system professionally inspected by an authorized dealer if you experience any persistent issues or after any significant vehicle maintenance that might affect the electrical system.
- Keep Dry: Protect the remote control and main unit from moisture and extreme temperatures.
Troubleshooting
If you encounter issues with your Directed 4X10 system, try the following troubleshooting steps:
- Remote Not Responding: Check the remote control battery. If the battery is low or dead, replace it. Ensure you are within the system's operational range.
- Remote Start Failure: Verify that all vehicle doors, hood, and trunk are closed. Ensure the vehicle is in park (for automatic transmissions) or that the manual transmission safety procedure has been followed. Check for any active warning lights on the vehicle's dashboard.
- System Not Arming/Disarming: Confirm that the remote control is paired correctly with the system. If not, refer to the pairing instructions in the full installation guide.
- Intermittent Operation: This could be due to radio frequency interference. Try operating the system from a different location. Ensure no large metal objects are obstructing the signal path.
- Persistent Issues: If problems persist after basic troubleshooting, consult an authorized Directed Electronics dealer or a qualified automotive electronics technician.
Specifications
| Specification | Detail |
|---|---|
| Product Dimensions | 4 x 5 x 1 inches |
| Item Weight | 13.8 ounces |
| Model Number | 4X10 |
| Manufacturer | Directed Electronics Inc |
| Connectivity | Wireless, Multi-bus advanced OBD2 |
| Compatible Devices | Cars |
| Remote Control Included? | No (System is designed to integrate with existing remotes or sold separately) |
Warranty
This product is typically covered by a manufacturer's warranty against defects in materials and workmanship. Specific warranty terms, duration, and coverage may vary. Please retain your proof of purchase. For detailed warranty information, refer to the documentation provided with your product or contact Directed Electronics customer support.
Support
For technical assistance, installation inquiries, or further information regarding your Directed Electronics 4X10 Digital Remote Start System, please contact your authorized dealer or visit the official Directed Electronics support website. Ensure you have your product model number and purchase details available when seeking support.


