
1. Introduction
The Netatmo NTH01-DE-EC Smart Thermostat allows you to control your home's heating system remotely via a smartphone, tablet, or computer. Designed for ease of use and energy efficiency, this thermostat helps optimize your energy consumption and maintain a comfortable indoor climate. It is compatible with most individual boilers and can replace existing wired or wireless thermostats.

Image: The Netatmo NTH01-DE-EC Smart Thermostat displaying a temperature of 19°C.
2. Package Contents
Before beginning installation, please verify that all components are present in your package:
- Netatmo Smart Thermostat Unit
- Relay (wired unit for boiler connection)
- Mobile stand + Wall plate
- Boiler adapter
- Mains adapter
- Mounting plate
- Colored adhesive strips (for customization)
- Screws and wall plugs
- 3 AAA batteries (pre-installed or included)
- User Manual

Image: A comprehensive view of all items included in the Netatmo Smart Thermostat package, laid out for inspection.
3. Setup and Installation
Installation of the Netatmo Smart Thermostat involves two main steps: wiring the Relay to your heating system and setting up the Netatmo Energy app.
3.1. Relay Wiring
The Relay connects directly to your boiler. This process may require basic electrical knowledge. If you are unsure, consult a qualified electrician.
- Power Off: Ensure the main power supply to your heating system is switched off at the circuit breaker before proceeding.
- Identify Wiring: Locate the existing thermostat wiring or the boiler's thermostat connection points. The Netatmo Relay is designed to replace most standard wired or wireless thermostats.
- Connect Relay: Follow the specific wiring diagrams provided in the detailed installation guide (often found within the Netatmo app or on the official Netatmo support website) to connect the Relay to your boiler. The Relay typically requires a 250V wired connection.
- Mount Relay: Secure the Relay in a suitable location, usually near the boiler.
- Restore Power: Once all connections are secure, restore power to your heating system.
3.2. Thermostat Placement
The main thermostat unit communicates wirelessly with the Relay. It can be placed on its mobile stand in any room or mounted on a wall.
- Optimal Location: Choose a central location in your main living area, away from direct sunlight, drafts, or heat sources (e.g., radiators, lamps) that could affect temperature readings.
- Wall Mounting: Use the provided wall plate, screws, and plugs to securely mount the thermostat unit at an appropriate height (typically 1.5 meters from the floor).

Image: The Netatmo Smart Thermostat mounted on a wall, demonstrating a typical installation.
3.3. App Setup and Connectivity
The Netatmo Energy app is essential for controlling and configuring your thermostat.
- Download App: Download the Netatmo Energy app from your smartphone's app store (available for iOS and Android).
- Create Account: Open the app and follow the on-screen instructions to create a Netatmo account or log in if you already have one.
- Pair Thermostat: The app will guide you through the process of pairing your Smart Thermostat with the Relay and connecting it to your home Wi-Fi network. Ensure your Wi-Fi network is active and within range.
- Initial Calibration: The thermostat may undergo an initial calibration period to learn your home's thermal inertia.
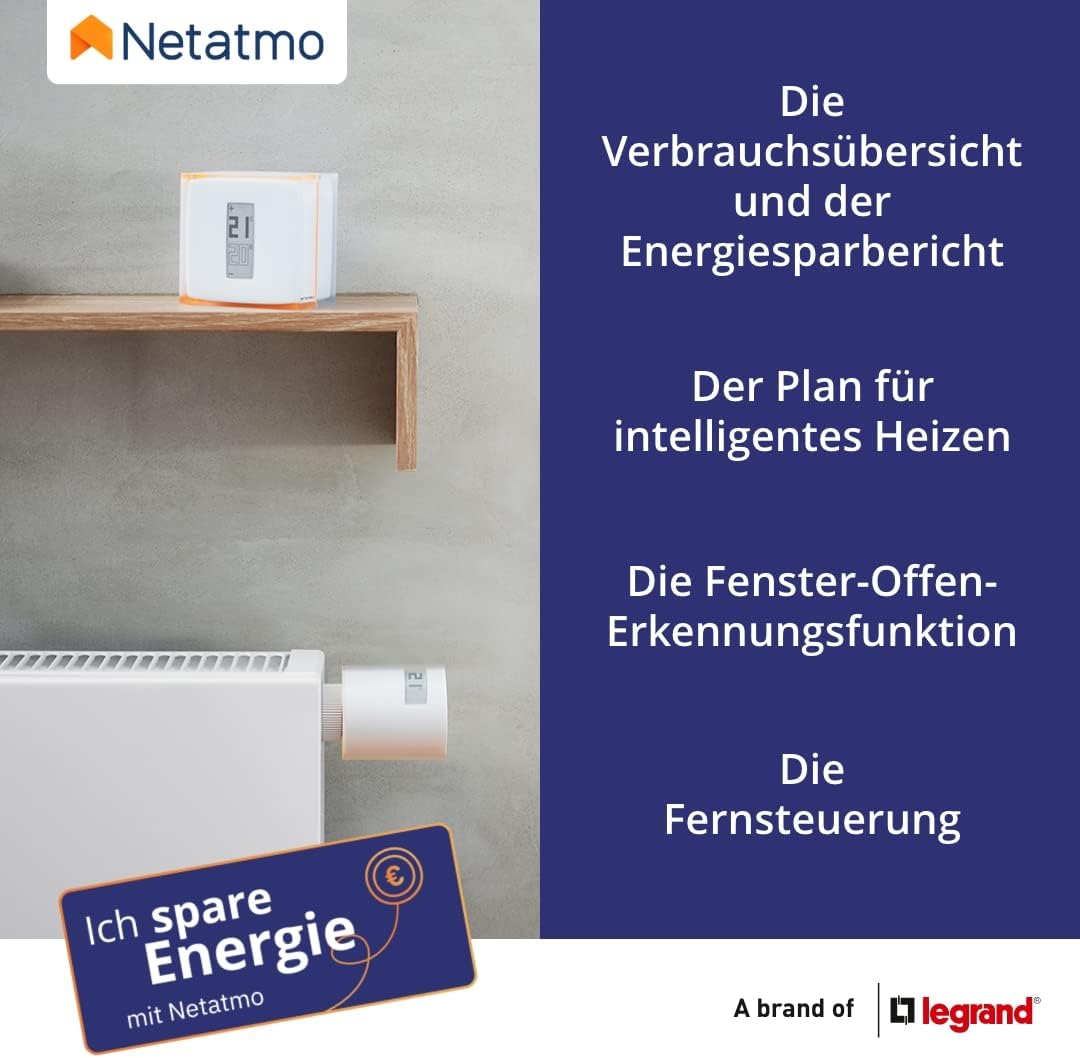
Image: The Netatmo Energy app interface, demonstrating temperature control and energy usage graphs, along with compatibility logos for Apple Home, Google Home, and Amazon Alexa.
4. Operating Instructions
The Netatmo Smart Thermostat offers both manual and app-based control options.
4.1. Manual Control
You can adjust the temperature directly on the thermostat unit:
- Increase Temperature: Press the '+' button on the thermostat.
- Decrease Temperature: Press the '-' button on the thermostat.
- Manual adjustments made on the thermostat will temporarily override the programmed schedule. The duration of this override can often be configured in the app.
4.2. App Control (Scheduling and Remote Access)
The Netatmo Energy app provides comprehensive control over your heating system:
- Remote Temperature Adjustment: Change the set temperature from anywhere using your smartphone.
- Heating Schedule: Create and customize detailed heating schedules for each day of the week, optimizing comfort and energy savings.
- Away/Frost-Guard Modes: Activate specific modes when you are away from home to save energy while protecting your pipes from freezing.
- Energy Reports: Access monthly energy consumption reports and personalized advice to further reduce your energy usage.

Image: The Netatmo Energy app displaying a customizable heating schedule, allowing users to program temperatures for different times and days.
4.3. Smart Features
- Auto-Adapt Function: The thermostat learns your home's thermal characteristics and the outdoor temperature to ensure the desired temperature is reached at the scheduled time.
- Open Window Detection: If an open window is detected, the thermostat automatically turns off the heating in that area to prevent energy waste.
- Compatibility: The Netatmo Smart Thermostat works with Apple HomeKit, Google Home, and Amazon Alexa for voice control and integration into smart home ecosystems.

Image: Visual representation of Netatmo's smart features, including energy reports, intelligent heating plans, open window detection, and remote control.
5. Maintenance
5.1. Battery Replacement
The Netatmo Smart Thermostat is powered by 3 AAA alkaline batteries. The app will notify you when the battery level is low.
- Gently remove the thermostat unit from its wall plate or mobile stand.
- Open the battery compartment on the back of the unit.
- Replace the old batteries with 3 new AAA alkaline batteries, ensuring correct polarity.
- Close the battery compartment and reattach the thermostat unit.
5.2. Cleaning
To clean the thermostat, use a soft, dry cloth. Avoid using abrasive cleaners, solvents, or spray cleaners directly on the device.
6. Troubleshooting
If you encounter issues with your Netatmo Smart Thermostat, consider the following:
- No Display/Power: Check the batteries. Ensure they are correctly inserted and have sufficient charge.
- No Heating: Verify that the Relay is properly connected to the boiler and has power. Check the thermostat's schedule and current mode in the app. Ensure your boiler is functioning correctly.
- Connectivity Issues: Ensure your home Wi-Fi network is active and the Relay is within range. Try restarting your Wi-Fi router and the Netatmo Relay (by briefly disconnecting and reconnecting its power). If issues persist, try re-pairing the thermostat via the app's setup process.
- Inaccurate Temperature Readings: Ensure the thermostat is not exposed to direct sunlight, drafts, or other heat sources. If consistently inaccurate, a calibration offset can sometimes be adjusted in the app settings.
- App Not Responding: Close and reopen the Netatmo Energy app. Ensure your smartphone has an active internet connection.
For further assistance, refer to the Netatmo support website or contact customer service.
7. Specifications
| Feature | Specification |
|---|---|
| Model Number | NTH01-DE-EC |
| Dimensions (Thermostat) | 7 x 5 x 7 cm |
| Weight | 400 grams |
| Power Supply (Thermostat) | 3 x AAA Alkaline batteries (included) |
| Power Supply (Relay) | Wired, 250 Volts |
| Connectivity | Wi-Fi |
| Display Type | LCD |
| Color | White, Orange |
| Compatibility | iOS, Android, Apple HomeKit, Google Home, Amazon Alexa |
| Special Features | Portable, Open Window Detection, Auto-Adapt, Remote Control |
8. Warranty and Support
Netatmo products typically come with a limited warranty. Please refer to the warranty card included in your product packaging or visit the official Netatmo website for detailed warranty terms and conditions specific to your region.
For technical support, frequently asked questions, and additional resources, please visit the Netatmo support page:


