

1. Introduction
This manual provides essential instructions for the proper installation, operation, and maintenance of your A-Tech 4GB (4 x 1GB) DDR Non-ECC PC3200 400MHz RAM Memory Kit. This memory kit is designed to enhance the performance of compatible MSI Motherboards, including models RD480 Neo2-FI, RS480M2-IL, RS482M2-L, RS482M2-IL, RS482M4-L, RS482M4-IL, RS482M4-ILD, and RS482M4-FD. Please read this manual thoroughly before proceeding with installation.
2. Safety Information
Always observe the following safety precautions when handling computer components:
- Electrostatic Discharge (ESD) Prevention: Static electricity can damage electronic components. Before handling memory modules, discharge any static electricity from your body by touching a grounded metal object (e.g., the unpainted metal chassis of your computer). Consider using an anti-static wrist strap.
- Power Off: Ensure your computer is completely powered off and unplugged from the wall outlet before opening the case or installing any components.
- Handle with Care: Hold memory modules by their edges, avoiding contact with the gold connectors or the chips on the module.
- Ventilation: Ensure adequate ventilation around your computer to prevent overheating.
3. Setup and Installation
Follow these steps to install your A-Tech RAM memory modules:
- Prepare Your System:
- Shut down your computer completely.
- Unplug the power cord and all peripheral cables.
- Open the computer case. Refer to your computer or motherboard manual for specific instructions on how to open the case.
- Discharge static electricity by touching a grounded metal object.
- Locate RAM Slots: Identify the DIMM slots on your MSI motherboard. Consult your motherboard's manual for the correct slot configuration and population order, especially if you are using fewer than four modules or mixing with existing RAM.
- Open Retention Clips: Gently push the small clips at each end of the DIMM slot outwards to open them.
- Insert Memory Module:
- Align the notch on the memory module with the key in the DIMM slot. DDR memory modules have a specific notch placement to prevent incorrect insertion.
- Place the module into the slot and apply firm, even pressure to both ends of the module simultaneously until the retention clips snap into place. You should hear a click.
- Visually inspect the module to ensure it is seated correctly and the clips are fully engaged.
- Repeat for All Modules: Install the remaining memory modules following the same procedure, adhering to your motherboard's recommended slot order.
- Close Case and Reconnect:
- Once all modules are installed, close your computer case.
- Reconnect all power and peripheral cables.

Image 1: A-Tech 4GB (4 x 1GB) DDR RAM Memory Kit. Each module is individually packaged.
4. Operating and Verification
After installation, power on your computer. The system should automatically detect the new memory. You can verify the installed RAM in the following ways:
- BIOS/UEFI: During startup, enter your computer's BIOS or UEFI settings (usually by pressing DEL, F2, or F10). The system information section typically displays the total installed RAM.
- Operating System:
- Windows: Right-click "This PC" or "My Computer," then select "Properties." The "Installed RAM" or "Memory" value will be displayed.
- macOS: Click the Apple menu, then "About This Mac." The "Memory" section will show the installed RAM.
- Linux: Open a terminal and type
free -horcat /proc/meminfo.

Image 2: An A-Tech DDR RAM module, emphasizing quality and reliability.
5. Maintenance
RAM modules generally require minimal maintenance. To ensure optimal performance and longevity:
- Keep Clean: Periodically clean the interior of your computer case to prevent dust buildup, which can impede airflow and lead to overheating. Use compressed air to gently remove dust from around the RAM modules and slots.
- Environmental Conditions: Operate your computer in a cool, dry environment. Avoid extreme temperatures and humidity.
- Firmware Updates: Keep your motherboard's BIOS/UEFI firmware updated, as updates can sometimes improve memory compatibility and stability.
6. Troubleshooting
If you encounter issues after installing the memory, consider the following troubleshooting steps:
- No Display/No Boot:
- Ensure all memory modules are fully seated in their slots and the retention clips are locked.
- Try installing only one module at a time to identify a potentially faulty module or slot.
- Clear the CMOS (Complementary Metal-Oxide-Semiconductor) settings on your motherboard. Refer to your motherboard manual for instructions.
- Incorrect RAM Amount Detected:
- Verify that the modules are correctly seated.
- Check your motherboard's manual for specific RAM slot population rules. Some motherboards require modules to be installed in specific slots or pairs.
- Ensure your operating system is a 64-bit version to fully utilize more than 4GB of RAM.
- System Instability/Crashes:
- Run a memory diagnostic tool (e.g., Windows Memory Diagnostic, MemTest86) to check for errors.
- Ensure your motherboard's BIOS/UEFI is updated to the latest version.
7. Specifications
| Feature | Detail |
|---|---|
| Memory Type | DDR DIMM |
| Capacity | 4GB (4 x 1GB modules) |
| Speed | PC3200 (400MHz) |
| Error Correction | Non-ECC |
| Form Factor | DIMM (Desktop) |
| Model Number | MS669KMM3393 |
| Product Dimensions | 6.7 x 3.6 x 0.8 inches |
| Item Weight | 4.8 ounces |
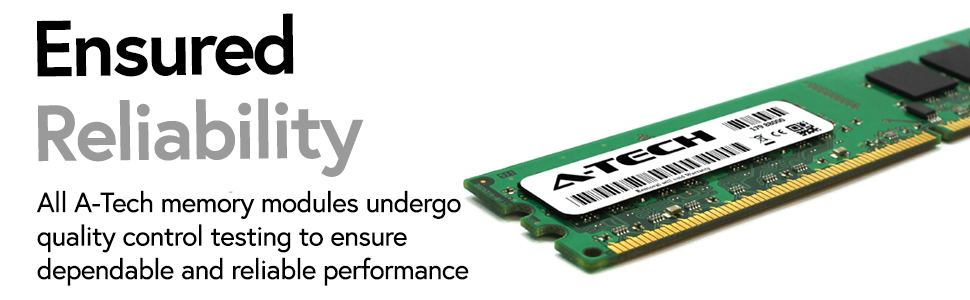
Image 3: Visual representation of benefits: accelerated system speeds, handling greater workloads, and high-quality performance.
8. Warranty and Support
A-Tech memory products are backed by a Lifetime Warranty, ensuring long-term reliability and customer satisfaction. For technical assistance, compatibility questions, or warranty claims, please contact A-Tech support.
For more information and support resources, visit the official A-Tech website: atechmemory.com

