
1. Introduction
This manual provides detailed instructions for the installation, operation, and maintenance of your A-Tech 8GB (4x2GB) DDR2 1066MHz Non-ECC DIMM RAM Memory Kit. This memory kit is designed to enhance the performance of compatible MSI Motherboards by providing additional system memory.
Please read this guide thoroughly before attempting installation to ensure proper handling and setup.

Image 1.1: A-Tech 8GB (4x2GB) DDR2 1066MHz Non-ECC DIMM RAM Memory Kit.
2. Compatibility
This A-Tech 8GB (4x2GB) DDR2 1066MHz Non-ECC DIMM RAM Memory Kit is specifically designed for use with the following MSI Motherboard models:
- MSI Motherboard MS-7514 P45 Neo3-FR
- MSI Motherboard MS-7519 Neo-F
- MSI Motherboard MS-7550 DKA790GX Platinum
- MSI Motherboard MS-7550
- MSI Motherboard MS-7551 KA780G
Ensure your motherboard supports DDR2 DIMM memory at 1066MHz and has available slots for four modules. Refer to your motherboard's manual for detailed memory specifications and slot configuration.
3. Installation Guide
Before beginning the installation process, ensure your computer is powered off and unplugged from the wall outlet. It is recommended to wear an anti-static wrist strap to prevent electrostatic discharge (ESD) which can damage electronic components.
3.1 Preparation
- Power Off: Shut down your computer completely.
- Unplug: Disconnect the power cable and all peripherals from the computer.
- Open Case: Remove the side panel of your computer case to access the motherboard.
- Locate RAM Slots: Identify the DIMM slots on your motherboard. These are typically long slots near the CPU.
3.2 Installing the Memory Modules
- Release Clips: Gently push down the retention clips at both ends of the DIMM slot.
- Align Module: Hold the memory module by its edges, avoiding touching the gold contacts. Align the notch on the memory module with the key in the DIMM slot.
- Insert Module: Place the module into the slot and apply even pressure to both ends until the retention clips snap into place, securing the module.
- Repeat: Install the remaining three memory modules into the appropriate slots, following your motherboard's manual for optimal dual-channel or quad-channel configuration.

Image 3.1: Illustration of a DIMM module (larger) and a SODIMM module (smaller). This product uses DIMM modules.
3.3 Post-Installation
- Close Case: Reattach the side panel of your computer case.
- Reconnect: Plug in the power cable and all peripherals.
- Power On: Start your computer. The system should automatically detect the new memory.
- Verify: Check your system's BIOS/UEFI settings or operating system's system information to confirm the new memory capacity is recognized.
4. Operating Principles and Benefits
Random Access Memory (RAM) serves as your computer's short-term data storage, allowing the CPU to quickly access information needed for active applications and processes. Upgrading your RAM, especially with a kit like the A-Tech 8GB DDR2 1066MHz, provides several operational benefits:
- Improved Responsiveness: Applications load faster and the system feels more fluid.
- Enhanced Multitasking: Run more programs simultaneously without experiencing slowdowns.
- Increased Workload Capacity: Better performance for demanding tasks such as video editing, graphic design, and gaming.
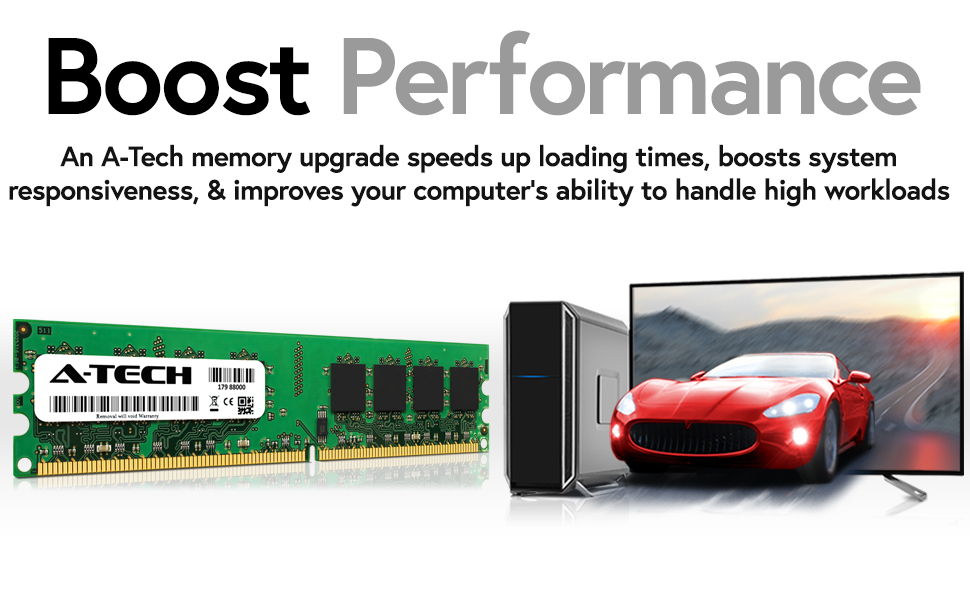
Image 4.1: Visual representation of how a memory upgrade can boost system performance.

Image 4.2: An example of increased multitasking capability with sufficient RAM.
5. Maintenance
A-Tech memory modules are designed for long-term reliability and generally require minimal maintenance. However, proper handling and environmental conditions are important:
- Clean Environment: Operate your computer in a clean, dust-free environment to prevent dust buildup on components, which can affect cooling and performance.
- Temperature Control: Ensure adequate airflow within your computer case to maintain optimal operating temperatures for all components, including RAM.
- Handling: When handling memory modules, always hold them by the edges to avoid touching the gold contacts or the integrated circuits. This prevents damage from static electricity or oils from your skin.
- Firmware/BIOS Updates: Keep your motherboard's BIOS/UEFI firmware updated, as manufacturers often release updates that improve memory compatibility and stability.
Image 5.1: A-Tech memory module, designed for reliability and quality.
6. Troubleshooting
If you encounter issues after installing your A-Tech memory kit, refer to the following common troubleshooting steps:
6.1 System Does Not Boot or Displays No Video
- Reseat Modules: Power off and unplug the computer. Carefully remove and reinsert each memory module, ensuring they are fully seated and the retention clips are locked.
- Check Compatibility: Double-check that your motherboard model is listed as compatible and supports DDR2 1066MHz Non-ECC DIMM memory.
- Single Module Test: If the issue persists, try booting the system with only one memory module installed in the primary DIMM slot (refer to your motherboard manual for primary slot designation). If it boots, test each module individually to identify a potentially faulty one.
- Clear CMOS: Refer to your motherboard manual for instructions on how to clear the CMOS (BIOS settings). This can resolve compatibility issues.
6.2 Incorrect Memory Capacity Detected
- Verify Seating: Ensure all memory modules are properly seated in their slots.
- BIOS/UEFI Update: Update your motherboard's BIOS/UEFI to the latest version. Newer firmware often includes improved memory support.
- Check OS Limitations: Ensure your operating system (especially 32-bit versions) supports the full 8GB of RAM. 32-bit operating systems typically only recognize up to 4GB.
6.3 System Instability or Crashes
- Run Memory Diagnostic: Use a memory diagnostic tool (e.g., Windows Memory Diagnostic, MemTest86) to check for errors.
- Check Overclocking: If you have manually adjusted memory timings or frequencies in the BIOS/UEFI, revert to default settings or use the motherboard's XMP/DOCP profile if available and supported.
- Temperature: Monitor system temperatures to ensure components are not overheating.
7. Specifications
| Feature | Specification |
|---|---|
| Brand | A-Tech |
| Model Number | MS668KMM1093 |
| Memory Type | DDR2 DIMM |
| Capacity | 8GB (4 x 2GB Modules) |
| Speed | 1066MHz |
| Error Correction | Non-ECC |
| Buffering | Unbuffered |
| Form Factor | DIMM (Desktop) |
| Compatible Devices | MSI Motherboards (MS-7514 P45 Neo3-FR, MS-7519 Neo-F, MS-7550 DKA790GX Platinum, MS-7550, MS-7551 KA780G) |
| Product Dimensions | 6.7 x 3.6 x 0.8 inches (approximate for kit) |
| Item Weight | 4.8 ounces (approximate for kit) |

Image 7.1: Key performance attributes of A-Tech memory.
8. Warranty and Support
A-Tech memory products are backed by a Lifetime Warranty. This warranty covers defects in materials and workmanship under normal use. For warranty claims or technical support, please contact A-Tech directly.
For further assistance, visit the official A-Tech website or contact their customer support team. Ensure you have your product model number (MS668KMM1093) and purchase information ready when seeking support.


