Product Overview
The VIVOSUN 7 Day Programmable Digital Timer is designed to automate the operation of various indoor electrical devices. It features a clear LCD display and allows for precise scheduling of power ON/OFF cycles, enhancing convenience and energy management. This timer is UL Listed, ensuring safety and reliability for household and horticultural applications.
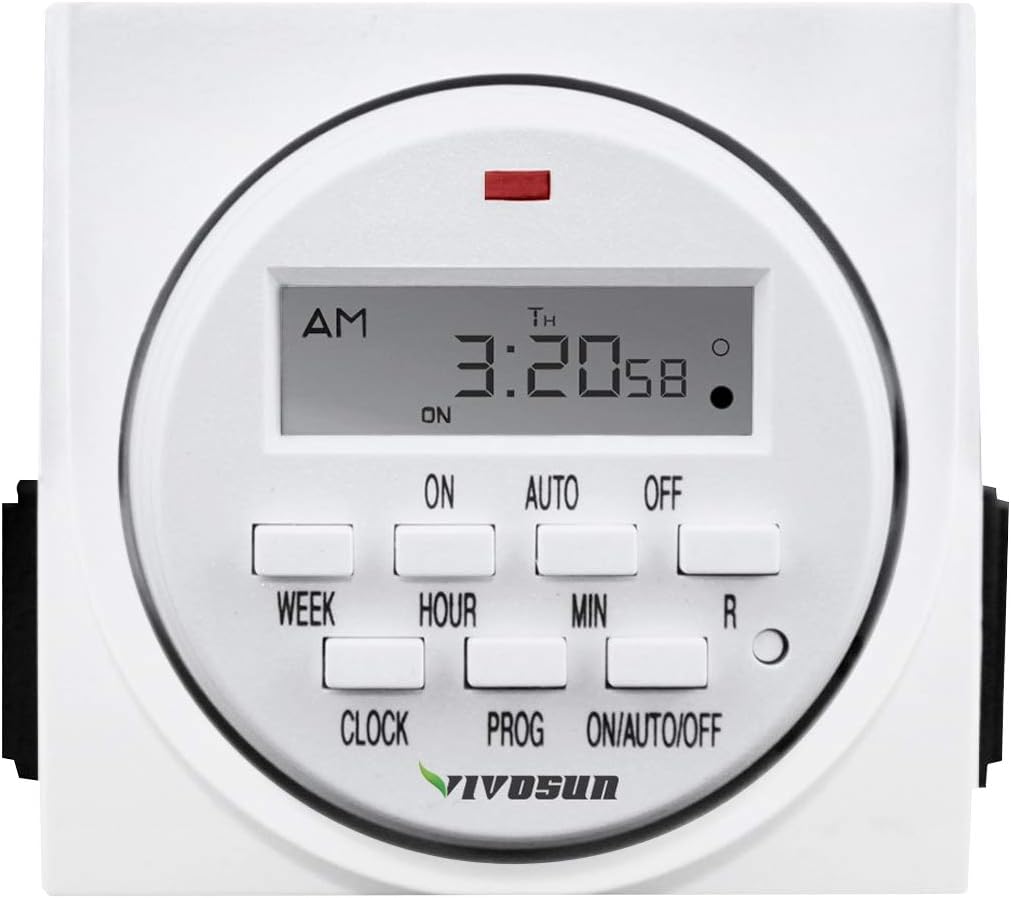
Figure 1: Front view of the VIVOSUN 7 Day Programmable Digital Timer, showing the LCD screen and control buttons.
Key Features:
- Programmable Cycles: Set up to 8 distinct ON/OFF programs with a minimum interval of 1 minute and a maximum of 7 days.
- LCD Display: Clear and easy-to-read screen for time and program settings.
- Multiple Operating Modes: Includes ON, OFF, AUTO, and a random function for varied control.
- Battery Backup: Retains programs during power outages.
- Safety Features: UL Listed, 3-prong grounded outlet to reduce electrical shock risk.
- Compact Design: Occupies only one outlet, leaving the second outlet free.
Setup and Initial Configuration
1. Unpacking and Initial Charge
Upon receiving your VIVOSUN Digital Timer, remove it from its packaging. The internal battery may require an initial charge. Plug the timer into a standard 115V AC outlet for approximately 30 minutes to ensure the battery is sufficiently charged to retain settings.
2. Resetting the Timer
Before first use or after a prolonged period of disuse, it is recommended to reset the timer. Locate the 'R' (Reset) button on the front panel. Use a small, pointed object (like a pen tip) to press and hold the 'R' button for a few seconds until the display clears. This will clear all previous settings.

Figure 2: The timer's compact design and key features, including the reset button location.
3. Setting the Current Time and Day
- Press and hold the CLOCK button.
- While holding CLOCK, press the WEEK button repeatedly to set the current day of the week (MO, TU, WE, TH, FR, SA, SU).
- While holding CLOCK, press the HOUR button repeatedly to set the current hour (AM/PM).
- While holding CLOCK, press the MIN button repeatedly to set the current minute.
- Release the CLOCK button to save the current time.
Video 1: A demonstration of setting the current time and programming the VIVOSUN 7 Day Programmable Digital Timer.
Operating Instructions
1. Programming ON/OFF Cycles
The timer allows for up to 8 distinct ON/OFF programs. Each program consists of an ON time and an OFF time, which can be set for specific days or groups of days.
- Press the PROG button once. The display will show "1 ON". This indicates you are setting the first ON time.
- Press WEEK to select the desired day(s) for this program. Options include individual days, weekdays, weekends, or all 7 days.
- Press HOUR to set the hour for the ON time.
- Press MIN to set the minute for the ON time.
- Press PROG again. The display will show "1 OFF". This indicates you are setting the first OFF time.
- Repeat steps 2-4 to set the day(s), hour, and minute for the OFF time.
- Continue pressing PROG to cycle through programs 2 ON, 2 OFF, up to 8 ON, 8 OFF.
- After setting all desired programs, press the CLOCK button to return to the current time display.

Figure 3: Detailed steps for programming the timer's ON/OFF schedules.

Figure 4: Examples of how to program the timer for different devices, such as a coffee maker or an aquarium pump.
2. Clearing a Program
To clear an existing ON or OFF time from a program:
- Press PROG repeatedly until the specific program (e.g., "3 ON") you wish to clear is displayed.
- Press the R (Reset) button. This will clear the displayed ON or OFF time for that program.
3. Selecting Operating Mode (ON/AUTO/OFF)
Press the ON/AUTO/OFF button to cycle through the three operating modes:
- ON: The timer will continuously supply power to the connected device, overriding all programmed settings.
- AUTO: The timer will operate according to the programmed ON/OFF schedules. The display will show "AUTO".
- OFF: The timer will continuously cut power to the connected device, overriding all programmed settings.
4. Random Function
The random function is designed to provide a security feature by varying the programmed ON/OFF times by 2-30 minutes. This can make it appear as if someone is home when you are away.
- To activate: Press the WEEK and HOUR buttons simultaneously while in AUTO mode. The display will show "R" to indicate random mode is active.
- To deactivate: Press WEEK and HOUR simultaneously again. The "R" will disappear.

Figure 5: The random function can be used to simulate occupancy for home security.
Applications
The VIVOSUN 7 Day Programmable Digital Timer is versatile and can be used with a wide range of indoor devices:
- Lighting: Control indoor lights, grow lights, or holiday decorations.
- Heating/Cooling: Manage small heaters, fans, or humidifiers.
- Aquariums: Automate aquarium lights, pumps, or filters.
- Kitchen Appliances: Schedule coffee makers, toasters, or slow cookers.
- Other Devices: Nebulizers, ventilators, indoor sprinklers, and more.

Figure 6: Examples of various applications for the VIVOSUN digital timer.
Video 2: An overview of the VIVOSUN 7 Day Digital Timer's features and various uses.
Maintenance
The VIVOSUN Digital Timer requires minimal maintenance. Keep the device clean and dry. Avoid exposing it to extreme temperatures or humidity. Do not attempt to open or repair the unit yourself, as this will void the warranty and could pose a safety risk.
Troubleshooting
- Display is blank or unresponsive: Ensure the timer is plugged into a live outlet. If it has been unplugged for a long time, the internal battery may be depleted. Plug it in for at least 30 minutes to charge. If the issue persists after charging, perform a full reset using the 'R' button.
- Programs are not running: Check that the timer is set to AUTO mode. If it is in ON or OFF mode, programmed schedules will be overridden. Verify that the current time and day are set correctly.
- Device not turning ON/OFF: Ensure the connected device is properly plugged into the timer and is functioning correctly when plugged directly into an outlet. Check the timer's operating mode (AUTO).
- Timer not holding settings: If settings are lost after a power outage or unplugging, the internal battery may not be holding a charge. Ensure the timer is plugged in for sufficient time to charge the battery. If the problem continues, the battery may need replacement or the unit may be faulty.
- Timer not programming correctly on a specific outlet: Some users have reported issues when using the timer with GFCI (Ground Fault Circuit Interrupter) outlets. If you experience programming difficulties, try plugging the timer into a standard, non-GFCI outlet to rule out compatibility issues.
Specifications
| Attribute | Detail |
|---|---|
| Rated Voltage | 115VAC, 60Hz |
| Max. Load | 15A, 1725W |
| Min. Setting Time | 1 minute |
| Max. Setting Time | 7 days (168 hours) |
| Operating Modes | ON, OFF, AUTO, Random |
| Number of Programs | Up to 8 ON/OFF programs |
| Certification | UL Listed |
| Material | Plastic |
| Color | White |
| Item Model Number | CECOMINOD039267 |
| Dimensions (approx.) | 3.9 x 3.82 x 3.7 inches (Package) |
| Item Weight | 8.1 ounces (230 Grams) |
Warranty and Support
The VIVOSUN 7 Day Programmable Digital Timer comes with a 1-Year Warranty from the date of purchase. This warranty covers defects in materials and workmanship under normal use. Please retain your proof of purchase for warranty claims.
For technical support, troubleshooting assistance, or warranty inquiries, please contact VIVOSUN customer service through their official website or the retailer where the product was purchased.


