1. Introduction
Thank you for choosing the Amica 618CE3.434HTAKDQ(XX) Freestanding Ceramic Cooker. This manual provides essential information for the safe and efficient use, installation, and maintenance of your new appliance. Please read these instructions carefully before using the cooker and keep them for future reference.
2. Safety Instructions
Your safety and the safety of others are paramount. Please observe the following safety precautions:
- Electrical Safety: Ensure the cooker is connected to a properly grounded electrical outlet by a qualified electrician. Do not use extension cords or adapters.
- Children and Vulnerable Persons: This appliance is not intended for use by persons with reduced physical, sensory, or mental capabilities, or lack of experience and knowledge, unless they have been given supervision or instruction concerning use of the appliance by a person responsible for their safety. Children should be supervised to ensure they do not play with the appliance.
- Hot Surfaces: The hob and oven surfaces become very hot during and after use. Always use oven mitts and avoid touching hot surfaces directly.
- Fire Hazard: Never leave the cooker unattended during operation. Do not store flammable materials in or near the appliance. Clean grease and food residues regularly to prevent fire.
- Ventilation: Ensure adequate ventilation in the kitchen during use.
- Cleaning: Always switch off and unplug the appliance before cleaning. Allow it to cool completely.
3. Product Overview
The Amica 618CE3.434HTAKDQ(XX) is a freestanding electric cooker featuring a ceramic hob and an electric oven. Its stainless steel finish provides a modern aesthetic.
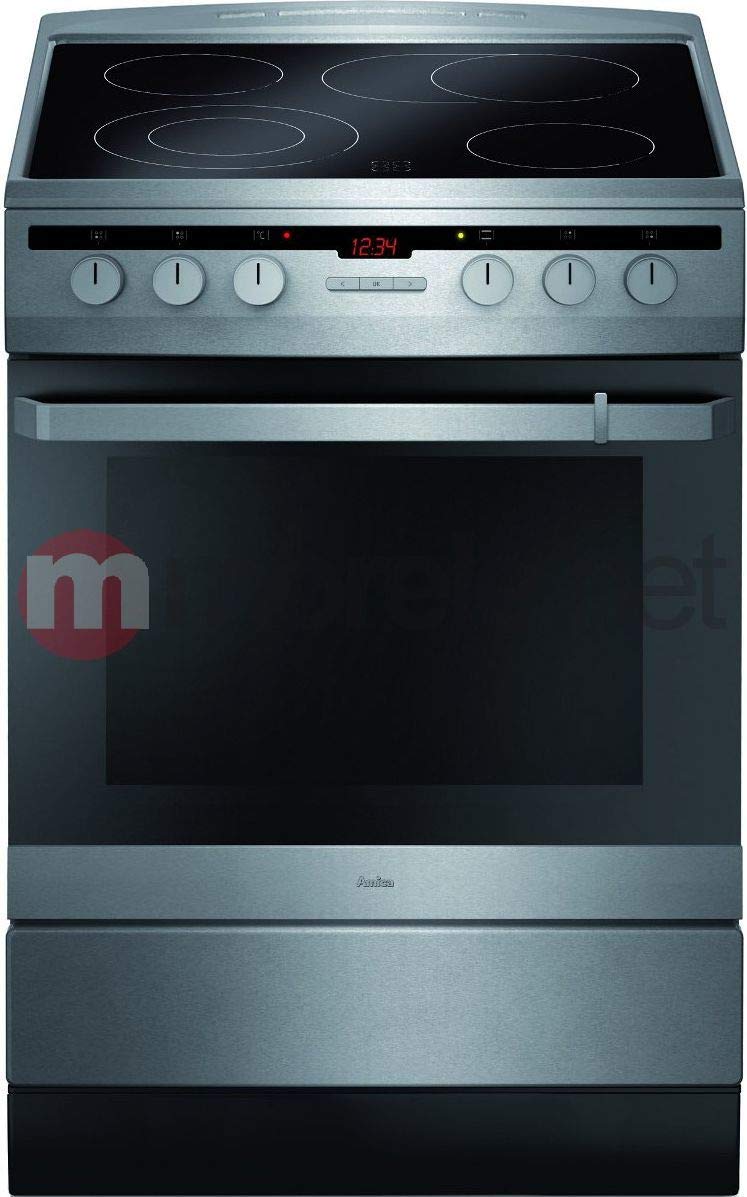
An image showing the Amica 618CE3.434HTAKDQ(XX) freestanding ceramic cooker, featuring a stainless steel finish, four ceramic hob zones, and an oven with control knobs.
Components:
- Ceramic Hob: Features four electric heating zones for cooking.
- Control Panel: Located at the front, with rotary knobs for hob zones and oven functions.
- Electric Oven: Multi-function oven for baking, roasting, and grilling.
- Oven Door: Equipped with heat-resistant glass.
- Storage/Broiler Drawer: A lower compartment that can be used for storage or as a broiler, depending on the model's specific configuration.
4. Setup and First Use
4.1. Installation
The Amica 618CE3.434HTAKDQ(XX) is a freestanding appliance. For safety and optimal performance, professional installation by a qualified technician is strongly recommended. Ensure the following:
- The cooker is placed on a stable, level surface.
- Adequate clearance is maintained around the appliance as per local regulations and manufacturer guidelines.
- The electrical connection meets the specifications outlined in the appliance's rating plate and local electrical codes.
- The appliance is properly grounded.
4.2. Before First Use
- Remove all packaging materials, stickers, and accessories from the hob and oven cavities.
- Clean the interior of the oven and the hob surface with a damp cloth and mild detergent. Dry thoroughly.
- To eliminate any manufacturing odors, heat the empty oven to its maximum temperature for approximately 30-60 minutes. Ensure the kitchen is well-ventilated during this process.
- Allow the appliance to cool completely before its first cooking use.
5. Operating Instructions
5.1. Using the Ceramic Hob
The ceramic hob features four heating zones, controlled by rotary knobs on the control panel. Each knob corresponds to a specific hob zone and allows you to adjust the heat intensity.
- Place a suitable pan on the desired hob zone. Ensure the pan base is flat and covers the heating zone adequately.
- Turn the corresponding control knob clockwise to the desired heat setting. The settings typically range from 1 (low) to 9 (high).
- The hob surface will heat up. An indicator light may illuminate to show a zone is active or hot.
- After cooking, turn the knob counter-clockwise to the '0' position to switch off the zone. The residual heat indicator will remain lit until the surface has cooled down.
5.2. Using the Electric Oven
The electric oven offers various cooking functions, selected via the oven function knob and temperature knob.
- Select Function: Turn the oven function knob to choose the desired cooking mode (e.g., conventional heating, grill, fan-assisted).
- Set Temperature: Turn the temperature knob to the required temperature for your recipe. The oven indicator light will illuminate, indicating that the oven is heating.
- Preheating: Allow the oven to preheat to the set temperature before placing food inside. The indicator light will turn off when the temperature is reached.
- Cooking: Carefully place food into the oven using oven mitts.
- Switch Off: Once cooking is complete, turn both the function and temperature knobs to the '0' position.
Note: Specific oven functions and their symbols can be found in the detailed appliance diagram, usually located on the inside of the oven door or control panel.
6. Maintenance and Cleaning
Regular cleaning and maintenance will ensure the longevity and optimal performance of your Amica cooker.
6.1. Cleaning the Ceramic Hob
- Always wait for the hob to cool down completely before cleaning.
- For light spills, wipe with a damp cloth and a small amount of mild dish soap.
- For stubborn stains or burnt-on food, use a specialized ceramic hob cleaner and a scraper designed for ceramic surfaces. Follow the product instructions carefully.
- Avoid abrasive cleaners, scouring pads, or harsh chemicals, as these can scratch or damage the ceramic surface.
6.2. Cleaning the Oven
- Ensure the oven is cool before cleaning.
- Remove oven racks and clean them separately in warm soapy water.
- Wipe the interior with a damp cloth and a mild detergent. For tougher grease, use an oven cleaner suitable for your oven type, following the manufacturer's instructions.
- Clean the oven door glass with a non-abrasive glass cleaner.
- Do not use steam cleaners.
6.3. Cleaning the Exterior
- Wipe the stainless steel exterior with a soft cloth dampened with warm soapy water.
- For best results on stainless steel, use a specialized stainless steel cleaner and polish in the direction of the grain.
- Avoid abrasive materials or cleaners that could scratch the surface.
7. Troubleshooting
Before contacting customer service, please check the following common issues and solutions:
| Problem | Possible Cause | Solution |
|---|---|---|
| Cooker does not turn on. | No power supply; appliance not plugged in; fuse tripped. | Check power outlet; ensure plug is fully inserted; check household fuse box. |
| Hob zone not heating. | Incorrect knob setting; faulty element. | Ensure knob is set to a heat level; if problem persists, contact service. |
| Oven not heating. | Incorrect function/temperature setting; oven door not closed properly. | Verify settings; ensure oven door is fully closed. |
| Excessive smoke/odor during first use. | Residues from manufacturing process. | This is normal for initial use. Ensure good ventilation. It will dissipate. |
If the problem persists after attempting these solutions, please contact Amica customer support.
8. Specifications
- Brand: Amica
- Model: 618CE3.434HTAKDQ(XX)
- Type: Freestanding Electric Cooker
- Hob Type: Ceramic (4 heating elements)
- Oven Type: Electric
- Control Type: Rotary Knobs
- Material: Stainless Steel
- Energy Efficiency Class: A-20%
- Product Dimensions (W x D x H): 60 x 60 x 85 cm
- Weight: 30 kg
- Fuel Type: Electricity
9. Warranty and Support
Your Amica 618CE3.434HTAKDQ(XX) cooker comes with a manufacturer's warranty. Please refer to the separate warranty card provided with your appliance for specific terms and conditions, including the warranty period and coverage details. Keep your proof of purchase for any warranty claims.
For technical assistance, spare parts, or to schedule a service appointment, please contact Amica customer support. Contact details can typically be found on the Amica official website or in the documentation supplied with your appliance.
When contacting support, please have your appliance model number (618CE3.434HTAKDQ(XX)) and serial number ready. The serial number is usually located on a sticker inside the oven door or on the back of the appliance.


