
1. Introduction
This manual provides essential information for the proper installation, operation, and maintenance of your A-Tech 2GB DDR2 PC2-6400 800MHz RAM Memory Module. Please read these instructions carefully before proceeding with installation to ensure optimal performance and system stability. This memory module is designed to enhance the performance of compatible Gigabyte motherboards.
2. Product Overview
The A-Tech 2GB DDR2 PC2-6400 800MHz RAM Memory Module is a high-quality component designed to improve your computer's multitasking capabilities and overall system responsiveness. It is a Non-ECC, unbuffered DIMM module, rigorously tested for reliability.

Image 2.1: A-Tech 2GB DDR2 RAM Memory Module. This image shows the physical appearance of the memory stick with its green PCB and black memory chips.
Key Features:
- Capacity: 2GB per module
- Type: DIMM DDR2 Non-ECC
- Speed: PC2-6400 (800MHz)
- Reliability: Genuine A-Tech Memory, rigorously tested for quality control.
- Warranty: Lifetime Warranty.
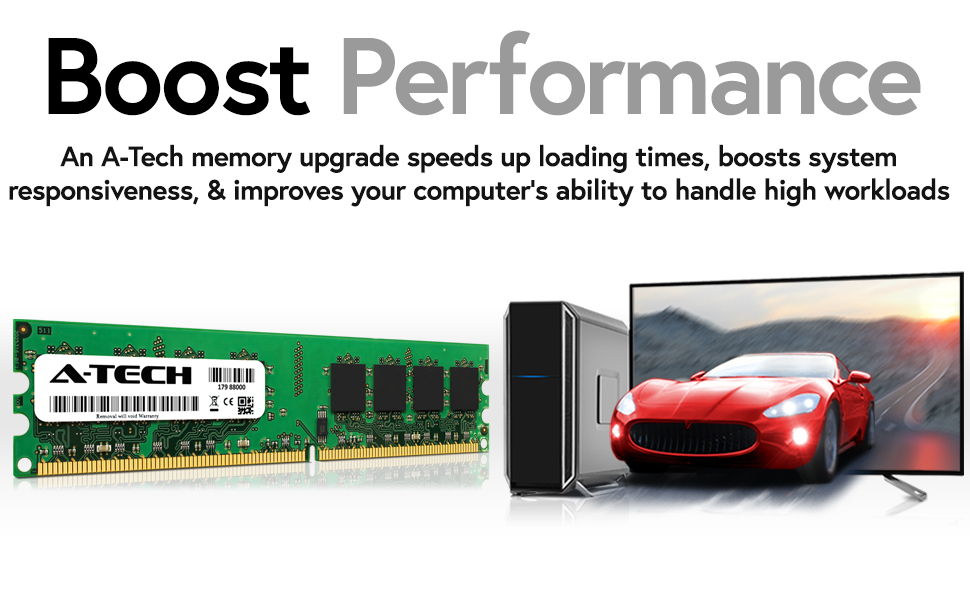
Image 2.2: Visual representation of performance boost. This image illustrates how an A-Tech memory upgrade can speed up loading times and improve system responsiveness, showing a RAM stick next to a computer displaying a fast car.
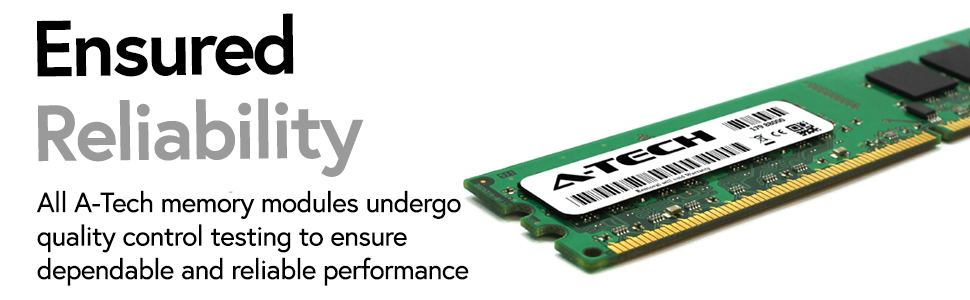
Image 2.3: A-Tech memory module undergoing quality control. This image highlights the reliability of A-Tech memory, showing a close-up of a RAM module with a label indicating quality control testing.

Image 2.4: Icons representing key performance benefits. This image displays three icons: a speedometer for 'Accelerate Speeds to 800MHz', stacked windows for 'Take on Greater Workloads', and a shield for 'Designed for High Quality Performance'.
3. Specifications
| Feature | Detail |
|---|---|
| RAM Capacity | 2 GB |
| RAM Type | DDR2 SDRAM |
| Memory Speed | 800 MHz (PC2-6400) |
| Form Factor | DIMM (240-pin) |
| ECC Type | Non-ECC Unbuffered |
| Model Number | MS664KMM9734 |
| Product Dimensions (LxWxH) | 6.7 x 2.3 x 0.4 inches |
| Item Weight | 1.2 ounces |
4. Compatibility
This A-Tech memory module is specifically designed and tested for compatibility with various Gigabyte motherboards. It is crucial to verify your motherboard's specifications to ensure compatibility before installation. Refer to your motherboard's manual for detailed memory requirements.
Known Compatible Gigabyte Motherboard Models:
- GA-G31M-ES2C
- GA-G31M-ES2L
- GA-G31MF-S2
- GA-G31M-S2L
- GA-G31MX-S2
- GA-G33-DS3R
- GA-G33M-DS2R
- GA-G33M-S2
- GA-G33M-S2H
- GA-G33M-S2L
Note: This list may not be exhaustive. Always consult your motherboard's official documentation for the most accurate and up-to-date compatibility information.
5. Installation (Setup)
Installing RAM is a straightforward process, but it requires careful handling to prevent damage to the module or your system. Follow these steps:
5.1. Pre-Installation Precautions
- Power Off: Completely shut down your computer and unplug it from the power outlet.
- Static Discharge: Ground yourself before touching any internal components. You can do this by touching a metal part of your computer case or by using an anti-static wrist strap.
- Work Area: Work on a clean, well-lit, and static-free surface.
5.2. Locating RAM Slots
- Open your computer case. Refer to your computer's manual for instructions on how to safely open the case.
- Locate the DIMM slots on your motherboard. These are typically long slots near the CPU.
- If you are replacing existing RAM, gently unclip the retention clips on both ends of the existing module and remove it.
5.3. Inserting the Memory Module
- Align the notch on the A-Tech memory module with the notch in the DIMM slot. This ensures correct orientation.
- Place the module into the slot and apply even pressure to both ends until the retention clips snap into place. You should hear a click.
- Ensure the clips are fully engaged and the module is seated firmly and evenly in the slot. Do not force the module if it does not fit; recheck the alignment.

Image 5.1: Illustration of enhanced multitasking. This image shows a user working on multiple monitors, symbolizing the ability to multitask with ease after a memory upgrade.
5.4. Post-Installation
- Close your computer case.
- Plug in the power cord and turn on your computer.
- Your system should automatically detect the new memory. You can verify this in your operating system's system information or in the BIOS/UEFI settings.
6. Operation
Once installed, the A-Tech memory module operates automatically. The operating system and applications will utilize the available RAM to store temporary data, improving overall system speed and responsiveness. No specific user interaction is required for its operation.
7. Maintenance
Memory modules generally require minimal maintenance. To ensure longevity and optimal performance:
- Keep System Clean: Regularly clean the interior of your computer to prevent dust buildup, which can lead to overheating and component failure.
- Avoid Physical Damage: Handle the memory module only by its edges to avoid touching the gold contacts or chips. Store unused modules in anti-static bags.
- Environmental Conditions: Operate your computer in a well-ventilated area with stable temperature and humidity.
8. Troubleshooting
If you encounter issues after installing your A-Tech memory module, consider the following troubleshooting steps:
- System Not Booting / No Display:
- Ensure the memory module is fully seated in its slot. Remove and re-insert it, making sure the retention clips snap into place.
- Verify that the module is compatible with your motherboard. Check the notch alignment.
- If you have multiple modules, try booting with only one module at a time to identify a potentially faulty stick or slot.
- Incorrect Memory Detection:
- Check your system's BIOS/UEFI settings to see if the correct amount of RAM is detected.
- Ensure your motherboard's BIOS/UEFI is up to date. An outdated BIOS might not fully support newer memory modules or configurations.
- Confirm that your operating system is 64-bit to utilize more than 4GB of RAM (though this module is 2GB, it's good general advice).
- System Instability / Blue Screens:
- Run a memory diagnostic tool (e.g., Windows Memory Diagnostic, MemTest86) to check for errors.
- Ensure your system's power supply is adequate for all components, especially if you've added other hardware.
If problems persist, contact A-Tech customer support for further assistance.
9. Warranty and Support
A-Tech stands behind the quality of its products. This A-Tech memory module comes with a Lifetime Warranty, ensuring peace of mind for your investment.
For technical support, warranty claims, or further inquiries, please visit the official A-Tech website or contact their customer service department. You can find more information and support resources at: https://atechmemory.com/

Image 9.1: A-Tech Company Logo. The logo for A-Tech, a brand specializing in RAM memory upgrades.

