
1. Product Overview
This manual provides instructions for the installation and use of your A-Tech 4GB (2x2GB) DIMM DDR2 Non-ECC PC2-5300 667MHz RAM Memory Kit. This memory kit is designed for compatibility with various Foxconn Motherboard models, including the 946GZ7MA series.

Image 1.1: A-Tech 4GB (2x2GB) DDR2 DIMM RAM Kit.
Key Features:
- 4GB KIT (2 x 2GB) DIMM DDR2 NON-ECC PC2-5300 667MHz RAM Memory
- Genuine A-Tech Memory
- Designed For Foxconn Motherboard (See Compatibility List Below)
2. Specifications
| Specification | Detail |
|---|---|
| Brand | A-Tech |
| Computer Memory Size | 4 GB (2 x 2GB) |
| RAM Memory Technology | DDR2 |
| Memory Speed | 667 MHz |
| Data Transfer Rate | 667 MHz |
| Form Factor | DIMM |
| Number of Pins | 240 |
| ECC Type | Non-ECC Unbuffered |
| Compatible Devices | Motherboard (Foxconn 946GZ7MA series) |
| Item Weight | 2.4 Ounces |
3. Setup and Installation
Safety Precautions:
- Always power off your computer and unplug it from the power source before opening the case.
- Discharge any static electricity by touching a grounded metal object (e.g., the computer case) before handling components. Consider using an anti-static wrist strap.
- Handle RAM modules by their edges to avoid touching the gold contacts or integrated circuits.
Installation Steps:
- Prepare Your System: Power down your computer, unplug the power cord, and open the computer case.
- Locate RAM Slots: Identify the DIMM memory slots on your Foxconn motherboard. Consult your motherboard's manual for specific slot locations and recommended configurations for dual-channel memory.
- Open Retention Clips: Gently push the white retention clips at each end of the DIMM slot outwards to open them.
- Align the Module: Hold the RAM module by its edges. Align the notch on the bottom edge of the RAM module with the key in the DIMM slot. The module will only fit one way. Do not force it.
- Insert the Module: Place the module into the slot and press down firmly and evenly on both ends until the retention clips snap into place, securing the module.
- Install Second Module: Repeat the process for the second RAM module, ensuring it is installed in the correct corresponding slot for dual-channel operation as per your motherboard's manual.
- Close Case and Power On: Once both modules are securely installed, close your computer case, plug in the power cord, and power on your system. The system should automatically detect the new memory.
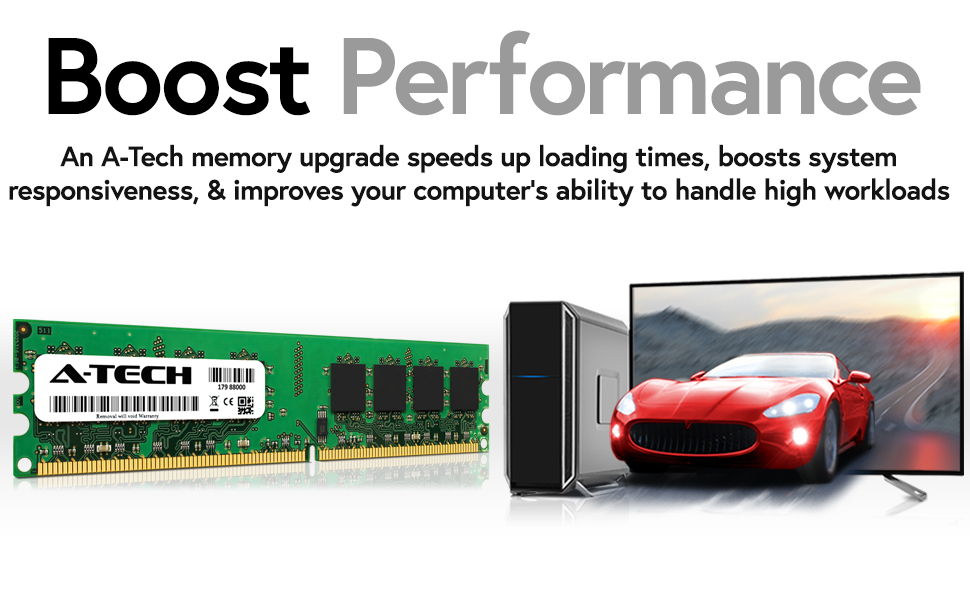
Image 3.1: A single A-Tech DDR2 DIMM RAM module, showing the notch for proper alignment.
4. Operating Your RAM
Once installed, your A-Tech DDR2 RAM operates automatically with your computer's motherboard and operating system. RAM (Random Access Memory) provides temporary storage for data that your computer's processor needs to access quickly. Increasing RAM capacity allows your system to handle more applications simultaneously and process larger datasets more efficiently, leading to improved overall system responsiveness.
To verify the installation, you can check your system's memory information through your operating system's settings or a system information utility. For Windows, you can typically find this under 'System' properties. For Linux, commands like `free -h` or `cat /proc/meminfo` can be used. For macOS, 'About This Mac' will display memory details.
5. Maintenance
RAM modules generally require minimal maintenance. To ensure optimal performance and longevity:
- Keep System Clean: Regularly clean the interior of your computer case to prevent dust buildup, which can impede airflow and lead to overheating of components, including RAM. Use compressed air for this purpose.
- Ensure Proper Ventilation: Operate your computer in a well-ventilated area to maintain appropriate operating temperatures.
- Avoid Physical Damage: When handling, always hold the modules by their edges. Avoid bending or applying excessive force.
6. Troubleshooting
If you encounter issues after installing your new RAM, consider the following troubleshooting steps:
- System Not Booting / No Display:
- Ensure the RAM modules are fully seated in their slots and the retention clips are locked.
- Verify that the modules are installed in the correct slots according to your motherboard's manual.
- Try booting with only one module installed at a time to identify if one module is faulty.
- Memory Errors / Blue Screens (BSOD):
- Run a memory diagnostic tool (e.g., Windows Memory Diagnostic) to check for errors.
- Ensure your motherboard's BIOS/UEFI is updated to the latest version, as this can improve memory compatibility.
- Check for proper voltage settings in BIOS/UEFI if you are experiencing instability, though for standard Non-ECC memory, default settings are usually sufficient.
- Incorrect Memory Amount Detected:
- Confirm that your operating system (especially 32-bit versions) supports the full amount of installed RAM. 32-bit operating systems typically only recognize up to 4GB.
- Re-seat the modules to ensure good contact.
7. Warranty and Support
Warranty Information:
This A-Tech memory kit is covered by a Limited Lifetime Warranty. This warranty covers defects in materials and workmanship. For specific terms and conditions, please refer to the official A-Tech warranty policy.
Customer Support:
For technical assistance, warranty claims, or further inquiries, please contact A-Tech Components directly. You can find support resources and contact information on the official A-Tech website: atechmemory.com.