
1. Introduction
This manual provides comprehensive instructions for the installation, operation, and maintenance of your A-Tech 4GB KIT (2 x 2GB) DDR2 RAM Memory Modules. These modules are designed to enhance the performance of compatible desktop systems, particularly those utilizing EliteGroup (ECS) Motherboards. Please read this manual thoroughly before proceeding with installation or use.
2. Product Features
- 4GB KIT (2 x 2GB): Provides a total of 4GB of memory across two modules for dual-channel performance.
- DIMM DDR2 Non-ECC PC2-6400 800MHz: Industry-standard specifications ensuring compatibility and performance.
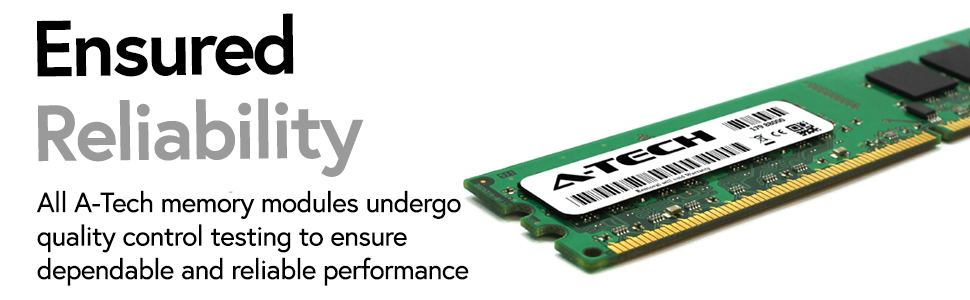
- Genuine A-Tech Memory: Manufactured with quality components and rigorous testing.
- Lifetime Warranty: Backed by A-Tech's commitment to quality and customer satisfaction.
3. Compatibility
This memory kit is specifically designed for EliteGroup (ECS) Motherboards. Compatible models include, but are not limited to: IC43T-A, IC780M-A, K8M890M-M, KA3 Deluxe, MVP, KN3 SLI2 Extreme, MCP55M-A, MCP73VT-PM, and NF650iSLIT-A. It is crucial to verify your motherboard's specific memory requirements (DDR2 DIMM, 800MHz, Non-ECC) in its user manual before installation to ensure proper functionality.
4. Setup and Installation
4.1. Preparation and Safety Precautions
- Power Off: Always power down your computer completely and unplug it from the wall outlet before opening the case.
- Static Electricity: Static discharge can damage electronic components. Ground yourself by touching a metal part of the computer chassis before handling the memory modules. Consider using an anti-static wrist strap.
- Work Area: Ensure your work area is clean, well-lit, and free of clutter.
- Tools: A Phillips head screwdriver may be needed to open your computer case.
4.2. Installation Steps
- Open Computer Case: Remove the side panel of your computer case to access the motherboard.
- Locate RAM Slots: Identify the DIMM slots on your motherboard. These are typically long, narrow slots near the CPU. Consult your motherboard manual for optimal slot placement for dual-channel memory.
- Open Retention Clips: Gently push the small clips at each end of the DIMM slot outwards to open them.
- Align Memory Module: Hold the memory module by its edges, avoiding touching the gold contacts. Align the notch on the module with the key in the DIMM slot. The module will only fit one way.
- Insert Module: Place the module into the slot and apply firm, even pressure to both ends until the retention clips snap into place, securing the module.
- Repeat for Second Module: Install the second 2GB module into the appropriate dual-channel slot as indicated by your motherboard manual.
- Close Case and Power On: Once both modules are securely installed, close your computer case, plug it back in, and power it on. The system should automatically detect the new memory.

5. Operating Principles
5.1. Understanding RAM
Random Access Memory (RAM) is a type of computer memory that can be accessed randomly, allowing data to be retrieved or stored quickly. It serves as a temporary storage area for data that the computer's processor (CPU) needs to access frequently. The more RAM your system has, the more applications and data it can handle simultaneously without slowing down.
5.2. Performance Benefits
Upgrading to A-Tech DDR2 800MHz RAM can significantly improve your system's responsiveness. With 4GB of high-speed memory, your computer will experience faster loading times for applications, smoother multitasking, and enhanced overall system performance, especially when running resource-intensive programs or multiple applications concurrently.



6. Maintenance
RAM modules generally require minimal maintenance. To ensure their longevity and optimal performance:
- Keep System Clean: Regularly clean the interior of your computer case to prevent dust buildup, which can lead to overheating and affect component performance.
- Proper Handling: When handling RAM, always hold it by the edges and avoid touching the gold contacts or the chips directly.
- Environmental Conditions: Operate your computer in a well-ventilated area with stable temperature and humidity to prevent component stress.
7. Troubleshooting
If you encounter issues after installing your A-Tech RAM, consider the following diagnostic steps:
- System Not Booting / No Display: Ensure the memory modules are fully seated in their slots. Gently press down on both ends of each module until the retention clips click into place.
- Blue Screen of Death (BSOD) / System Instability: This could indicate a memory issue. Try testing each RAM module individually if you have multiple sticks. Remove one module and test, then swap it with the other and test again.
- Incorrect Memory Detected: If your system BIOS or operating system does not report the correct amount of installed RAM, ensure the modules are compatible with your motherboard and that they are correctly seated. Update your motherboard's BIOS if necessary.
- Consult Motherboard Manual: Refer to your motherboard's user manual for specific memory installation guidelines and troubleshooting tips.
8. Specifications
| Specification | Detail |
|---|---|
| Brand | A-Tech |
| Computer Memory Size | 4 GB (2 x 2GB Kit) |
| RAM Memory Technology | DDR2 |
| Memory Speed | 800 MHz |
| Form Factor | DIMM |
| Number of Pins | 240 |
| ECC Type | Non-ECC |
| Item Weight | 2.4 Ounces |
9. Warranty Information
A-Tech provides a Limited Lifetime Warranty covering defects in materials and workmanship for this memory kit. For detailed warranty terms and conditions, please refer to the official A-Tech website or contact customer support.
10. Support
For further assistance, technical support, or warranty claims, please contact A-Tech customer service. You can find contact information and additional resources on the official A-Tech website: atechmemory.com.