1. Introduction
This manual provides essential information for the proper installation, operation, and maintenance of the CalAmp LMU3000 GPRS Tracking Unit. The LMU3000 is a versatile telematics device designed for vehicle tracking and monitoring, featuring an OBD-II connector for vehicle data acquisition, built-in accelerometer for driver behavior analysis, and advanced crash detection capabilities.
It offers superior GPS and cellular performance, supporting GPRS, CDMA 1 RTT, or HSPA packet data and SMS-based messaging. The unit includes an internal antenna for streamlined installation and supports power sleep modes and a backup battery for reliable operation.
2. Safety Information
Please read all safety instructions carefully before installing or operating the device. Failure to follow these instructions may result in damage to the device, vehicle, or personal injury.
- Ensure the vehicle's ignition is off before connecting or disconnecting the device.
- Do not attempt to open or modify the device. This will void the warranty and may cause damage.
- Install the device in a location where it will not obstruct the driver's view or interfere with vehicle controls.
- Keep the device away from extreme temperatures, moisture, and direct sunlight.
- Dispose of the device and its battery according to local regulations.
3. Package Contents
Verify that all items are present in the package:
- CalAmp LMU3000 GPRS Tracking Unit
- User Manual (this document)
Note: Additional accessories such as SIM cards are not included and must be acquired separately.
4. Setup and Installation
4.1. SIM Card Installation
The LMU3000 requires a valid SIM card for cellular communication. Ensure the SIM card is activated and supports GPRS, CDMA 1 RTT, or HSPA data services.
- Locate the SIM card slot on the device. (Refer to image for guidance)
- Carefully insert the SIM card into the slot until it clicks into place. Ensure correct orientation.
- Close any protective cover if present.

Figure 4.1: Illustration of SIM card insertion into the CalAmp LMU3000 unit.
4.2. Device Placement and Connection
The LMU3000 connects directly to the vehicle's OBD-II port. The OBD-II port is typically located under the dashboard on the driver's side.
- Turn off the vehicle's ignition.
- Locate the OBD-II port in your vehicle.
- Plug the LMU3000 directly into the OBD-II port. Ensure a secure connection.
- Once connected, the device will power on automatically.
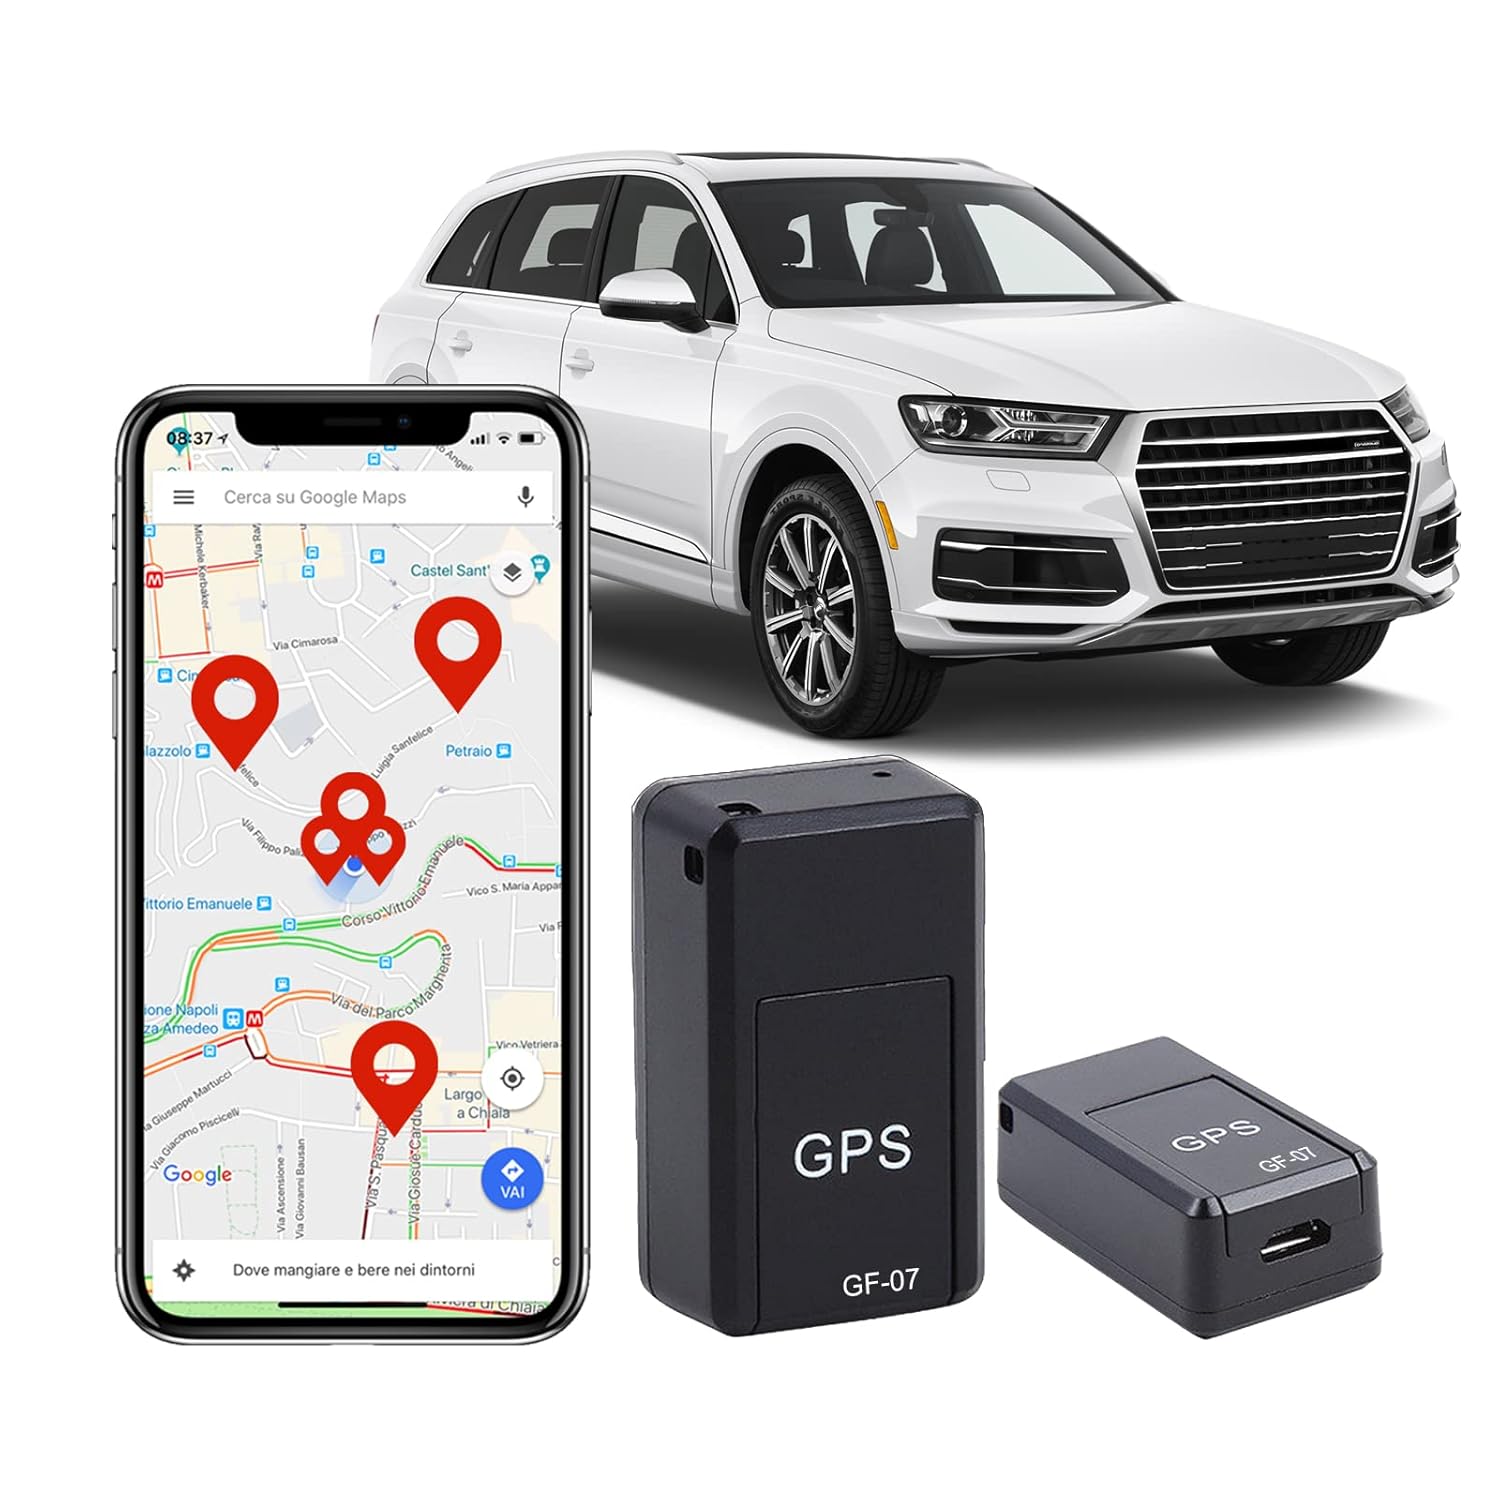
Figure 4.2: The CalAmp LMU3000 connected to a vehicle's OBD-II port for power and data.

Figure 4.3: Examples of discreet installation locations for the tracking unit within a vehicle.
5. Operating Instructions
5.1. Initial Power-Up and Status Indicators
Upon connection to the OBD-II port, the LMU3000 will power on. The device typically has LED indicators to show its status:
- Power LED: Indicates the device is receiving power.
- GPS LED: Indicates GPS signal acquisition. A solid light usually means a fix has been obtained.
- Cellular LED: Indicates cellular network connectivity. A solid light usually means connected to the network.
Refer to the device's specific LED behavior for detailed status interpretation.
5.2. Tracking and Data Monitoring
The LMU3000 transmits vehicle data and location information to a designated server or platform. Access to this data is typically provided through a web-based application or mobile app, which is managed by your service provider.
- Real-time Tracking: View the current location of your vehicle on a map.
- Historical Playback: Review past routes and stops.
- Driver Behavior: Monitor events such as harsh braking, rapid acceleration, and excessive speeding (requires service provider support).
- Vehicle Diagnostics: Access OBD-II data for vehicle health monitoring (requires service provider support).

Figure 5.1: Example of real-time location tracking displayed on a mobile device.

Figure 5.2: Visual representation of the device's real-time location capabilities.

Figure 5.3: Overview of the advanced tracking technology and its broad applications.
6. Maintenance
The CalAmp LMU3000 is designed for minimal maintenance. Follow these guidelines to ensure optimal performance and longevity:
- Cleaning: Wipe the device with a soft, dry cloth. Do not use liquid cleaners or solvents.
- Connection Check: Periodically ensure the device is securely plugged into the OBD-II port.
- Firmware Updates: Firmware updates are typically performed remotely by your service provider. Do not attempt to update firmware manually unless instructed by support.
- Battery: The device has a backup battery. If the vehicle's power is disconnected, the backup battery will provide temporary power. The backup battery is not user-replaceable.
7. Troubleshooting
If you encounter issues with your CalAmp LMU3000, refer to the following common problems and solutions:
| Problem | Possible Cause | Solution |
|---|---|---|
| No Power / LEDs Off | Device not properly connected to OBD-II port; Vehicle ignition off; Vehicle battery low. | Ensure secure connection; Turn on vehicle ignition; Check vehicle battery. |
| No GPS Signal (GPS LED off/flashing) | Device in an area with poor GPS reception (e.g., indoors, underground garage); Obstruction to sky view. | Move vehicle to an open area with clear sky view; Wait for GPS fix. |
| No Cellular Connectivity (Cellular LED off/flashing) | No SIM card; SIM card not activated; Poor cellular network coverage; Incorrect APN settings (configured by service provider). | Ensure SIM card is inserted and activated; Move to an area with better cellular coverage; Contact your service provider. |
| Inaccurate Location Data | Weak GPS signal; GPS jamming/spoofing; Device interference. | Ensure clear sky view; Check for sources of interference near the device. |
If the problem persists after attempting these solutions, please contact your service provider or CalAmp technical support.
8. Specifications
| Feature | Detail |
|---|---|
| Model | LMU3000 |
| Manufacturer | CalAmp |
| Connectivity | GPRS, CDMA 1 RTT, HSPA, SMS-based messaging |
| GPS Sensitivity | -162 dBm tracking |
| Antenna | Internal |
| Interface | OBD-II |
| Sensors | Built-in accelerometer |
| Geo-fences | 32 built-in, plus combination of circle/polygon zones up to 5400 points |
| Dimensions | 3.81 x 2.54 x 2.54 cm (1.5 x 1.0 x 1.0 inches) |
| Weight | 42.4 g (1.5 oz) |
| Power | Vehicle OBD-II port, Backup battery |
| Material | Electronic Components, Plastic |
| Special Features | Speed Monitoring, Driver Behavior Capabilities, Impact Detection, Power Sleep Modes |
9. Warranty Information
CalAmp products are typically covered by a limited warranty. For specific warranty terms and conditions, please refer to the warranty card included with your product or visit the official CalAmp website. The warranty generally covers defects in materials and workmanship under normal use.
Note: Opening or modifying the device will void the warranty.
10. Customer Support
For technical assistance, troubleshooting beyond this manual, or warranty claims, please contact your service provider or CalAmp customer support.
CalAmp Official Website: www.calamp.com
Please have your device model number (LMU3000) and serial number ready when contacting support.


