
Introduction
This manual provides detailed instructions for the setup, operation, and maintenance of your Taylor 1512 Wireless Digital Weather Station. This device is designed to accurately monitor both indoor and outdoor temperatures, offering convenience and essential weather information at a glance. Please read this manual thoroughly before using the device to ensure proper function and longevity.
Safety Information
- Do not expose the main unit or remote sensor to extreme temperatures, direct sunlight, or excessive moisture.
- Avoid dropping the device or subjecting it to strong impacts.
- Do not mix old and new batteries, or different types of batteries.
- Dispose of used batteries responsibly according to local regulations.
- Keep the device out of reach of children.
Package Contents
Verify that all components are present in the package:
- Taylor 1512 Main Display Unit
- Wireless Remote Sensor
- Instruction Manual (this document)
Product Overview
The Taylor 1512 Wireless Digital Weather Station consists of a main display unit for indoor use and a remote sensor for outdoor temperature monitoring. The main unit features a clear LCD display showing time, date, indoor temperature, and outdoor temperature.
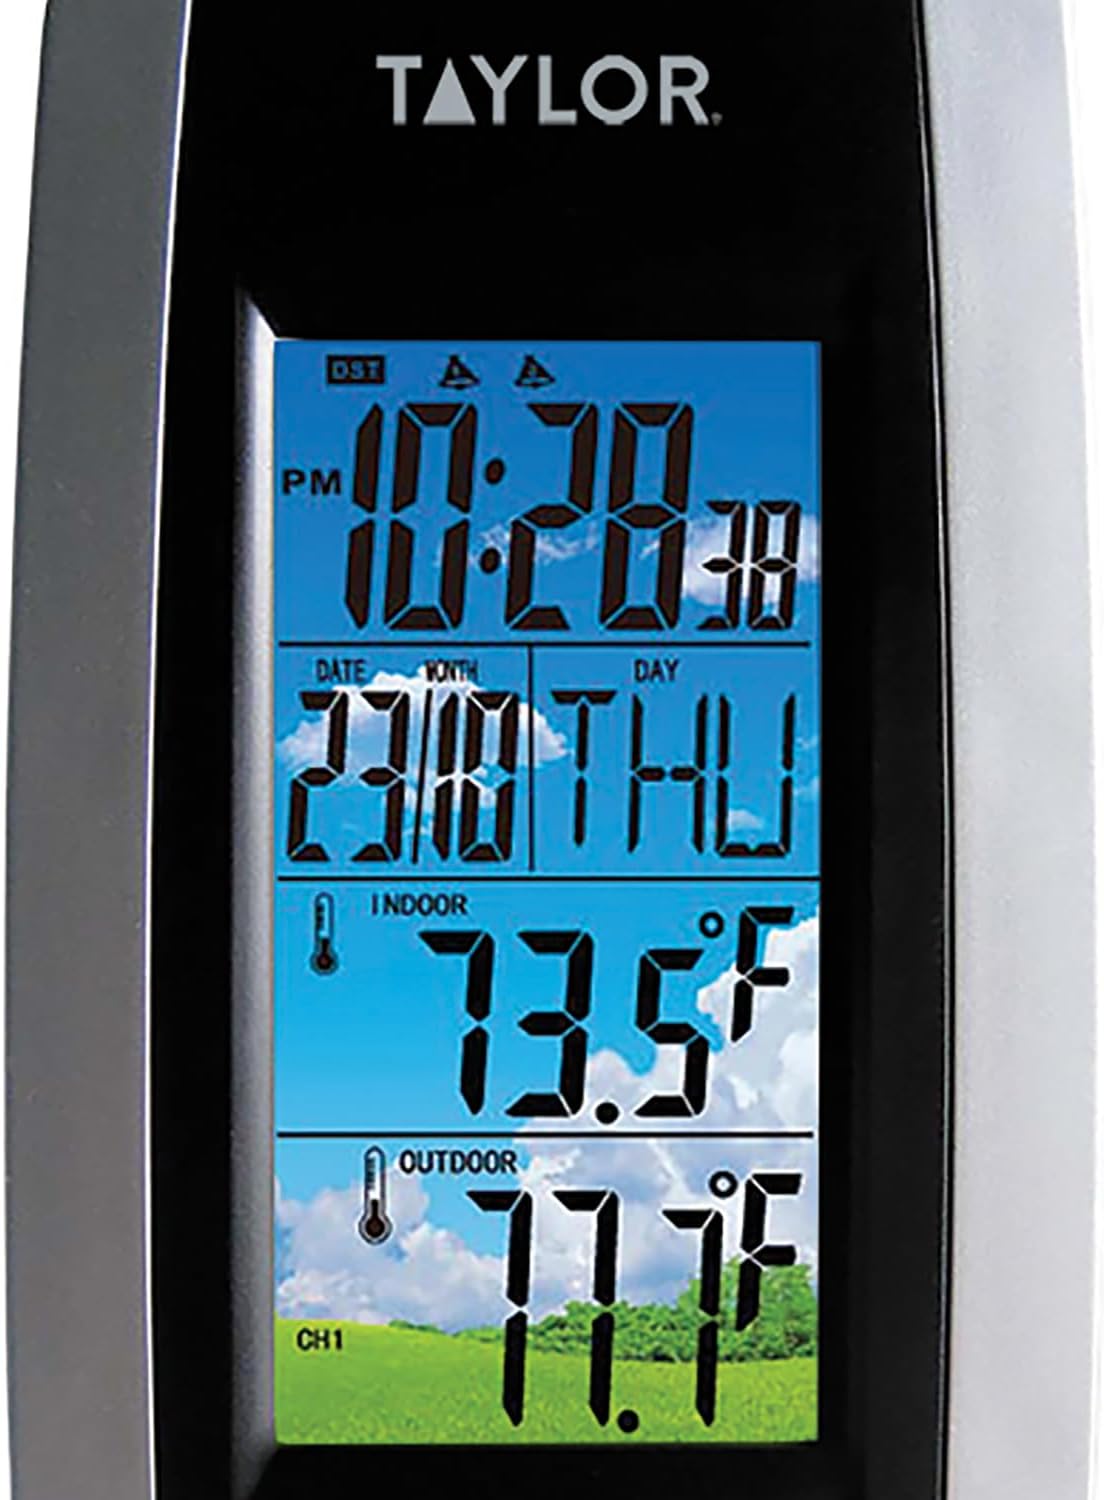
Image: Front view of the main display unit. This image shows the digital display with time, date, indoor temperature (73.5°F), and outdoor temperature (77.7°F) clearly visible. The unit has a black and silver design.
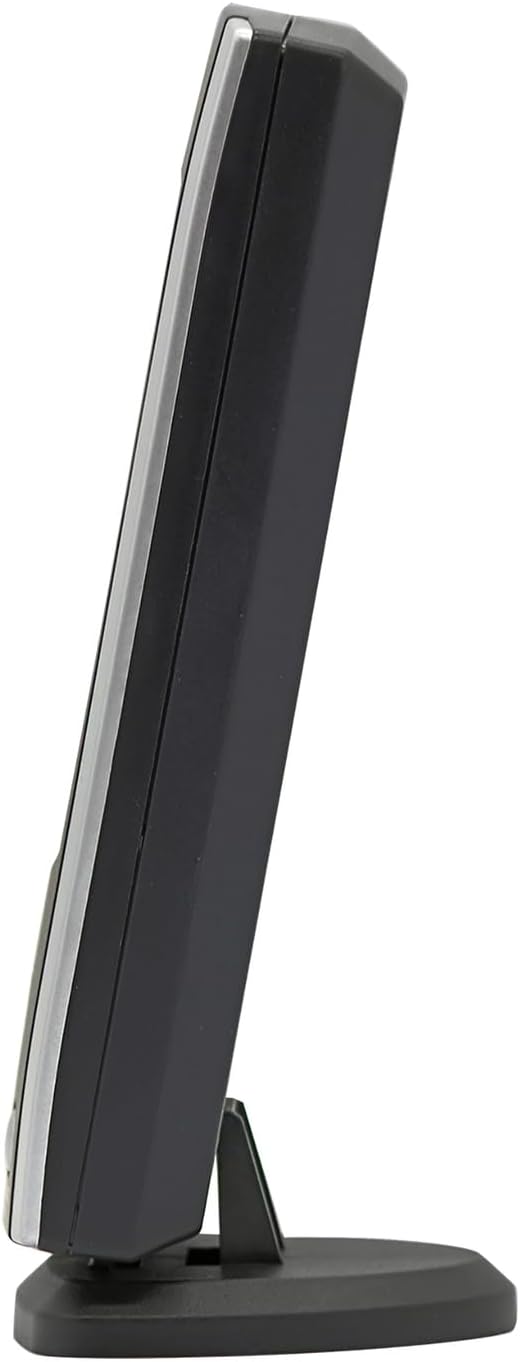
Image: Side profile of the main display unit. This view highlights the slim profile of the weather station and its integrated kickstand for desktop placement.

Image: Front view of the wireless remote sensor. The sensor is white with a black central panel and a small circular display showing temperature (73.5°F) and humidity (45%). It indicates 433MHz transmission.
Setup
1. Battery Installation
For the Main Display Unit:
- Open the battery compartment cover on the back of the main unit.
- Insert the required batteries (e.g., 2x AAA, not included) according to the polarity markings (+ and -).
- Close the battery compartment cover securely.
For the Wireless Remote Sensor:
- Open the battery compartment cover on the back of the remote sensor.
- Insert the required batteries (e.g., 2x AAA, not included) according to the polarity markings (+ and -).
- Close the battery compartment cover securely.
2. Sensor Placement
- Place the main display unit indoors, away from direct sunlight and heat sources, ensuring good ventilation.
- Mount the wireless remote sensor outdoors in a shaded area, protected from direct rain and sunlight, to ensure accurate temperature readings. The sensor transmits up to 100 feet (30 meters).
- Ensure the sensor is within the 100-foot transmission range of the main unit and free from major obstructions like thick walls or large metal objects that could interfere with the wireless signal.
3. Initial Synchronization
After installing batteries in both units, the main display unit will automatically attempt to connect with the remote sensor. This process may take a few minutes. Once connected, the outdoor temperature will appear on the main display.
Operating Instructions
1. Display Information
The main display unit shows the following information:
- Time: Current time (hour, minute, second).
- Date: Month, day, and day of the week.
- Indoor Temperature: Temperature measured by the main unit.
- Outdoor Temperature: Temperature transmitted by the wireless remote sensor.
2. Temperature Unit Selection (Fahrenheit/Celsius)
To switch between Fahrenheit (°F) and Celsius (°C) temperature readings, locate the "F/C" button (or similar) on the back or side of the main display unit. Press this button to toggle between the two units.
3. Setting Time and Date
Specific buttons for setting time and date are usually located on the back of the main unit. Look for buttons labeled "MODE", "SET", "ADJ", or similar. Follow these general steps:
- Press the "MODE" or "SET" button to enter time/date setting mode.
- Use "ADJ" or arrow buttons to adjust the flashing value (e.g., hour, minute, year, month, day).
- Press "MODE" or "SET" again to confirm the setting and move to the next value.
- Exit setting mode by pressing "MODE" or "SET" until the display returns to normal, or by leaving it idle for a few seconds.
Maintenance
- Cleaning: Wipe the main unit and sensor with a soft, damp cloth. Do not use abrasive cleaners or solvents.
- Battery Replacement: Replace batteries in both units when the low battery indicator appears on the display, or if the display becomes dim or unresponsive. Always replace all batteries at the same time.
- Long-Term Storage: If the device will not be used for an extended period, remove all batteries to prevent leakage.
Troubleshooting
| Problem | Possible Cause | Solution |
|---|---|---|
| No display on main unit. | Batteries are dead or incorrectly inserted. | Check battery polarity and replace with fresh batteries. |
| Outdoor temperature not displayed or inaccurate. |
|
|
| Display is dim or difficult to read. | Low batteries in the main unit. | Replace batteries in the main unit. |
Specifications
- Model: 1512
- Display Type: LCD
- Indoor Temperature Range: Typically 32°F to 122°F (0°C to 50°C)
- Outdoor Temperature Range: Typically -4°F to 158°F (-20°C to 70°C)
- Temperature Accuracy: ±1°C (±1.8°F)
- Wireless Transmission Range: Up to 100 feet (30 meters) in open air.
- Connectivity Technology: Wireless (433MHz)
- Power Source:
- Main Unit: AC adapter (not specified if included)
- Remote Sensor: Batteries (e.g., 2x AAA, not included)
- Material: Plastic
- Color: Black and Silver
- Item Weight: 7.2 ounces (main unit)
Warranty and Support
This product comes with a manufacturer's warranty. For specific details regarding the warranty period and coverage, please refer to the documentation included with your purchase or contact Taylor customer support. For technical assistance or further inquiries, please visit the official Taylor website or contact their customer service department.
Warranty Description: Warranty


