
Introduction
This manual provides detailed instructions for the installation, operation, and maintenance of your QPower Single 12-Inch Sealed Subwoofer Enclosure, Model QBOMB12SSINGLE. This enclosure is designed to house a 12-inch subwoofer, providing a robust and acoustically optimized environment for enhanced bass reproduction in your vehicle's audio system. Please read this manual thoroughly before installation and use to ensure proper setup and performance.
Product Features
- Optimized Design: Engineered for a wide range of 12-inch subwoofers, delivering tight and punchy bass response.
- Durable Construction: Built from 3/4-inch Medium Density Fiberboard (MDF) with reinforced seams to minimize vibration and acoustic distortion.
- Protective Finish: Features a black bed-liner-style spray finish that resists moisture and scuffs, ensuring longevity and a clean appearance.
- Compact Footprint: Designed for versatile placement in various vehicle types, including trunks, hatch areas, or behind seats in trucks and SUVs.
- Easy Wiring: Equipped with a spring-loaded terminal cup for secure and straightforward electrical connections without the need for soldering.
- Acoustically Tuned: Optimized internal air space to enhance audio performance and allow your subwoofer to achieve its full potential.
Package Contents
Verify that all items are present in the package before proceeding with installation.
- QPower Single 12-Inch Sealed Subwoofer Enclosure (Model QBOMB12SSINGLE)
- Preinstalled Spring-Loaded Terminal Cup
- Mount Accessories
- Baffle Materials
Specifications

This image displays a diagram of the QPower Single 12-Inch Sealed Subwoofer Enclosure with key dimensions and material specifications. The enclosure measures approximately 14 inches in width, 13 inches in height, and 16 inches in depth (with a top depth of 11 inches). It is constructed from 3/4-inch MDF, has an air space of 1.3 cubic feet, and an item weight of 16.87 lbs.
| Feature | Detail |
|---|---|
| Brand | Q Power |
| Model Number | QBOMB12SSINGLE |
| Speaker Size Compatibility | 12 inches |
| Enclosure Type | Sealed |
| Material | 3/4-inch MDF (Medium Density Fiberboard) |
| Finish | Black Bed-Liner Style Spray Finish |
| Internal Air Space | 1.3 cubic feet |
| Mounting Type | Vehicle Mount |
| Unit Count | 1 Count |
| Dimensions (Approximate) | 14" (W) x 13" (H) x 16" (D) / 11" (Top D) |
| Item Weight | 16.87 lbs |
Setup and Installation
Follow these steps to properly install your 12-inch subwoofer into the QPower enclosure and integrate it into your vehicle's audio system.
1. Subwoofer Mounting
- Prepare the Subwoofer: Ensure your 12-inch subwoofer is ready for installation. If it has a gasket, ensure it is properly seated.
- Position the Subwoofer: Carefully align your subwoofer with the circular opening on the front baffle of the enclosure.
- Secure the Subwoofer: Using appropriate screws (typically provided with your subwoofer or mount accessories), secure the subwoofer to the enclosure. Tighten screws evenly to create a tight seal, but do not overtighten to avoid damaging the enclosure or subwoofer frame.

This image shows the front of the QPower 12-inch sealed subwoofer enclosure. The large circular opening is where the subwoofer will be mounted. The preinstalled spring-loaded terminal cup is visible inside the enclosure, ready for wiring connections.
2. Wiring Connections
- Access Terminal Cup: The enclosure features a preinstalled spring-loaded terminal cup on the rear panel for easy wiring.
- Connect Subwoofer Wires: Connect the positive (+) and negative (-) wires from your amplifier to the corresponding terminals on the spring-loaded terminal cup. Ensure correct polarity to prevent phase issues.
- Secure Connection: The spring-loaded terminals provide a secure connection without the need for soldering. Ensure wires are firmly seated.

This image displays the rear panel of the QPower 12-inch sealed subwoofer enclosure. The spring-loaded terminal cup is clearly visible, providing convenient and secure connection points for amplifier wiring.
3. Vehicle Placement
The compact design of this enclosure allows for flexible placement within your vehicle.
- Common Locations: Consider placing the enclosure in the trunk, hatch area, or behind the driver's seat in compatible trucks and SUVs.
- Secure Placement: Use mount accessories (if applicable) or other secure methods to prevent the enclosure from shifting during vehicle operation. This ensures safety and consistent audio performance.
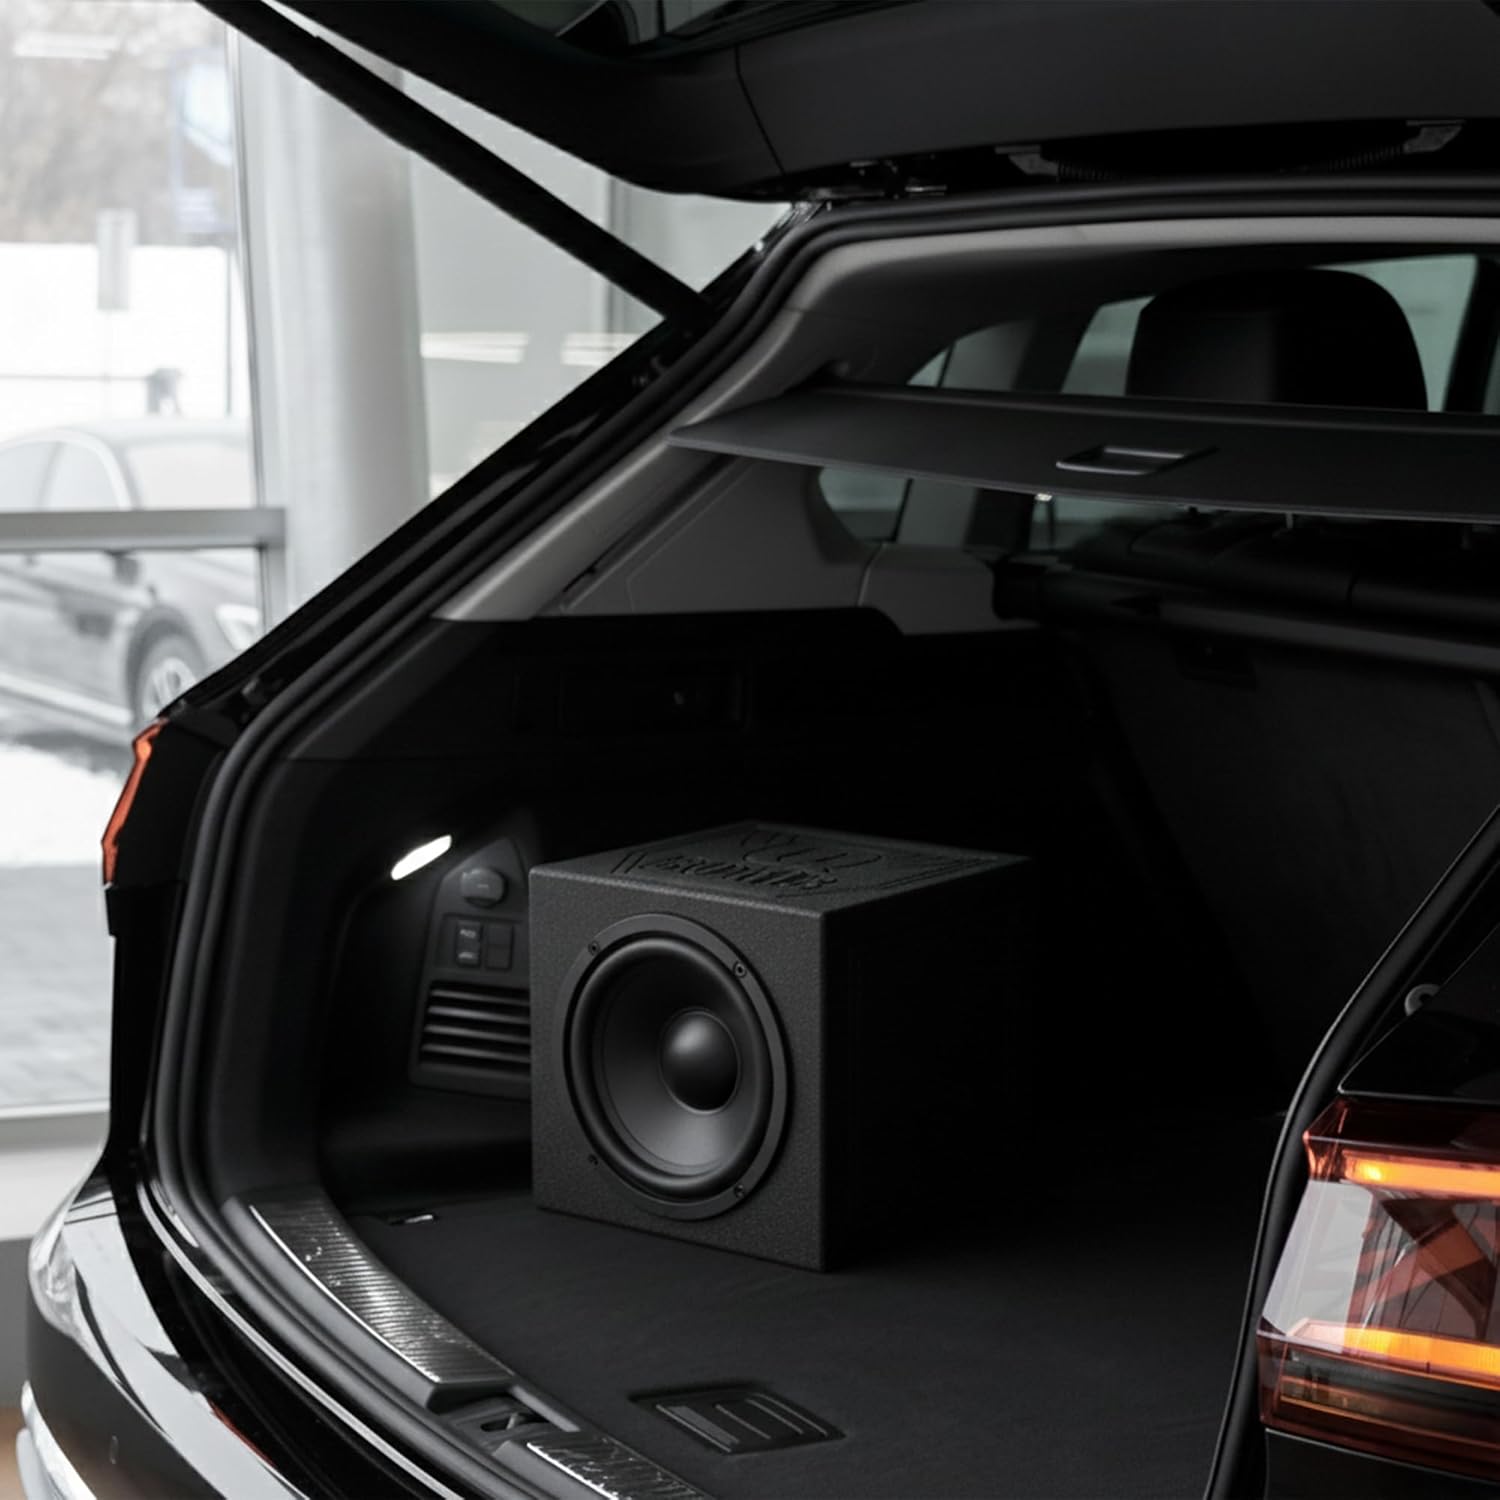
This image shows the QPower 12-inch sealed subwoofer enclosure with a subwoofer installed, placed in the trunk of a vehicle. This illustrates a common and effective placement for the enclosure to deliver enhanced bass.
Operating Guidelines
Once installed, follow these guidelines for optimal performance of your subwoofer system.
- Amplifier Matching: Ensure your amplifier's power output matches the recommended power handling of your installed subwoofer. Overpowering or underpowering can lead to damage.
- Initial Break-in: Allow a break-in period for your new subwoofer, typically 10-20 hours of moderate listening, before operating at high volumes. This allows the subwoofer's suspension to loosen and perform optimally.
- Gain and Crossover Settings: Adjust your amplifier's gain and crossover frequency settings according to your subwoofer and vehicle acoustics. A low-pass filter (LPF) is typically used to send only low frequencies to the subwoofer.
- Listen for Distortion: If you hear any distortion, reduce the volume or amplifier gain immediately to prevent damage to the subwoofer.
Maintenance
Regular maintenance helps ensure the longevity and consistent performance of your subwoofer enclosure.
- Cleaning: Wipe the exterior of the enclosure with a damp cloth to remove dust and dirt. Avoid harsh chemicals that could damage the bed-liner finish.
- Connection Check: Periodically inspect all wiring connections to the terminal cup and subwoofer to ensure they remain secure. Loose connections can lead to poor performance or damage.
- Environmental Protection: While the bed-liner finish offers some moisture resistance, avoid prolonged exposure to extreme moisture or direct water to protect the MDF material.
Troubleshooting
If you encounter issues with your subwoofer enclosure, refer to the following common problems and solutions.
| Problem | Possible Cause | Solution |
|---|---|---|
| No Sound from Subwoofer |
|
|
| Distorted or Unclear Bass |
|
|
| Weak or Insufficient Bass |
|
|
Warranty and Support
For information regarding warranty coverage, technical support, or service inquiries for your QPower Single 12-Inch Sealed Subwoofer Enclosure, please refer to the warranty card included with your purchase or visit the official QPower website.
Contact Information: Please consult your purchase documentation or the manufacturer's website for the most current contact details for customer support.