1. Introduction
This manual provides comprehensive instructions for the setup, operation, maintenance, and troubleshooting of your Elo 1717L 17" Square AccuTouch Touchscreen Monitor. Please read this manual thoroughly before using the product to ensure proper functionality and longevity.
2. Product Overview
The Elo 1717L touchmonitor is engineered for durability and continuous public use, featuring a rugged "built for touch" design. Its modern aesthetic is complemented by a feature set optimized for retail environments. This monitor is ideal for high-traffic public venues such as point-of-sale (POS), point-of-information, point-of-service, interactive digital signage, and loyalty systems.
Key features include:
- Durable 17-inch standard format touchscreen monitor resistant to dirt, dust, and liquid, with a sleek edge-to-edge glass design.
- Well-suited for point-of-sale, point-of-information, point-of-service, interactive signage, and loyalty systems.
- AccuTouch five-wire resistive is widely used in retail and hospitality environments based on its proven ability to survive splashing liquids, food and grease.
- Mount with flexibility - Standard VESA mount allows you integrate the Elo touchscreen monitor with ease.
- USB and RS232 serial connections.

Figure 2.1: Front view of the Elo 1717L 17-inch AccuTouch Touchscreen Monitor, showing the screen with "elo" and "17" | Touchscreen" displayed.
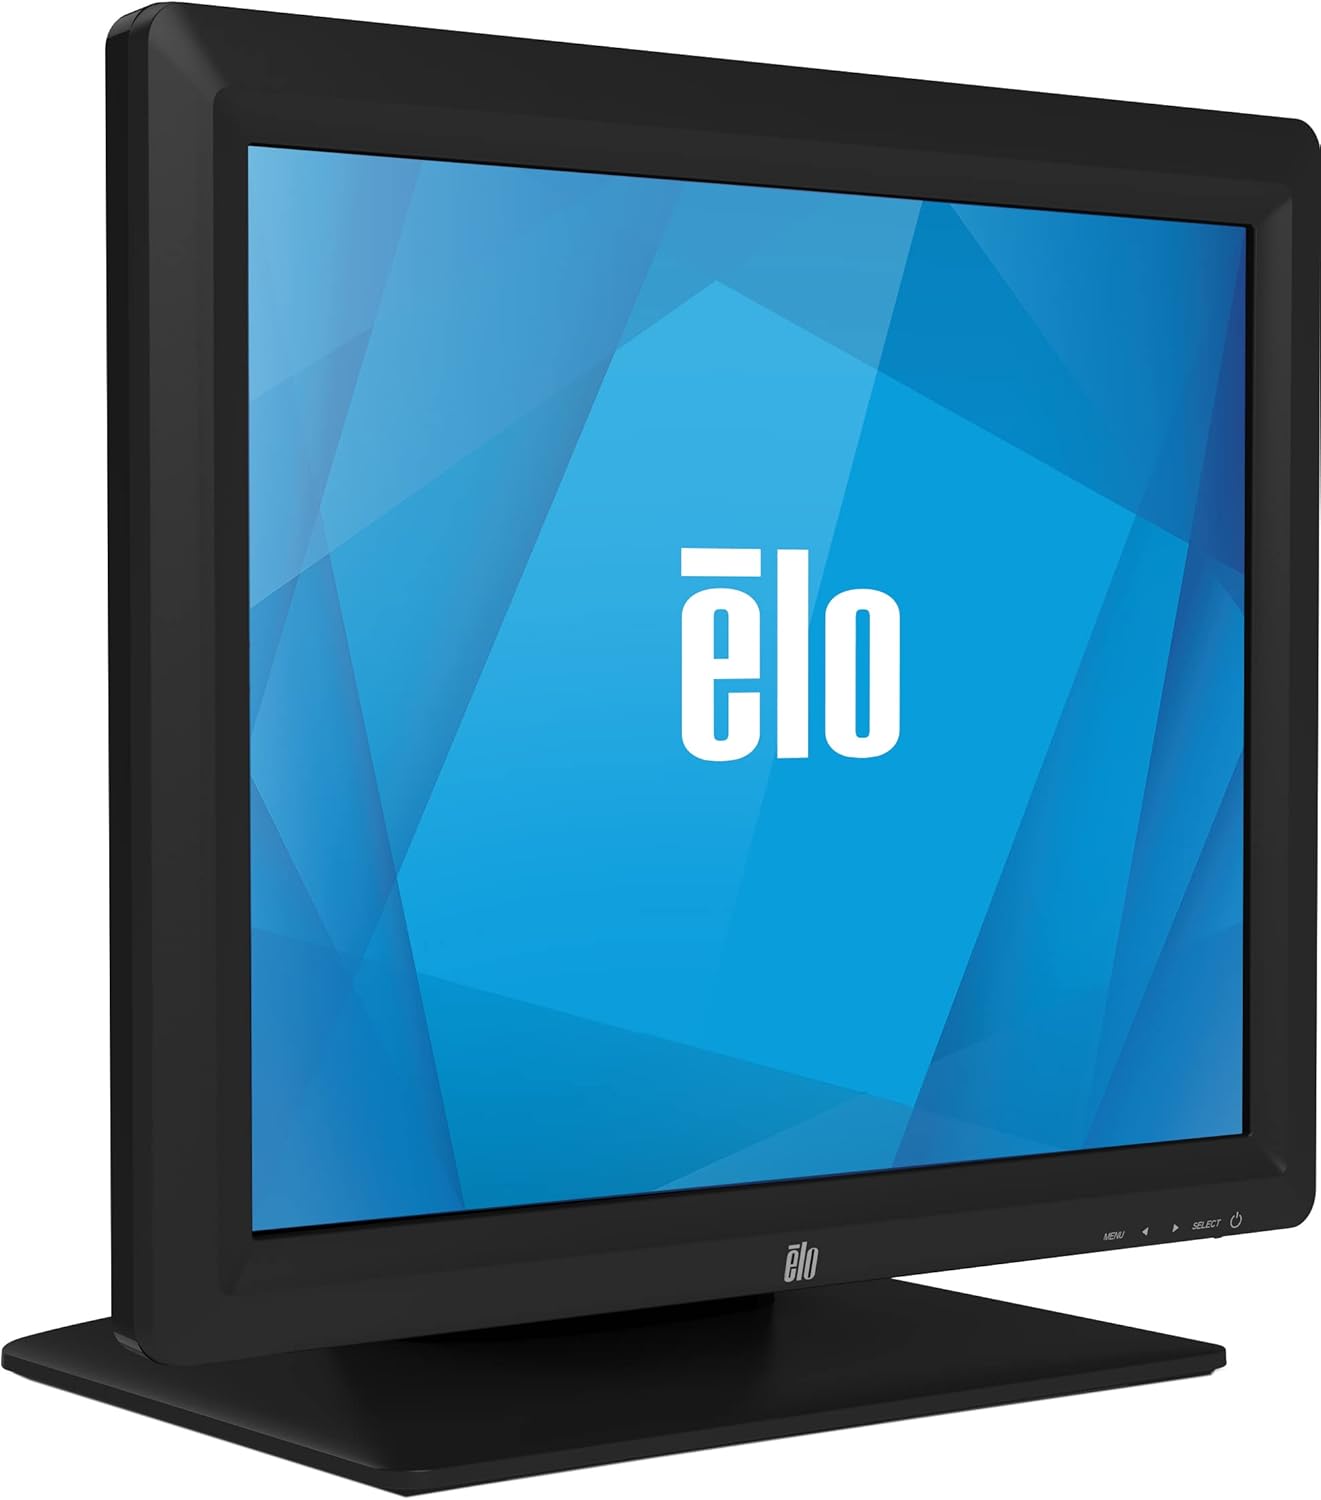
Figure 2.2: Angled view of the Elo 1717L 17-inch AccuTouch Touchscreen Monitor, highlighting its slim profile.
3. What's in the Box
Upon unpacking, please verify that all the following items are included:
- Quick Installation Guide
- VGA cable
- USB cable
- Power cable, IEC 60320-C5 to NA/EU plug
- Stand base assembly
- Filler Plate
4. Setup
4.1 Assembling the Stand
- Carefully remove the monitor and stand base assembly from the packaging.
- Attach the monitor to the stand base assembly, ensuring it clicks securely into place. Refer to the Quick Installation Guide for specific instructions if needed.
4.2 Connecting the Monitor
Before connecting, ensure your computer and the monitor are powered off.
- Video Connection: Connect one end of the provided VGA cable to the VGA port on the monitor and the other end to the VGA port on your computer.
- Touch Connection: Connect one end of the provided USB cable to the USB port on the monitor and the other end to an available USB port on your computer. This connection enables the touchscreen functionality.
- Power Connection: Connect the power cable to the monitor's power input and then plug the other end into a grounded electrical outlet.

Figure 4.1: Rear view of the monitor, illustrating the various connection ports and the VESA mounting points.
4.3 Initial Power On
- Power on your computer.
- Press the power button on the monitor. The monitor should automatically detect the input signal.
- If the display does not appear, check all cable connections and ensure the monitor is receiving power.
5. Operating Instructions
5.1 Basic Touchscreen Operation
The Elo 1717L utilizes AccuTouch resistive touch technology, allowing for precise input using a finger, gloved hand, or soft stylus.
- Tap: A quick touch and release, similar to a mouse click.
- Drag: Touch and hold, then move your finger across the screen to move items or scroll.
- Right-Click: In some applications, a long press may simulate a right-click. Refer to your operating system or application settings for specific gestures.
5.2 On-Screen Display (OSD) Menu
The OSD menu allows you to adjust various display settings. Access the OSD menu using the buttons located on the front bezel of the monitor.
- MENU: Press to open the OSD menu or to exit a sub-menu.
- UP/DOWN Arrows: Navigate through menu options.
- SELECT: Confirm a selection or enter a sub-menu.
Common OSD settings include brightness, contrast, color temperature, input selection, and image position.
6. Maintenance
6.1 Cleaning the Monitor
To maintain optimal performance and appearance, regular cleaning is recommended.
- Always power off and unplug the monitor before cleaning.
- Use a soft, lint-free cloth slightly dampened with water or a non-abrasive, ammonia-free glass cleaner.
- Do not spray cleaning solution directly onto the screen or into any openings.
- Avoid using abrasive cleaners, waxes, or solvents as they may damage the screen or casing.
6.2 General Care
- Avoid placing heavy objects on the monitor or its cables.
- Ensure adequate ventilation around the monitor to prevent overheating.
- Protect the monitor from extreme temperatures, humidity, and direct sunlight.
7. Troubleshooting
| Problem | Possible Cause | Solution |
|---|---|---|
| No image on screen | Monitor not powered on; Video cable loose or disconnected; Incorrect input selected. | Ensure power cable is securely connected and monitor is powered on. Check video cable connection. Use OSD menu to select correct input. |
| Touchscreen not responding | USB cable loose or disconnected; Touchscreen drivers not installed or corrupted. | Check USB cable connection. Install or update touchscreen drivers from the Elo website. Restart computer. |
| Image is distorted or blurry | Incorrect resolution; Video cable interference. | Set display resolution to 1280 x 1024. Ensure video cable is not near sources of electrical interference. |
| Screen is too dark/bright | Brightness/contrast settings incorrect. | Adjust brightness and contrast settings using the OSD menu. |
8. Specifications
| Feature | Detail |
|---|---|
| Model Number | E649473 |
| Brand | Elo |
| Screen Size | 17 Inches |
| Resolution | 1280 x 1024 (SXGA) |
| Aspect Ratio | 5:4 |
| Touch Technology | AccuTouch (5-wire resistive) |
| Image Brightness | 250 nits |
| Connectivity | VGA, USB, RS232 serial |
| Product Dimensions (LxWxH) | 8.38 x 14.24 x 15.43 inches |
| Item Weight | 11.9 pounds |
| Voltage | 240 Volts |
| Manufacturer | Elo Touch Solutions, Inc. |
| First Available Date | July 24, 2014 |
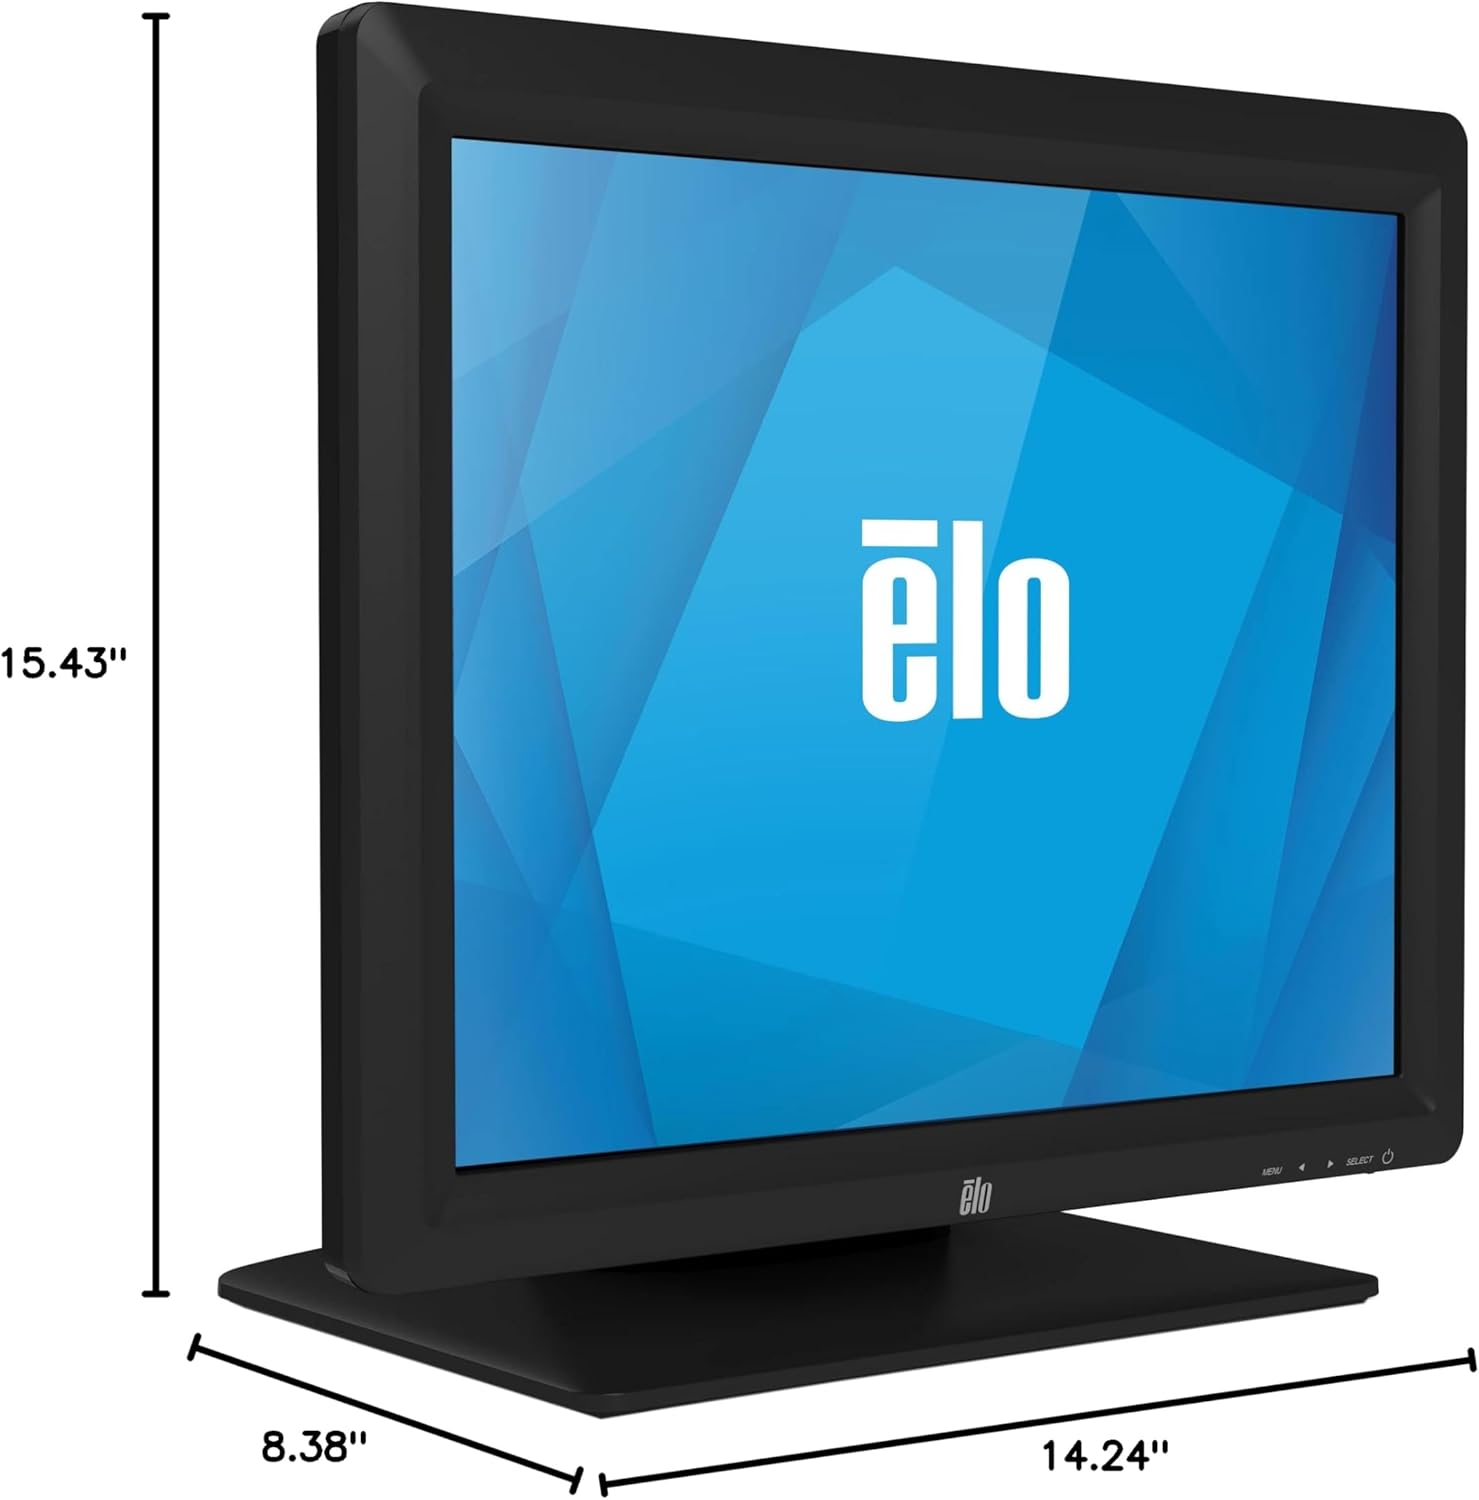
Figure 8.1: Dimensional drawing of the monitor, showing height (15.43"), width (14.24"), and depth (8.38").
9. Warranty and Support
For warranty information and technical support, please refer to the official Elo website or contact Elo customer service. Keep your purchase receipt for warranty claims.
Additional support resources may be available through the Elo Store on Amazon.


