
1. Important Safety Information
Read all instructions before using this appliance to reduce the risk of fire, electric shock, or injury. Keep this manual for future reference.
- Ensure the refrigerator is properly grounded.
- Do not operate the appliance with a damaged power cord or plug.
- Keep ventilation openings clear of obstruction. Maintain adequate clearance around the unit for proper air circulation.
- Do not store explosive substances such as aerosol cans with a flammable propellant in this appliance.
- Unplug the refrigerator before cleaning or performing any maintenance.
- This appliance is not intended for use by persons (including children) with reduced physical, sensory or mental capabilities, or lack of experience and knowledge, unless they have been given supervision or instruction concerning use of the appliance by a person responsible for their safety.
2. Product Overview
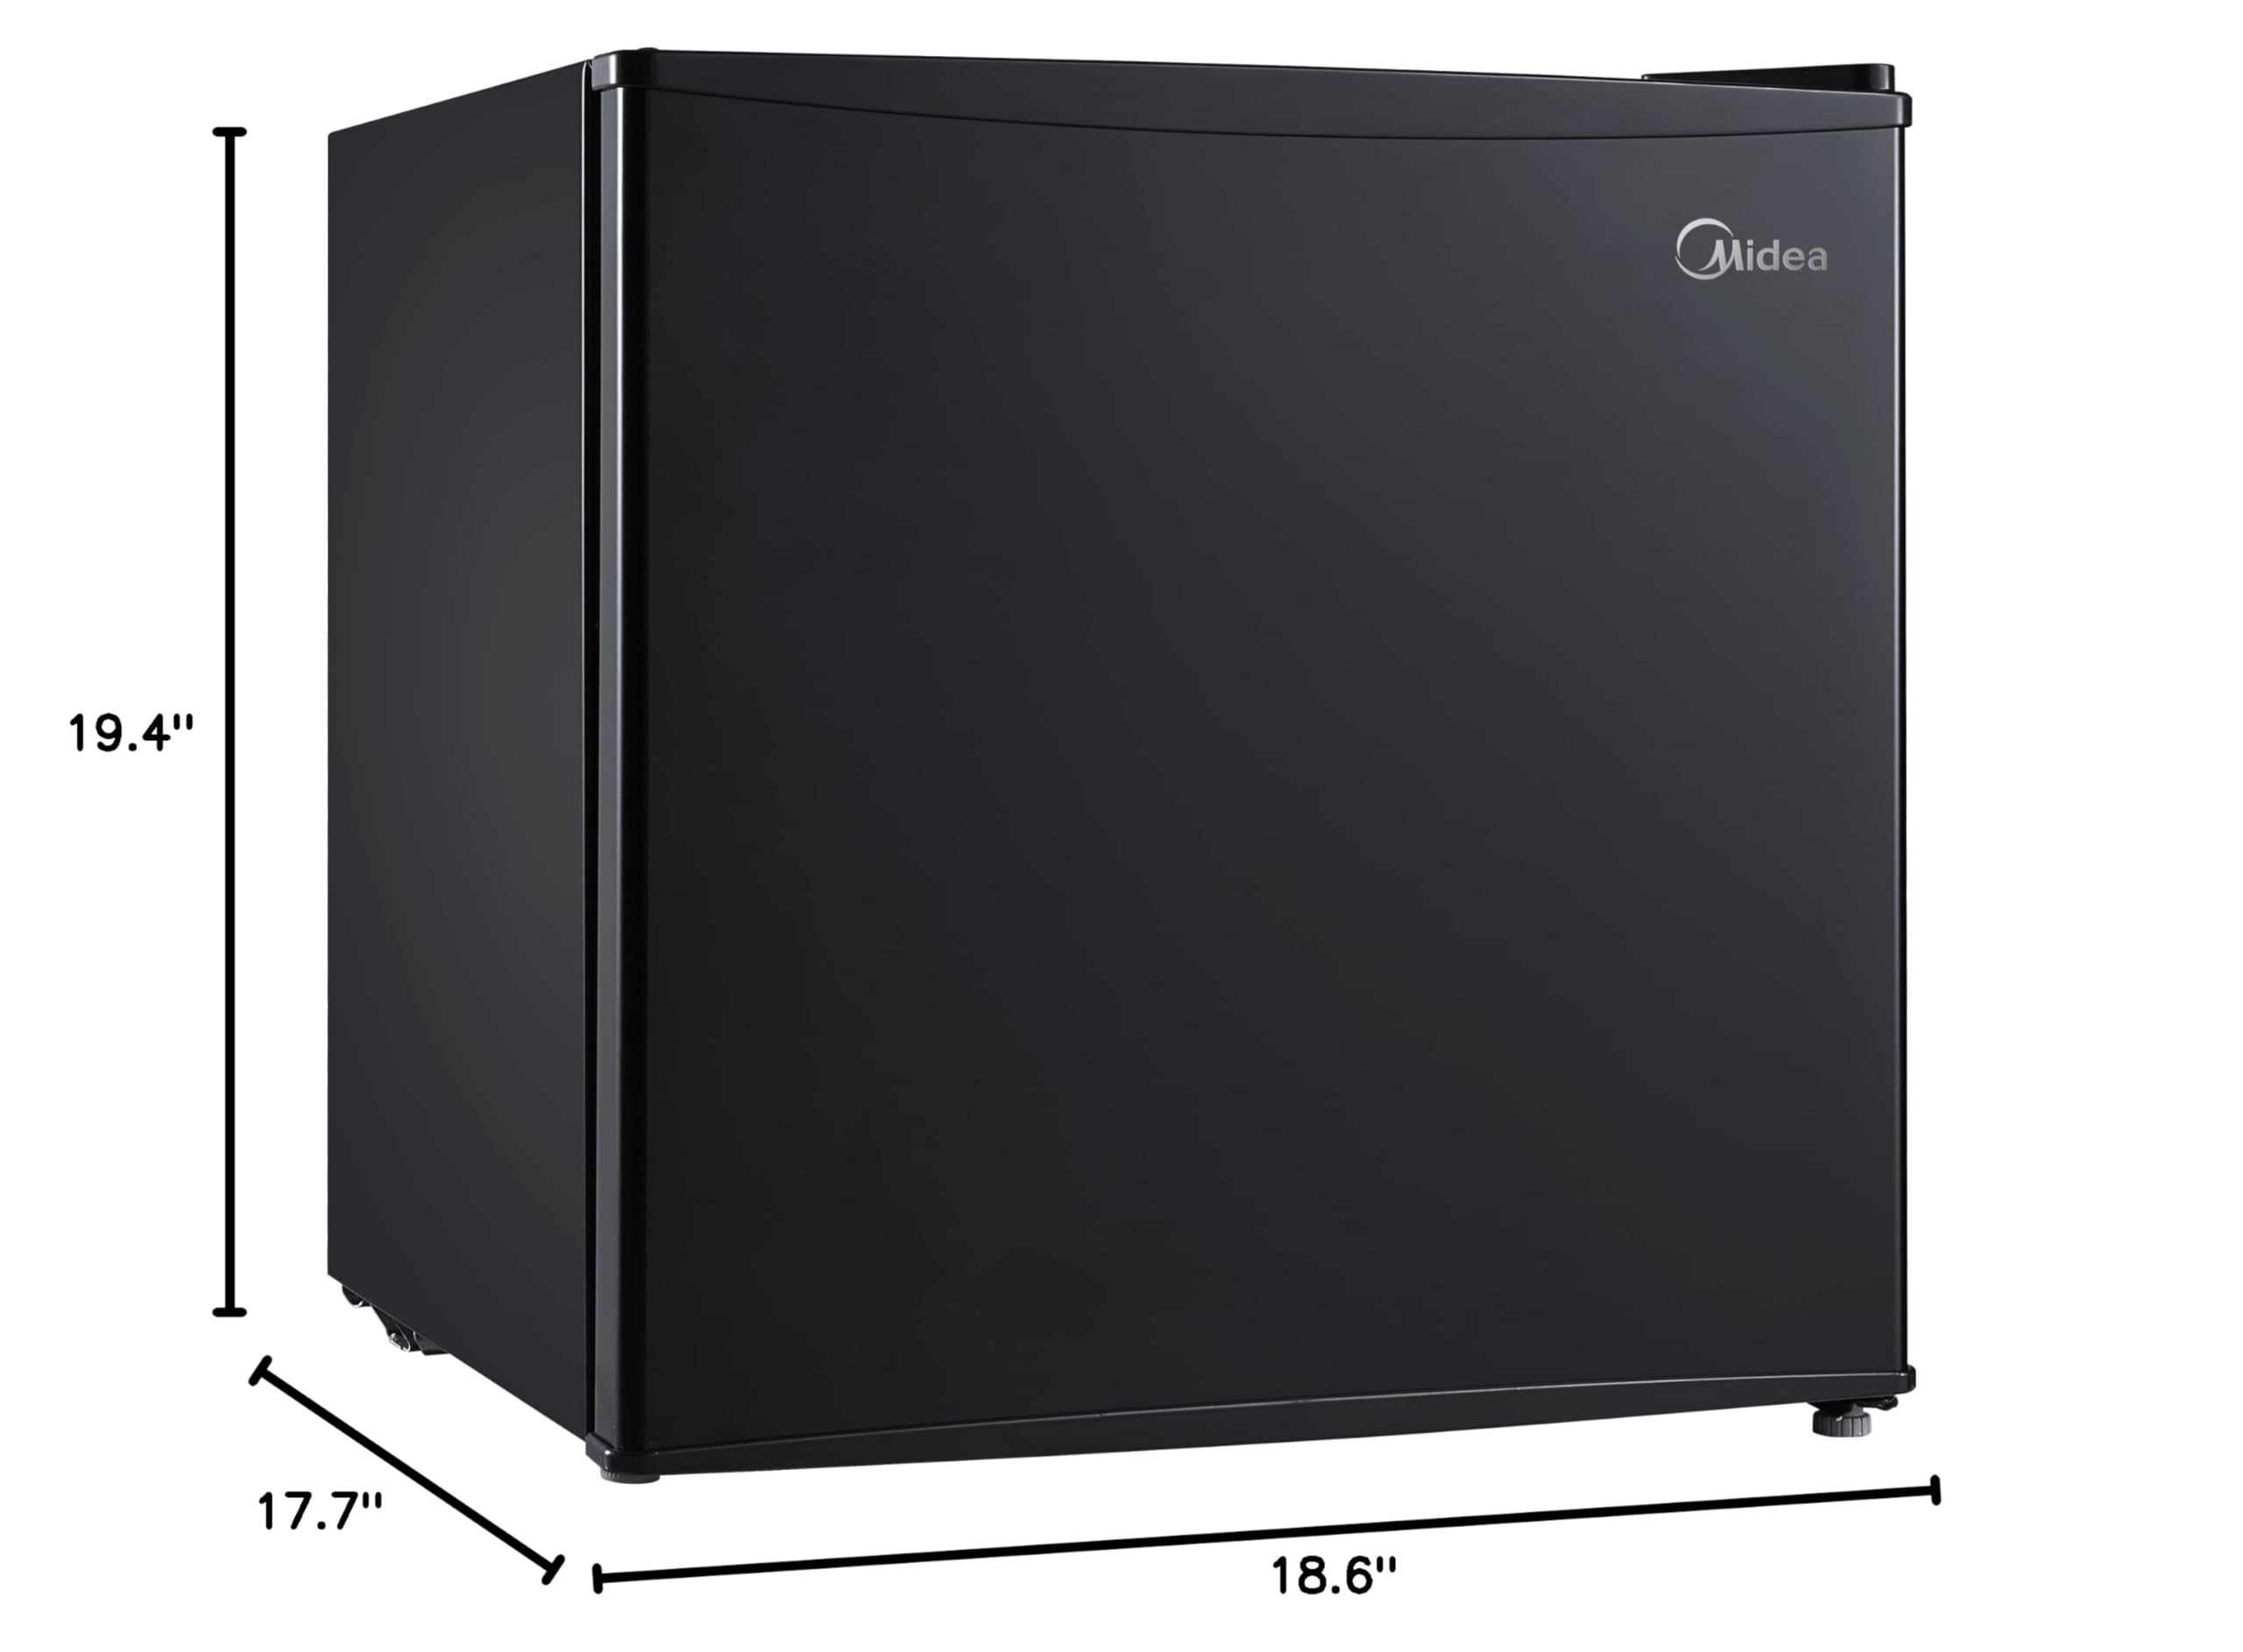
The Midea WHS-65LB1 is a compact 1.6 cubic feet refrigerator designed for small spaces. It features a reversible door, adjustable leveling legs, and a mechanical temperature control system.

3. Installation Guide
3.1 Unpacking
Carefully remove all packaging materials, including the foam base and adhesive tape. Inspect the refrigerator for any damage during transit. Keep packaging materials away from children.
3.2 Placement
Place the refrigerator on a flat, stable surface strong enough to support the unit when fully loaded. Avoid direct sunlight, heat sources (e.g., stove, heater), or damp areas. Ensure adequate air circulation by leaving at least 4 inches (10 cm) of space at the back and sides of the unit.
3.3 Leveling the Unit
The refrigerator has adjustable leveling legs. Turn the legs clockwise to raise the unit or counter-clockwise to lower it. Ensure the unit is level to prevent vibrations and ensure proper door sealing.

3.4 Door Reversal
The door can be reversed to open from either the left or right side, depending on your installation needs. Refer to the detailed diagrams in the full PDF manual for specific steps and tools required.

3.5 Electrical Connection
Plug the refrigerator into a dedicated, grounded 115 Volt, 60 Hz AC outlet. Do not use extension cords or adapter plugs. Allow the refrigerator to stand upright for at least 2-4 hours before plugging it in to allow refrigerants to settle.
4. Operating Instructions
4.1 Temperature Control
The refrigerator features a mechanical temperature adjustment dial located inside the unit. The temperature range is approximately -2°C to 2°C (32°F to 35.6°F). Turn the dial to adjust the cooling intensity. Higher numbers typically indicate colder settings.

4.2 Food Storage
This compact refrigerator is ideal for chilling beverages, healthy snacks, and produce. It is not designed for storing frozen foods or making ice cubes. Utilize the separate chiller compartment for items requiring slightly colder temperatures.

4.3 Adjustable Shelves
The refrigerator includes a removable wire shelf that can be adjusted to different heights to accommodate various item sizes. To adjust, simply lift the shelf and reposition it on the desired support rails.
5. Care and Maintenance
5.1 Cleaning
Interior Cleaning: Unplug the unit. Wash the interior surfaces with a solution of warm water and baking soda (2 tablespoons of baking soda to 1 quart of water). Rinse and dry thoroughly. Do not use abrasive cleaners or harsh detergents.
Exterior Cleaning: Wipe the exterior with a soft cloth dampened with mild soap and water. Dry with a soft cloth.
5.2 Manual Defrost
This refrigerator features manual defrost. Frost will accumulate in the chiller compartment. To defrost, unplug the unit, remove all contents, and leave the door open. Place a towel or shallow pan to catch melted ice. Do not use sharp objects or heating devices to speed up defrosting.
5.3 Power Outage
In case of a power outage, keep the refrigerator door closed to maintain internal temperature for as long as possible. Avoid opening the door unnecessarily.
5.4 Moving the Appliance
Before moving, unplug the refrigerator, empty all contents, and secure the door with tape. Ensure the unit remains in an upright position during transport. If laid down, allow it to stand upright for several hours before plugging it back in.
6. Troubleshooting Guide
Review the following common issues and solutions before contacting service.
- Refrigerator does not operate: Check if the power cord is securely plugged into a live outlet. Verify the circuit breaker or fuse. Ensure the temperature control is not set to 'OFF'.
- Refrigerator is not cold enough: Adjust the temperature control to a colder setting. Ensure the door is closed properly and not frequently opened. Check for obstructions around the condenser coils at the back. Avoid placing hot food inside.
- Unusual noises (gurgling, buzzing): Some operational noises are normal, such as refrigerant circulation sounds. A continuous gurgling or loud buzzing might indicate an issue. Ensure the unit is level and not touching a wall or other objects.
- Door does not close properly: Check if the refrigerator is level. Ensure shelves or items inside are not obstructing the door. Inspect the door gasket for damage or dirt.
- Power cord difficult to access/pull out: The power cord may be tucked tightly in the back during shipping. Carefully and gently pull it out, ensuring not to damage any internal components.
7. Product Specifications
| Feature | Specification |
|---|---|
| Brand | Midea |
| Model Number | WHS-65LB1 |
| Capacity | 1.6 Cubic Feet |
| Product Dimensions (W x D x H) | 18.6 x 17.7 x 19.4 inches |
| Item Weight | 30 Pounds |
| Color | Black |
| Voltage | 115 Volts |
| Defrost Type | Manual |
| Door Hinges | Reversible |
| Annual Energy Consumption | 207 Kilowatt Hours Per Year |
| Special Features | Adjustable Shelves |

8. Warranty Information
This Midea WHS-65LB1 refrigerator comes with a full 1-year warranty from the date of purchase. This warranty covers defects in materials and workmanship under normal use. For warranty claims or technical support, please contact Midea customer service. Keep your proof of purchase for warranty validation.


