
Introduction
This manual provides essential information for the installation, operation, and maintenance of the GE Appliances WB20X5071 Range Oven Control Thermostat. This genuine replacement part is designed to regulate the temperature within your oven, ensuring consistent heating for cooking and baking. Please read these instructions carefully before proceeding with any installation or maintenance.
Safety Information
WARNING: Risk of electric shock. Disconnect power before servicing.
- Always unplug the range or shut off the house circuit breaker for the range before attempting to install, remove, or service this part. Failure to do so can result in serious injury or death.
- Wear work gloves to protect your hands from sharp edges and potential hazards during installation.
- If you are unsure about any part of the installation process, consult a qualified appliance technician.
- Ensure all wiring connections are secure and correctly matched to prevent electrical malfunctions.
Product Overview
The GE Appliances WB20X5071 is an oven control thermostat responsible for sensing and maintaining the set temperature inside your oven. It consists of a control unit, a capillary tube, and a sensing bulb. The sensing bulb extends into the oven cavity to detect temperature changes, which then signals the control unit to turn the heating element on or off.
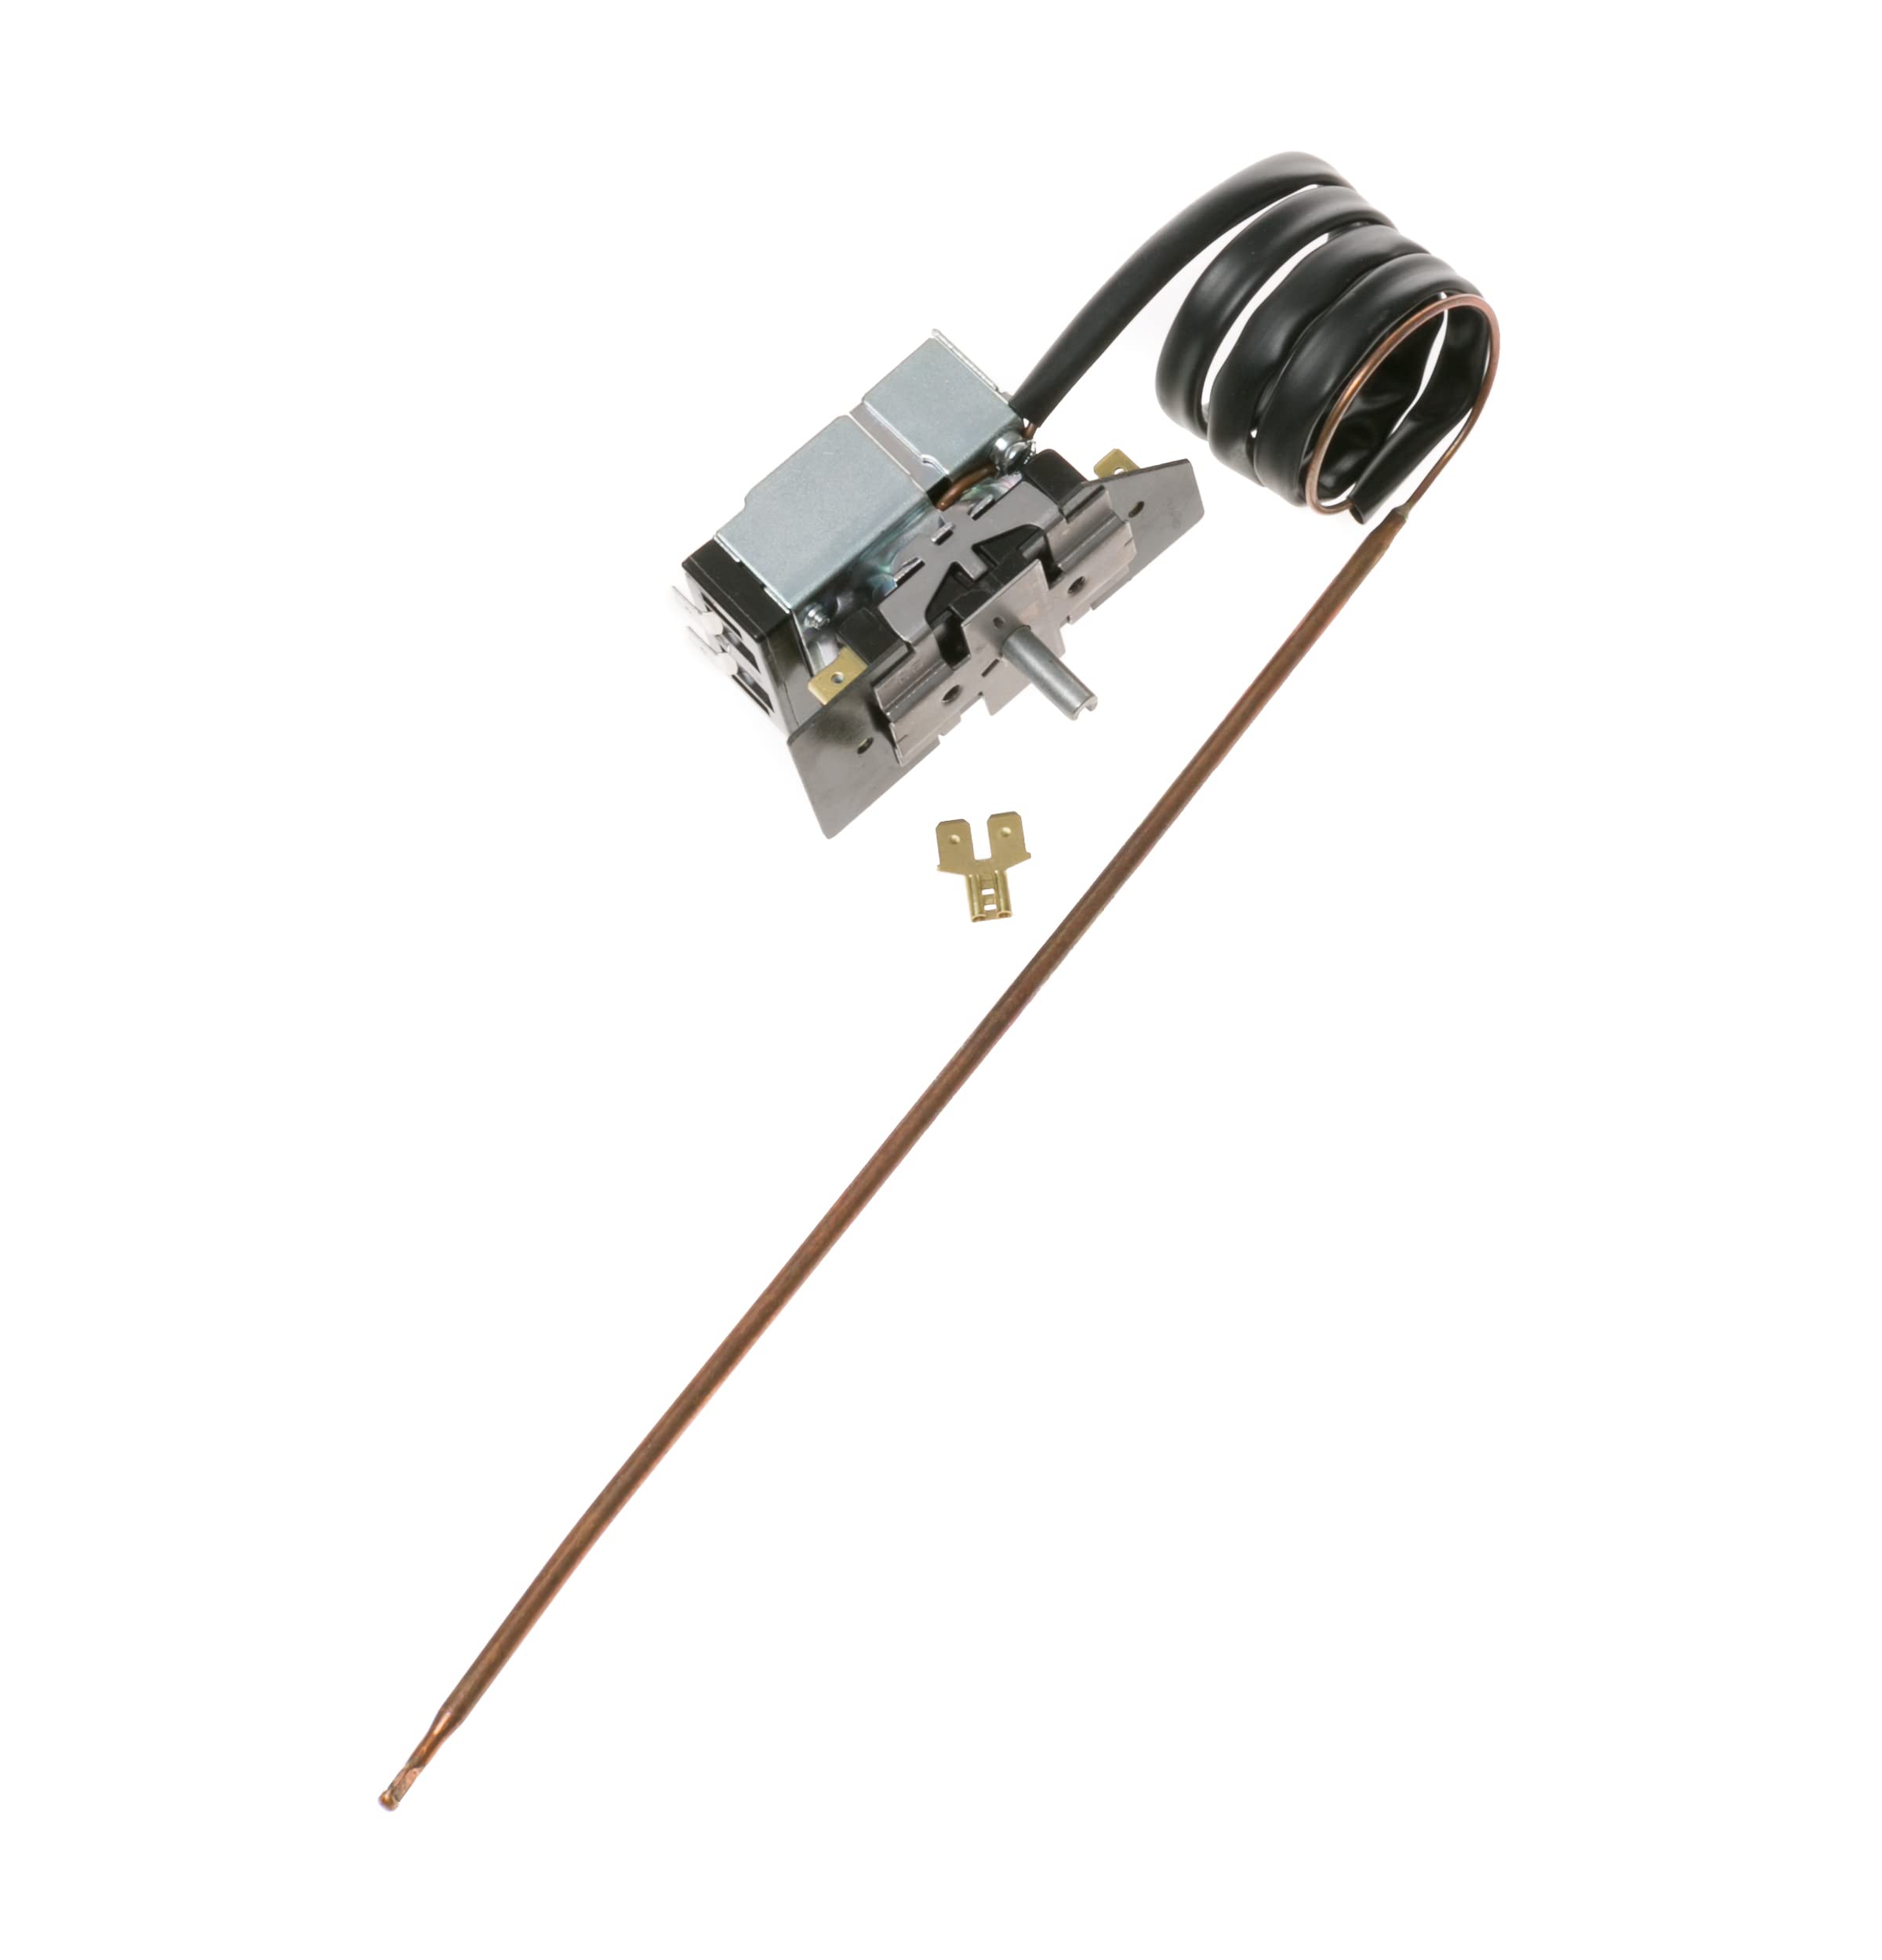
Image: The GE Appliances WB20X5071 Range Oven Control Thermostat, showing the main control body, capillary tube, and sensing bulb.
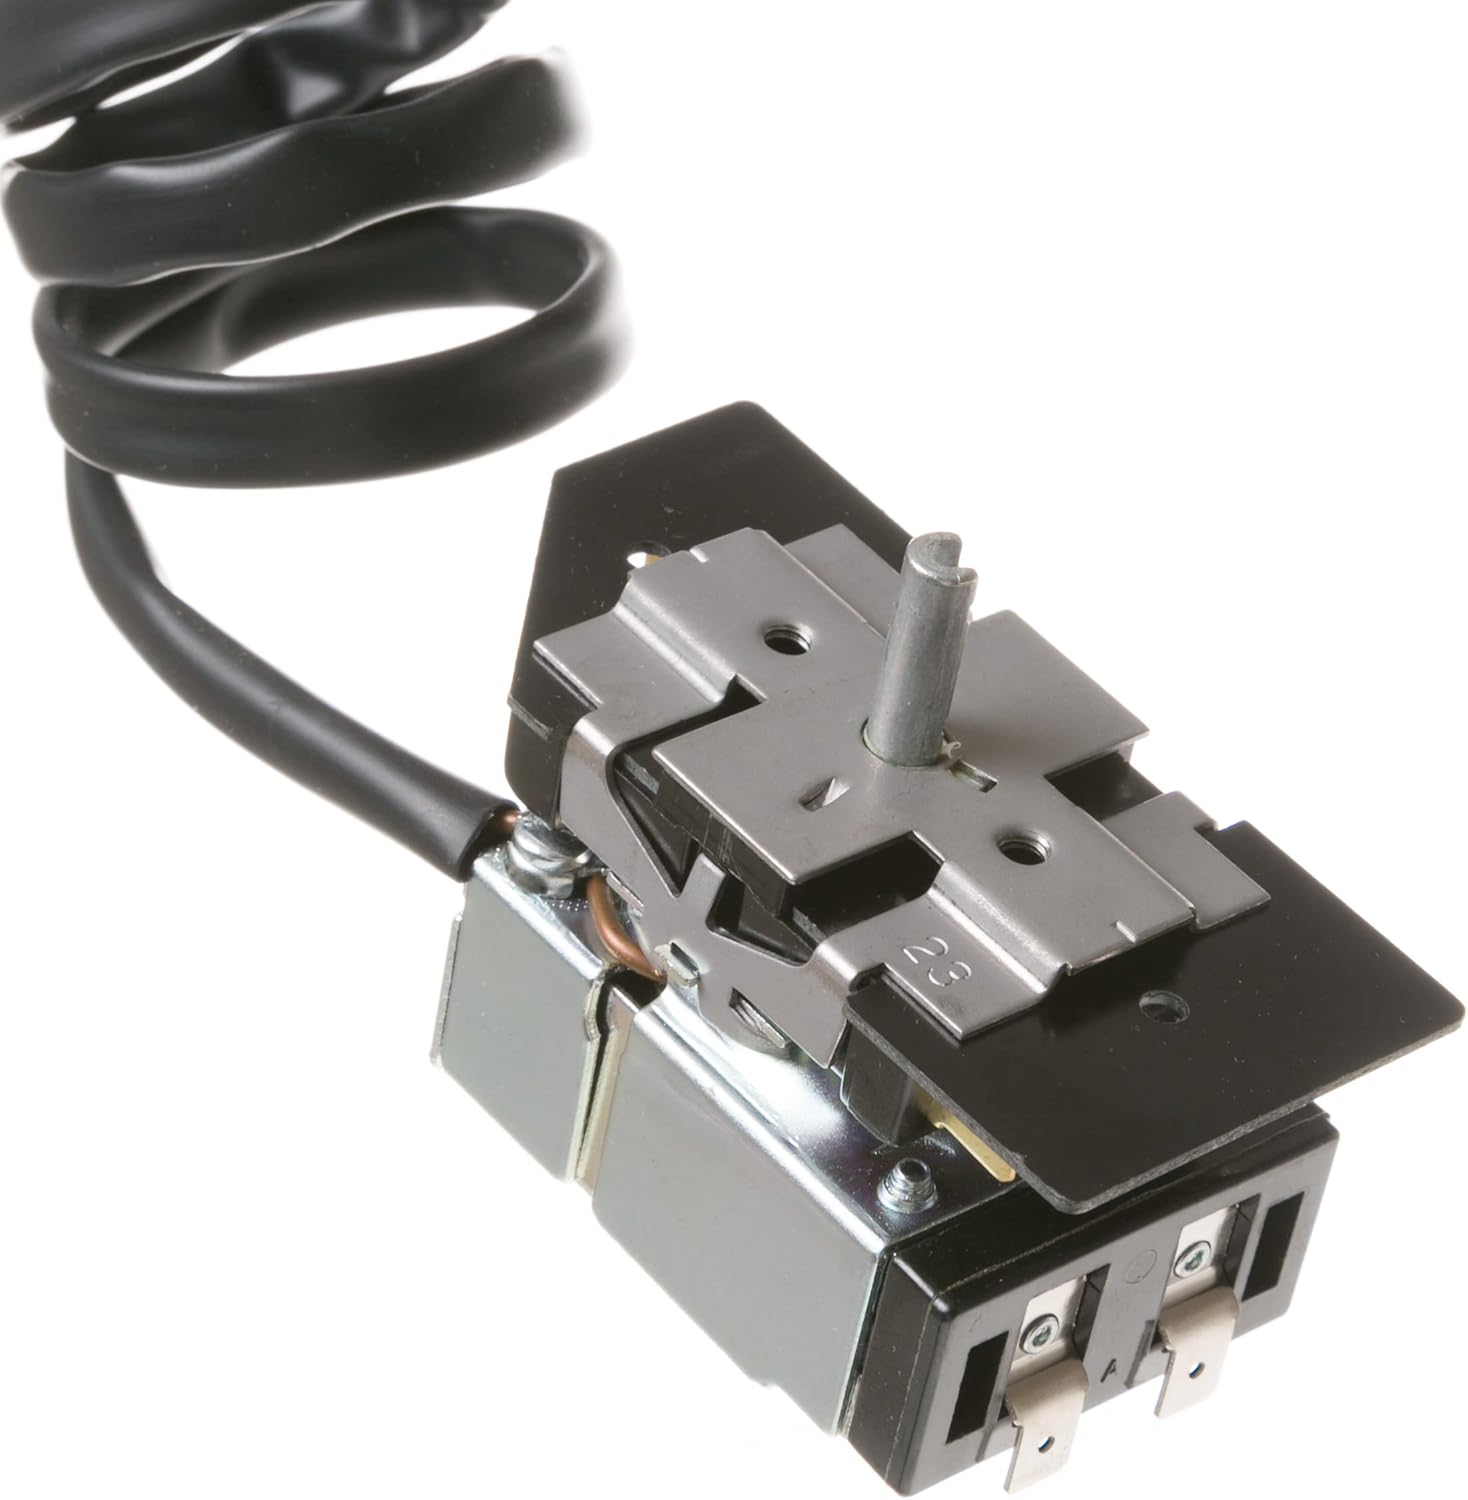
Image: Rear view of the WB20X5071 thermostat control unit, highlighting the electrical terminals for wiring connections.

Image: A brass spade connector, often used for electrical wiring connections in appliance repairs.
Installation Instructions
Before you begin, ensure the range is unplugged or the circuit breaker is off, and wear work gloves.
- Access the Thermostat: Depending on your range model, you may need to remove the back panel, top panel, or control panel to access the existing oven thermostat. Refer to your specific range's service manual for detailed access instructions.
- Document Wiring: Before disconnecting any wires, take clear photos or make a diagram of how the wires are connected to the old thermostat. This will be crucial for correct reinstallation.
- Disconnect Wires: Carefully disconnect all electrical wires from the terminals of the old thermostat. Note the position of each wire.
- Remove Old Thermostat: Unscrew or unclip the old thermostat from its mounting bracket. Gently pull the capillary tube and sensing bulb out of the oven cavity.
- Install New Thermostat: Insert the sensing bulb of the new WB20X5071 thermostat into the same location in the oven cavity from which the old one was removed. Mount the new thermostat control unit onto the bracket, ensuring it is secure.
- Reconnect Wiring: Using your photos or diagram, carefully reconnect all electrical wires to the corresponding terminals on the new thermostat. Ensure all connections are tight and secure.
- Reassemble: Replace any panels or covers that were removed during the process.
- Test Operation: Restore power to the range. Set the oven to a desired temperature and observe if it heats correctly and maintains the temperature.
Operating Principles
The WB20X5071 oven control thermostat operates by continuously monitoring the oven's internal temperature. When the temperature falls below the set point, the thermostat activates the heating elements. Once the temperature reaches or slightly exceeds the set point, the thermostat deactivates the heating elements. This cycle of turning the heat on and off ensures the oven maintains the desired temperature for cooking.
Maintenance
The GE Appliances WB20X5071 oven control thermostat requires minimal maintenance. It is designed to be oven safe. For cleaning, ensure the range is unplugged and the oven is cool. The exterior of the control unit can be wiped clean with a damp cloth. Do not use abrasive cleaners or immerse the unit in water. The sensing bulb should remain free of heavy grease buildup for accurate temperature readings.
Troubleshooting
If your oven is experiencing temperature-related issues after thermostat replacement, consider the following:
- Oven Not Heating: Check if the circuit breaker is tripped or if the range is properly plugged in. Verify all electrical connections to the thermostat are secure. Ensure the oven door is fully closed.
- Inconsistent Temperature: Ensure the sensing bulb is correctly positioned and not touching the oven walls or heating elements. Verify that the oven door seal is intact.
- Oven Overheating: This could indicate a faulty thermostat or a short in the wiring. Disconnect power immediately and re-check wiring or consult a technician.
- No Display/Controls Not Working: This is likely a broader electrical issue with the range, not solely the thermostat. Check power supply and other control components.
For persistent issues, it is recommended to contact a qualified appliance repair technician.
Specifications
| Feature | Specification |
|---|---|
| Brand | GE |
| Model Number | WB20X5071 |
| Part Type | Oven Control Thermostat |
| Material | Stainless Steel (Outer Material) |
| Power Source | Range Powered |
| Product Care | Oven Safe, Wipe Clean |
| Reusability | Reusable |
| Indoor/Outdoor Usage | Indoor |
Warranty Information
This GE Appliances WB20X5071 Range Oven Control Thermostat is a genuine GE replacement part and comes with a limited one-year warranty from the manufacturer. Please retain your proof of purchase for warranty claims. The warranty covers defects in materials and workmanship under normal use.
Customer Support
For further assistance, technical support, or to inquire about warranty service, please contact GE Appliances customer service. You can typically find contact information on the official GE Appliances website or within your range's original user manual.


