
Introduction
This manual provides instructions for the operation and maintenance of your Hello Kitty 2.1MP Digital Camera, Model 98609. Please read this manual thoroughly before using your camera to ensure proper function and to maximize your enjoyment of the product. This camera is designed for capturing still images and recording short videos, featuring a 1.5-inch preview screen and easy-to-use controls.
Package Contents
- Hello Kitty 2.1MP Digital Camera
- USB Cable
- Snapshots Software CD
- User Manual (this document)
- Batteries (may be included or sold separately)
Setup
1. Battery Installation
The camera requires two (2) AA Alkaline batteries. Locate the battery compartment on the back of the camera. Open the battery compartment cover. Insert the batteries, ensuring correct polarity (+ and - terminals). Close the battery compartment cover securely. It is important to ensure the cover is fully closed to maintain power connection.
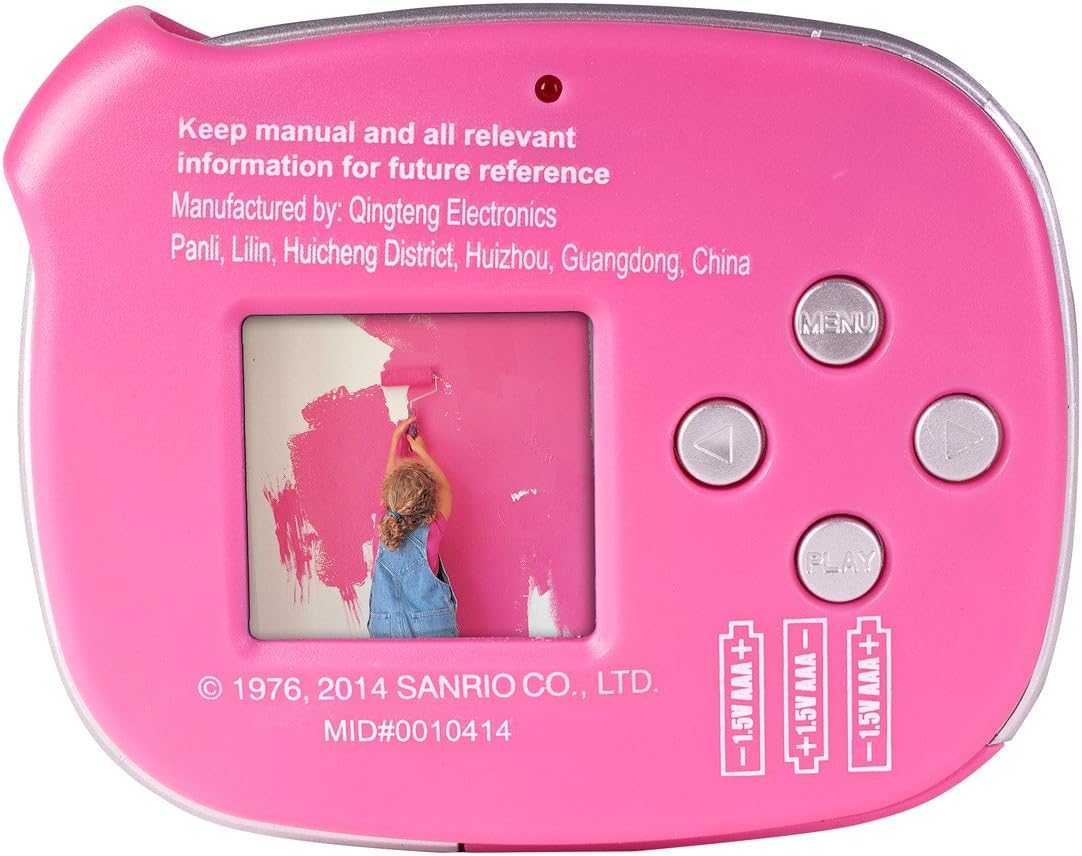
Image: Back view of the Hello Kitty 2.1MP Digital Camera, displaying the 1.5-inch LCD screen, control buttons (Menu, Up, Down, Play), and the battery compartment with markings for two AA batteries.
Note: Changing batteries may result in the loss of all stored pictures. Always transfer important photos to a computer before replacing batteries.
2. Software Installation (Snapshots Software)
To transfer photos and videos to your computer and utilize special effects, install the included Snapshots Software. Insert the software CD into your computer's CD-ROM drive. Follow the on-screen instructions to complete the installation. Ensure your computer meets the minimum system requirements (e.g., Windows XP SP3, Vista SP1, Windows 7, or Mac OS X 10.5.x or later).
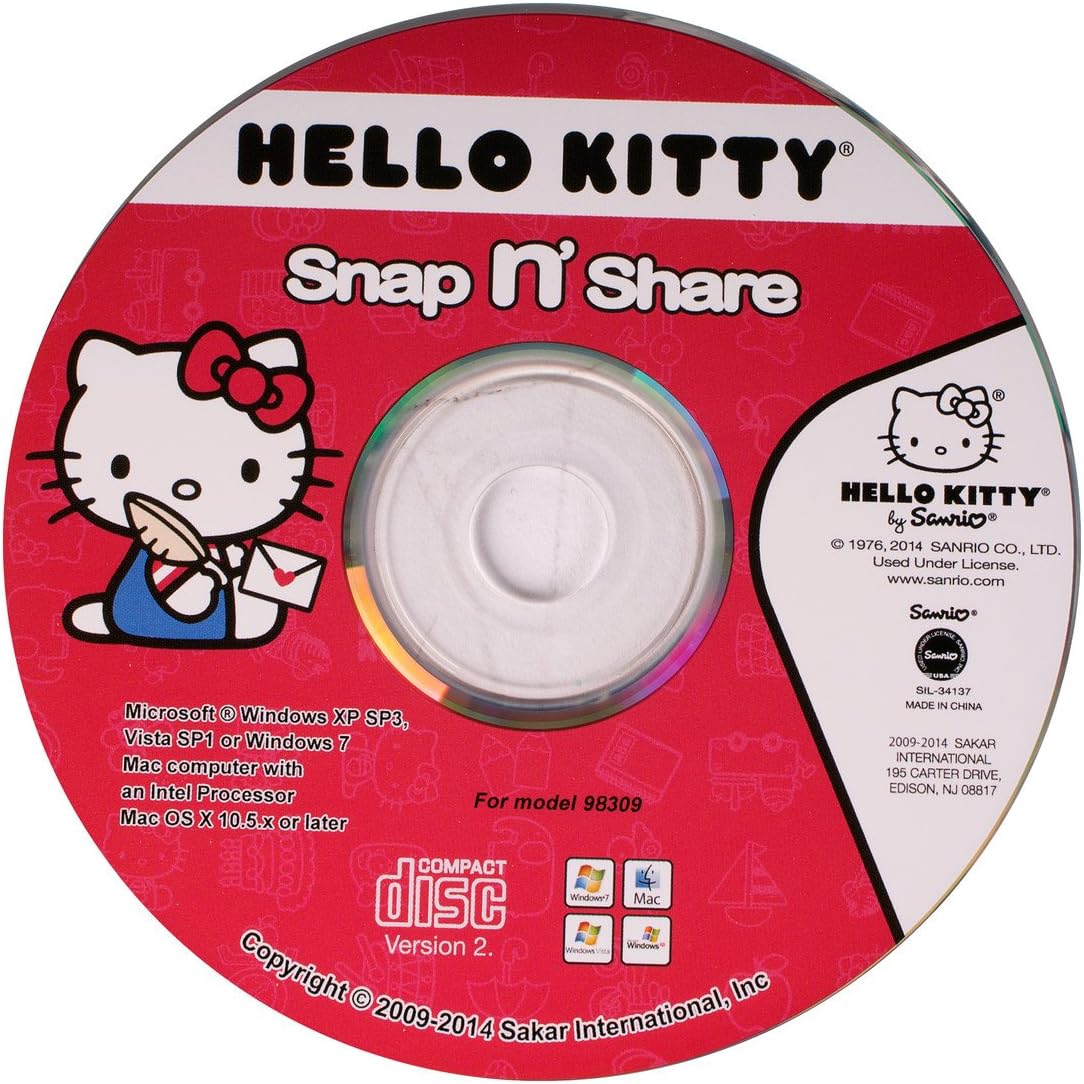
Image: The Hello Kitty Snap n' Share software CD, showing compatibility with Windows and Mac operating systems.
3. Connecting to a Computer
Use the provided USB cable to connect your camera to a computer. Plug the smaller end of the USB cable into the camera's USB port (located on the side) and the larger end into an available USB port on your computer. Once connected, the computer should recognize the camera as a removable storage device, or the Snapshots Software will launch for file transfer.

Image: Side view of the Hello Kitty 2.1MP Digital Camera, highlighting the USB port for computer connection.

Image: The Hello Kitty 2.1MP Digital Camera shown with its included USB cable, ready for connection to a computer.
Operating the Camera
1. Power On/Off
Press and hold the power button (usually located on the top or front of the camera) to turn the camera on or off. The 1.5-inch preview screen will illuminate when the camera is powered on.
2. Taking Photos
Point the camera at your subject. Use the 1.5-inch preview screen to frame your shot. Press the shutter button (typically located on the top of the camera) firmly to capture a photo. The camera can store over 100 photos.

Image: Front view of the Hello Kitty 2.1MP Digital Camera, featuring the lens and Hello Kitty design.
3. Recording Videos
Switch the camera to video mode (refer to the on-screen menu or dedicated button if available). Press the shutter button to start recording. Press it again to stop recording. Videos are captured at 480p resolution in MP4 format.
4. Using Special Effects
After transferring your photos and videos to a computer, use the Snapshots Software to add various special effects. Refer to the software's help documentation for detailed instructions on applying effects.
5. Viewing and Managing Files
On the camera, use the "Play" button and navigation arrows to browse through your captured photos and videos on the 1.5-inch preview screen. For more comprehensive viewing and management, connect the camera to your computer and use the Snapshots Software or your computer's file explorer.
Maintenance
1. Cleaning the Camera
Wipe the camera body with a soft, dry cloth. For the lens and screen, use a specialized lens cleaning cloth. Avoid using liquid cleaners directly on the camera. Do not use abrasive materials.
2. Battery Care
Remove batteries if the camera will not be used for an extended period to prevent leakage. Always use fresh AA Alkaline batteries. Dispose of used batteries responsibly according to local regulations.
3. Data Backup
Regularly transfer your photos and videos to a computer. As mentioned, changing batteries can erase stored data. Frequent backups ensure your memories are preserved.
Troubleshooting
- Camera does not power on: Ensure batteries are inserted correctly with the correct polarity. Replace with fresh AA Alkaline batteries. Check that the battery compartment cover is securely closed.
- Pictures are lost after battery change: This is a known characteristic of the camera. Always transfer photos to a computer before replacing batteries.
- Poor image quality: Ensure the lens is clean and free from smudges. Take photos in well-lit environments. This camera is designed for basic point-and-shoot photography and may not produce high-resolution images comparable to advanced digital cameras.
- Cannot connect to computer: Verify the USB cable is securely connected to both the camera and the computer. Try a different USB port on your computer. Ensure the Snapshots Software is installed correctly.
- Software issues: Reinstall the Snapshots Software. Ensure your computer meets the minimum system requirements.
Specifications
| Brand | Hello Kitty |
| Model Name | 98609 |
| Effective Still Resolution | 2.1 MP |
| Photo Sensor Technology | CMOS |
| Image Stabilization | Digital |
| Optical Zoom | 0.5x |
| Maximum Aperture | 2.8 millimeters |
| Screen Size | 1.5 inches (Preview Screen) |
| Supported File Format | JPEG (Stills), MP4 (Video) |
| Video Resolution | 480p |
| Battery Type | 2 AA Alkaline batteries |
| Item Weight | 5.6 ounces |
| Manufacturer | Sakar International, Inc. |
Warranty and Support
For warranty information and technical support, please refer to the documentation included with your product or contact the manufacturer directly. The manufacturer is Sakar International, Inc.
An official User Manual (PDF) may be available online for further reference: Download PDF Manual
