
1. Product Overview
This manual provides essential information for the installation, operation, and maintenance of your A-Tech 4GB (2x2GB) DDR2 PC2-6400 800MHz DIMM RAM Memory Kit. This memory kit is designed to enhance the performance of compatible eMachines ET Series Desktop computers by providing additional system memory.
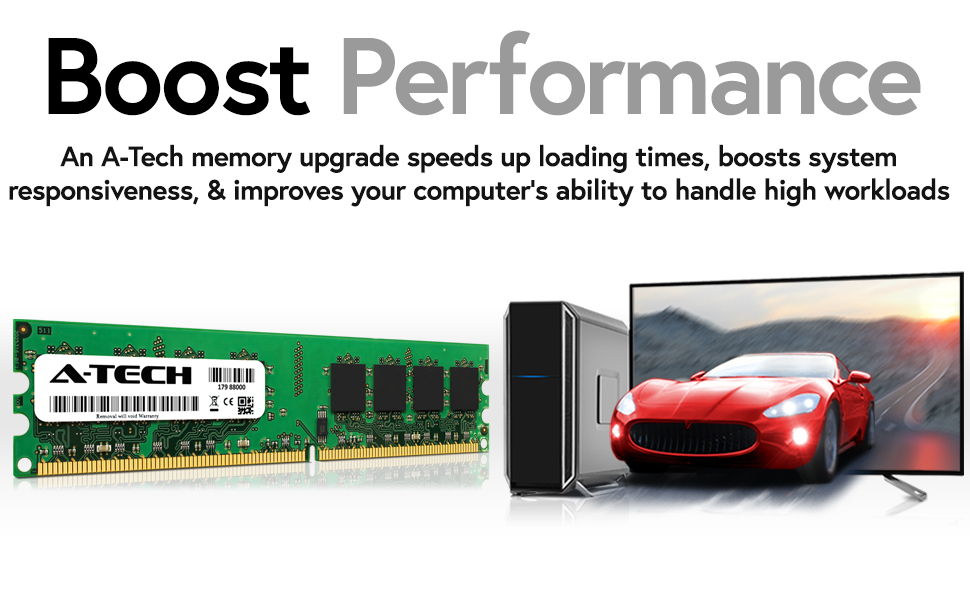
Image: A-Tech DIMM and SODIMM RAM modules. This product is a DIMM module, suitable for desktop computers.
2. Specifications
| Feature | Detail |
|---|---|
| Memory Type | DDR2 SDRAM (DIMM) |
| Capacity | 4GB (2 x 2GB modules) |
| Speed | 800MHz (PC2-6400) |
| Error Correction | Non-ECC |
| Form Factor | 240-pin DIMM |
| Model Number | MS648KMM8449 |
| Product Dimensions | 6.7 x 3.6 x 0.4 inches |
3. Compatibility
This A-Tech 4GB DDR2 RAM Memory Kit is specifically designed for use with the following eMachines ET Series Desktop models:
- ET1331-40e
- ET1331-45
- ET1641
- ET1810-01
- ET1810-03
- ET1831
- ET1161-01
- ET1161-03
- ET1300-02
- ET1331-02
- ET1331G-07w
Always verify your system's memory requirements against these specifications to ensure proper compatibility before installation.
4. Setup and Installation
4.1 Safety Precautions
- Always disconnect the computer from the power outlet before opening the case.
- Ground yourself by touching a metal part of the computer chassis before handling components to discharge static electricity. Static discharge can damage electronic components.
- Handle memory modules by the edges, avoiding contact with the gold connectors or chips.
4.2 Before You Begin
- Ensure your computer is powered off and unplugged from all power sources.
- Open your computer case according to its manufacturer's instructions.
- Locate the DIMM memory slots on your motherboard. Refer to your computer's manual if needed.
4.3 Installation Steps
- Gently push down the retention clips at both ends of the memory slot.
- Align the notch on the A-Tech DDR2 DIMM module with the key in the memory slot. The module will only fit one way.
- Insert the module firmly into the slot, applying even pressure to both ends until the retention clips snap into place.
- Repeat for the second memory module if installing both.
- Ensure both modules are securely seated and the clips are locked.
- Close your computer case and reconnect all cables.
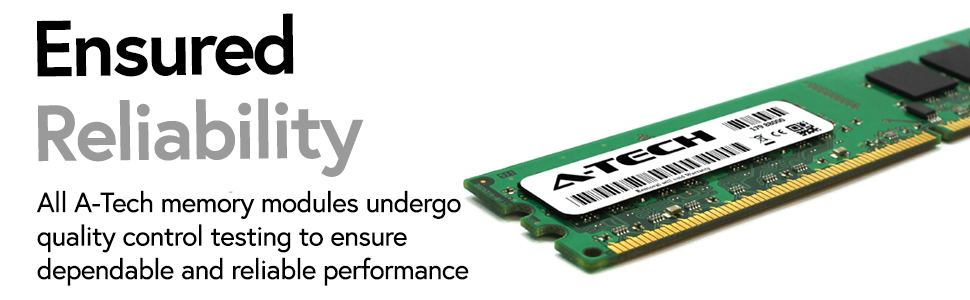
Image: A single A-Tech DDR2 DIMM RAM module. Note the notch for correct orientation during installation.
5. Operating and Verification
After installation, power on your computer. The system should automatically detect the new memory. To verify:
- BIOS/UEFI: During startup, access your computer's BIOS or UEFI settings (usually by pressing F2, Del, or F10). Look for a system information or memory section to confirm the total installed RAM.
- Operating System: Once Windows or your operating system loads, you can check the installed memory. In Windows, right-click 'This PC' or 'My Computer', select 'Properties', and look for 'Installed RAM' or 'Memory'.
If the memory is not recognized, power off the computer and re-check the installation steps.
6. Maintenance
RAM modules generally require minimal maintenance. Follow these guidelines to ensure longevity:
- Keep your computer's interior clean and free of dust to prevent overheating, which can affect all components, including RAM.
- Ensure adequate airflow within your computer case.
- Avoid unnecessary physical contact with the memory modules once installed.
7. Troubleshooting
If you encounter issues after installing the A-Tech RAM, consider the following:
- Computer Does Not Boot / No Display:
- Ensure the RAM modules are fully seated in their slots and the retention clips are locked.
- Try installing one module at a time to identify if one is faulty.
- Verify compatibility with your motherboard.
- Incorrect Amount of RAM Detected:
- Check your BIOS/UEFI settings to confirm the detected memory.
- Ensure your operating system is 64-bit to utilize more than 4GB of RAM (though this kit is 4GB, it's a general consideration for upgrades).
- Reseat the modules.
- System Instability / Blue Screens:
- Run a memory diagnostic tool (e.g., Windows Memory Diagnostic) to check for errors.
- Ensure your motherboard's BIOS is up to date.
8. Warranty and Support
A-Tech memory products come with a Lifetime Warranty. This warranty covers defects in materials and workmanship for the life of the product.
For technical support, warranty claims, or further assistance, please contact A-Tech Components directly. You can find more information and contact details on their official website:


