
1. Introduction
This manual provides essential information for the installation, operation, maintenance, and troubleshooting of your A-Tech 2GB (2 x 1GB) SO-DIMM DDR2 Non-ECC PC2-6400 800MHz RAM Memory Kit. This memory kit is designed to enhance the performance of compatible Dell Latitude systems by expanding their memory capacity.
Memory (RAM) serves as a temporary storage area for data that your computer's processor actively uses. Upgrading your system's RAM can improve overall responsiveness, reduce loading times for applications, and enable smoother multitasking.

Figure 1: A-Tech 2GB (2 x 1GB) SO-DIMM DDR2 RAM Memory Kit.
2. Setup and Installation
Before beginning the installation process, ensure your system is powered off and disconnected from all power sources. It is recommended to discharge any static electricity by touching a grounded metal object before handling the memory modules.
2.1. Compatibility Verification
This memory kit is specifically designed for Dell Latitude 120L, D410, D510, D530, D610, and D810 models. Always refer to your computer's official documentation to confirm memory type (DDR2 SO-DIMM), speed (800MHz PC2-6400), and maximum supported capacity before installation.
2.2. Installation Steps
- Prepare Your System: Power down your laptop completely and remove the battery. Disconnect the AC adapter.
- Access Memory Slots: Locate the memory compartment on your laptop. This is typically on the underside and secured by screws. Refer to your laptop's service manual for exact location and access instructions.
- Remove Existing Modules (if applicable): If replacing existing memory, gently push outwards on the metal clips on either side of the module. The module will pop up at an angle. You can then pull it out of the slot.
- Install New Modules: Hold the new A-Tech SO-DIMM module by its edges, aligning the notch on the module with the key in the memory slot. Insert the module at a 45-degree angle into the slot.
- Secure the Module: Gently push down on the module until the metal clips on both sides snap into place, securing the module horizontally.
- Reassemble and Test: Replace the memory compartment cover, reinsert the battery, and reconnect the AC adapter. Power on your system. The system should automatically detect the new memory.
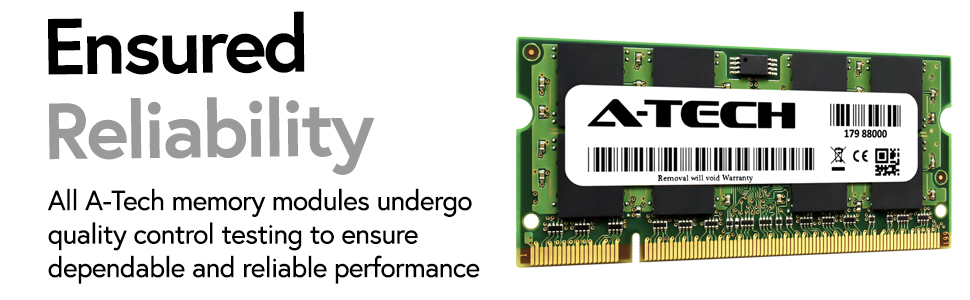
Figure 2: A-Tech SO-DIMM module, showing the notch for proper alignment.
After installation, you can verify the recognized memory amount through your operating system's system information (e.g., Task Manager in Windows, About This Mac in macOS, or system settings in Linux).
3. Operation and Performance
Once installed, the A-Tech RAM modules operate automatically with your system's processor. No specific user interaction is required for their function. The primary benefit of this memory upgrade is an improvement in your system's ability to handle multiple applications simultaneously and process larger datasets more efficiently.
The 800MHz speed (PC2-6400) ensures data transfer rates suitable for the specified Dell Latitude models, contributing to a smoother computing experience, especially when running memory-intensive applications or browsing complex websites.
4. Maintenance
A-Tech RAM modules are designed for long-term reliability and require minimal maintenance. To ensure optimal performance and longevity:
- Keep System Clean: Regularly clean the interior of your laptop to prevent dust buildup, which can impede airflow and lead to overheating.
- Avoid Physical Damage: Handle memory modules by their edges only. Avoid touching the gold contacts or the integrated circuits.
- Environmental Conditions: Operate your system within recommended temperature and humidity ranges to prevent component degradation.
5. Troubleshooting
If you encounter issues after installing your A-Tech RAM, consider the following troubleshooting steps:
- System Not Booting / No Display:
- Ensure the memory modules are fully seated in their slots. Gently press down on both ends until the clips engage.
- Verify that the notch on the module aligns correctly with the key in the slot.
- If multiple modules are installed, try booting with only one module at a time to identify a potentially faulty module.
- Incorrect Memory Amount Detected:
- Re-seat the modules to ensure proper contact.
- Check your system's BIOS/UEFI settings to confirm the detected memory.
- Ensure your operating system is 64-bit to fully utilize more than 4GB of RAM (though this product is 2GB, it's a general RAM troubleshooting tip).
- System Instability / Blue Screens:
- Run a memory diagnostic tool (e.g., Windows Memory Diagnostic) to check for errors.
- Ensure your system's BIOS is up to date, as updates can improve memory compatibility.
If issues persist, consult your Dell Latitude system's service manual or contact A-Tech support for further assistance.
6. Specifications
| Feature | Detail |
|---|---|
| Brand | A-Tech |
| Model Number | MS6213997 |
| Memory Size | 2 GB (2 x 1GB) |
| Memory Technology | DDR2 SO-DIMM |
| Memory Speed | 800 MHz (PC2-6400) |
| Error Correction | Non-ECC |
| Compatible Devices | Dell Latitude 120L, D410, D510, D530, D610, D810 |
| Product Dimensions | 4.2 x 3.4 x 0.4 inches |
| Item Weight | 0.8 ounces |
| ASIN | B00LPO411E |
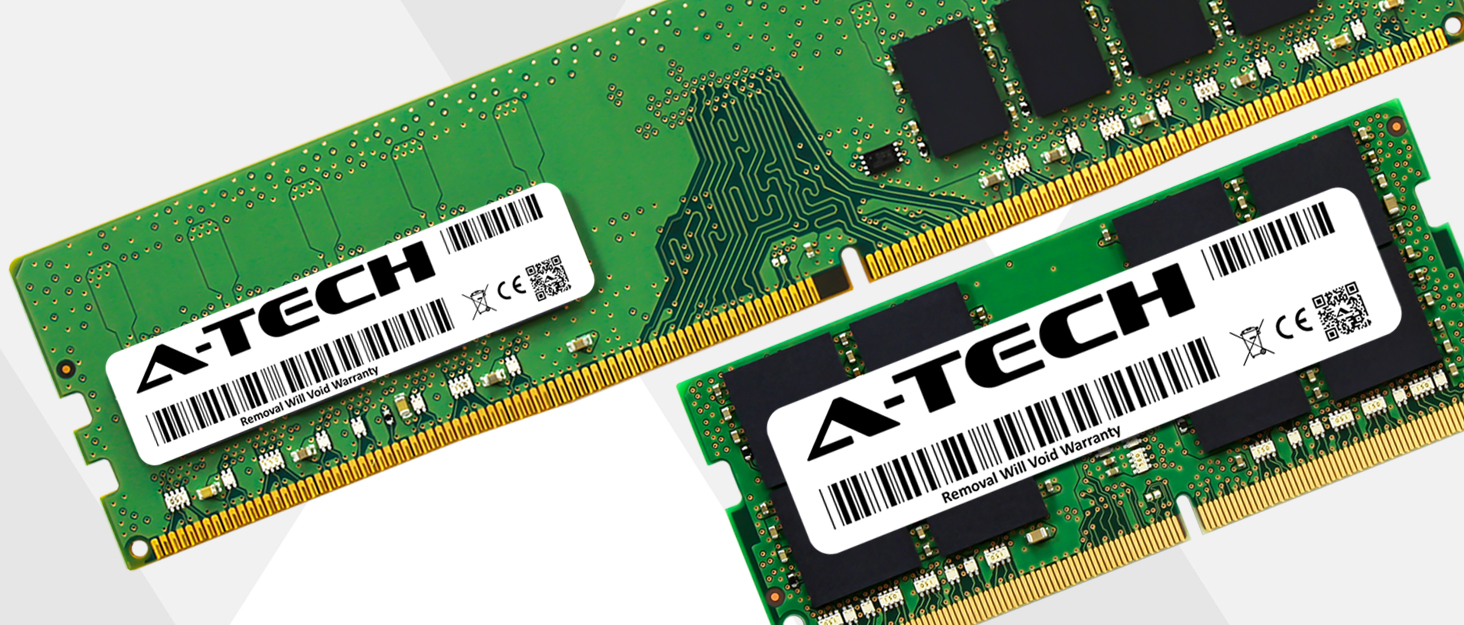
Figure 3: Illustration of different memory module form factors (DIMM and SO-DIMM).
7. Warranty and Support
A-Tech memory products are backed by a Lifetime Warranty, ensuring dependable performance. For warranty claims or technical assistance, please refer to the official A-Tech support channels.
You can find more information and contact support through the A-Tech brand store:
Visit the A-Tech Store on Amazon
For general inquiries or to explore other A-Tech products, visit their official website: