
Introduction
This manual provides essential instructions for the safe and effective use of your Panasonic Lumix DMC-FZ1000 digital camera. The DMC-FZ1000 is a high-performance bridge camera featuring a 20.1-megapixel 1-inch MOS sensor and a LEICA DC VARIO-ELMARIT lens with 16x optical zoom (25-400mm equivalent). It is capable of recording stunning 4K video and offers versatile connectivity options including USB, HDMI, and Wi-Fi.
Please read this manual thoroughly before operating the camera and keep it for future reference.
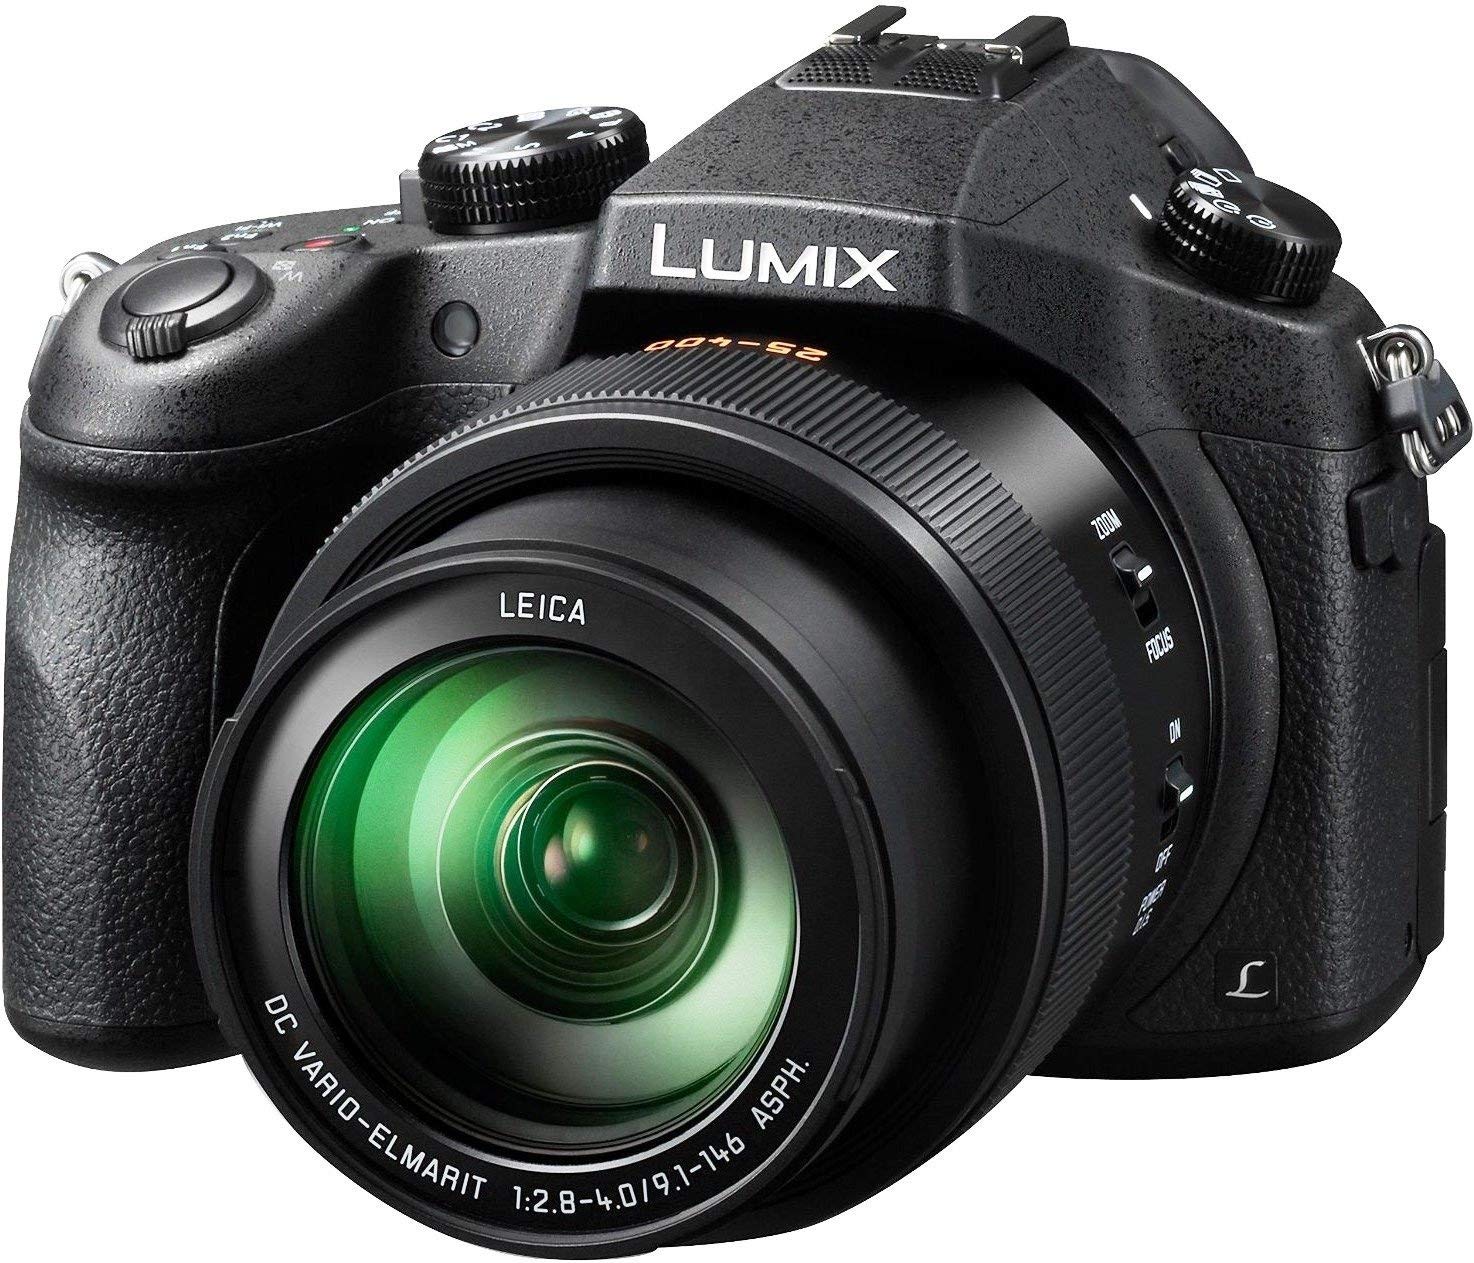
Front view of the Panasonic Lumix DMC-FZ1000 digital camera with its lens and pop-up flash.
Setup
1. Unpacking and Included Accessories
Verify that all items are present in the box:
- Panasonic Lumix DMC-FZ1000 Camera Body
- Battery
- Battery Charger
- AC Adapter
- USB Cable
- Lens Cap
- Shoulder Strap
- Hot Shoe Cover
- CD-ROM (containing software/manuals)
2. Charging the Battery
- Insert the battery into the battery charger.
- Connect the charger to an AC outlet using the AC adapter.
- The charging indicator light will illuminate. It will turn off or change color when charging is complete.
3. Inserting the Battery and Memory Card
The camera uses SD, SDHC, or SDXC memory cards. Ensure the card is compatible and has sufficient speed for 4K video recording (UHS Speed Class 3 recommended).
- Open the battery/card compartment cover located at the bottom of the camera.
- Insert the charged battery with the correct orientation until it locks into place.
- Insert the memory card into the card slot with the label facing the correct direction until it clicks.
- Close the compartment cover securely.

Rear view of the camera, displaying the LCD screen and various control buttons.
4. Attaching the Shoulder Strap
Thread the shoulder strap through the strap eyelets on both sides of the camera and secure it as shown in the camera's full operating instructions. This helps prevent accidental drops.
5. Initial Settings
Upon first power-on, the camera will prompt you to set the date, time, and language. Follow the on-screen instructions to configure these basic settings.
Operating the Camera
1. Powering On/Off
To power on the camera, slide the power switch to the 'ON' position. To power off, slide it to 'OFF'. The lens will extend and retract automatically.
2. Basic Photography
- Holding the Camera: Hold the camera firmly with both hands, one hand supporting the lens and the other gripping the camera body.
- Zooming: Use the zoom lever around the shutter button or the zoom ring on the lens to adjust the 16x optical zoom. The digital zoom (up to 32x) can be enabled in the menu.
- Focusing: The camera features a fast autofocus system. Half-press the shutter button to focus. For manual focus, switch to MF mode and use the focus ring on the lens.
- Taking a Picture: Once focused, fully press the shutter button to capture the image.
3. Exposure Modes
Rotate the mode dial on the top of the camera to select your desired shooting mode:
- Intelligent Auto (iA): Camera automatically selects optimal settings.
- Program AE (P): Camera sets aperture and shutter speed, you control other settings.
- Aperture Priority AE (A): You set aperture, camera sets shutter speed.
- Shutter Priority AE (S): You set shutter speed, camera sets aperture.
- Manual Exposure (M): You control both aperture and shutter speed.
- Scene Modes: Pre-set modes for specific scenarios (e.g., Portrait, Landscape).
- Panorama: For capturing wide panoramic images.

Top view of the camera, highlighting the mode dial, shutter button, and function buttons.
4. Video Recording
The DMC-FZ1000 supports 4K (3840x2160 pixels at 25p) and Full HD (1920x1080 pixels at 50p) video recording in MP4 format.
- To start recording, press the dedicated video record button.
- Press it again to stop recording.
- Ensure your memory card is fast enough for 4K recording (UHS Speed Class 3).
5. Playback
Press the playback button (usually marked with a triangle icon) to review your captured photos and videos on the LCD screen or through the electronic viewfinder.
6. Connectivity (Wi-Fi, HDMI, USB)
- Wi-Fi: Connect to a smartphone or tablet using the Panasonic Image App for remote control and image transfer.
- HDMI: Connect the camera to an HDTV using an HDMI cable to view photos and videos on a larger screen.
- USB: Connect to a computer using the supplied USB cable for data transfer.
Maintenance
1. Cleaning the Camera
- Lens: Use a soft lens brush or a blower to remove dust. For smudges, use a lens cleaning cloth with a small amount of lens cleaning fluid.
- Camera Body: Wipe with a soft, dry cloth. For stubborn dirt, slightly dampen the cloth with water. Avoid using strong cleaning agents.
- LCD Screen: Use a soft, dry cloth. Avoid pressing hard on the screen.
2. Battery Care
- Store batteries in a cool, dry place when not in use.
- Avoid fully discharging the battery frequently to prolong its lifespan.
- Do not expose batteries to extreme temperatures.
3. Memory Card Handling
- Always format new memory cards in the camera before first use.
- Do not remove the memory card while the camera is writing data (indicator light is on).
- Keep memory cards away from strong magnetic fields.
Troubleshooting
If you encounter issues with your camera, refer to the following common problems and solutions. For more detailed troubleshooting, consult the full operating instructions available on the Panasonic support website.
- Camera does not power on: Ensure the battery is charged and correctly inserted. Check if the battery compartment cover is closed securely.
- Images are blurry: Check focus settings (Autofocus/Manual Focus). Ensure the lens is clean. Use a faster shutter speed or image stabilization in low light.
- Battery drains quickly: Reduce screen brightness, turn off Wi-Fi when not in use, and set the camera to power off automatically after a short period of inactivity.
- Cannot record 4K video: Ensure you are using a compatible memory card with UHS Speed Class 3 or higher. Check available memory space.
- Wi-Fi connection issues: Ensure the camera and smart device are within range. Re-enter Wi-Fi settings if necessary.
Specifications
| Model Name | Lumix DMC-FZ1000 |
| Effective Pixels | 20.1 Megapixels |
| Photo Sensor Technology | MOS (1-inch type) |
| Lens | LEICA DC VARIO-ELMARIT, 16x Optical Zoom (25-400mm equivalent) |
| Maximum Aperture | F2.8-F4.0 |
| Image Stabilization | Yes |
| Video Capture Format | MP4 (4K: 3840x2160 25p, Full HD: 1920x1080 50p) |
| Minimum Extended ISO | 125 |
| Shutter Speed | 30 seconds to 1/16000 seconds |
| Continuous Shooting Speed | 12 FPS |
| Display Type | OLED |
| Screen Size | 3 inches (7.6 cm) |
| Viewfinder Type | Electronic |
| Connectivity Technology | HDMI, USB, Wi-Fi |
| Flash Memory Type | SD, SDHC, SDXC (1 slot) |
| Item Weight | 780 Grams |
| Color | Black |
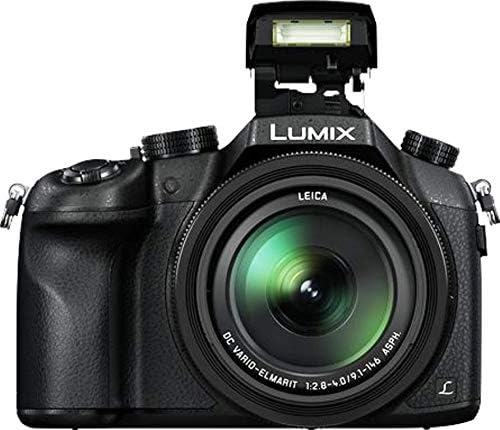
Diagram showing the approximate dimensions and weight of the Panasonic Lumix DMC-FZ1000.
Warranty Information
The Panasonic Lumix DMC-FZ1000 camera comes with a 1-year manufacturer's warranty. This warranty covers defects in materials and workmanship under normal use. Please retain your proof of purchase for warranty claims. For full terms and conditions, refer to the warranty card included with your product or visit the official Panasonic website.
Support
For additional support, detailed operating instructions, firmware updates, and frequently asked questions, please visit the official Panasonic support website. You can also find contact information for customer service in your region.
Panasonic Official Website: www.panasonic.com


