
1. Introduction
The TIMco Classic Multi-Purpose Screw, model 30016CLAHN, is engineered for exceptional reliability and strength across various applications. Its design features a 25-degree sharp point, a special thread, lubrication, and corrosion-resistant nickel plating. These attributes ensure efficient performance in materials such as hardwood, chipboard, MDF, plastic, and thin sheet metal, while providing superior holding power.
Key features include:
- Double Countersunk Head: Reduces the likelihood of head shear and aids in complete countersinking.
- Patented Molecular Lubrication: Enhances screw insertion time and provides increased corrosion resistance.
- 40-Degree Deep Single Thread: Ensures a secure fixing with high pull-out resistance.
- 25-Degree Sharp Point: Facilitates easy penetration into materials.
- Surface Hardened: Hardened up to 750 HV to prevent torque shearing.
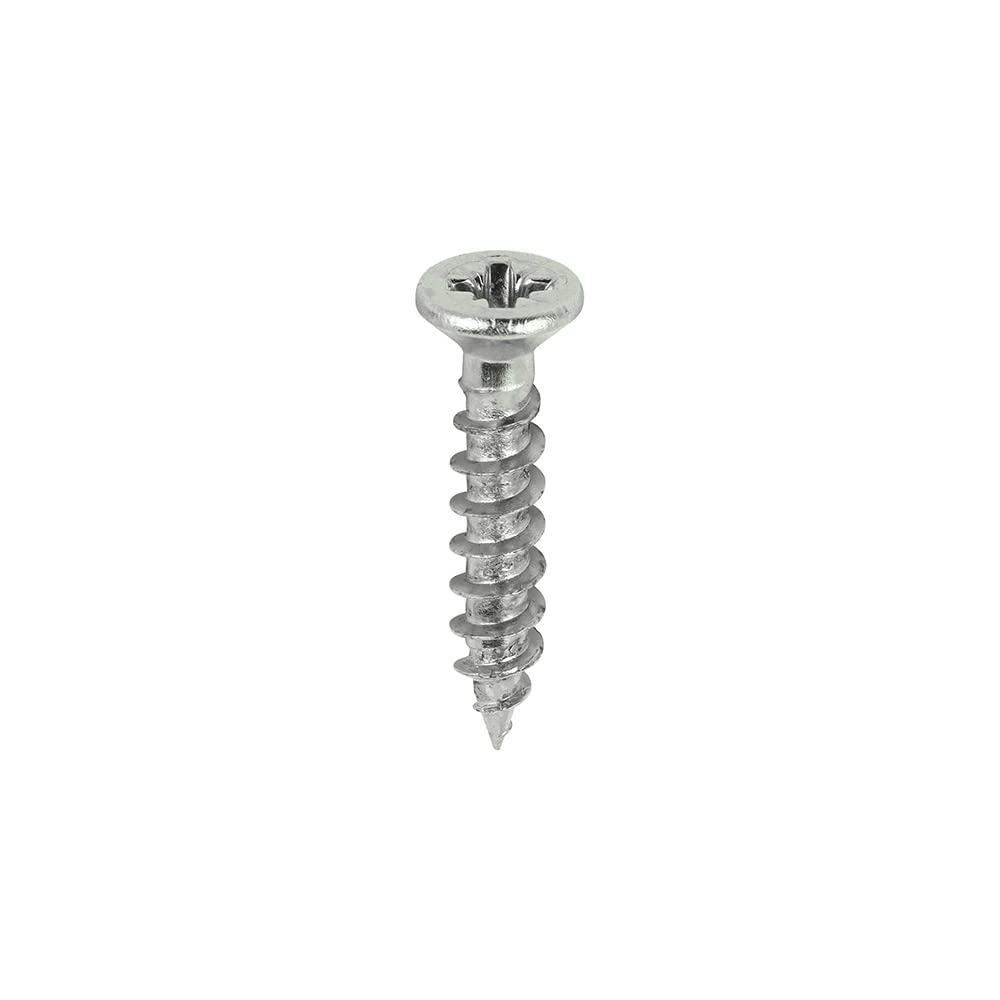
Image 1.1: TIMco Classic Hinge Screw 3.0 x 16 product packaging and a single screw.
2. Safety Guidelines
Always prioritize safety when working with tools and fasteners. Failure to follow these guidelines may result in injury or damage.
- Wear appropriate personal protective equipment (PPE), including safety glasses, gloves, and hearing protection, especially when using power tools.
- Ensure your work area is well-lit and clear of obstructions.
- Use the correct size and type of screwdriver bit (PZ1 Cross-Recess) for these screws to prevent stripping the screw head.
- Do not over-tighten screws, as this can damage the material or the screw itself.
- Keep screws out of reach of children and pets.
- Inspect screws for any damage before use. Do not use damaged screws.
3. Package Contents
Each box contains:
- 200 x TIMco Classic Hinge Screws (3.0 x 16 mm, Nickel Plated)

Image 3.1: Front view of the TIMco Classic Hinge Screws packaging, showing size and quantity.
4. Preparation
4.1 Tools Required
- PZ1 (Pozi Drive 1) screwdriver or power drill with PZ1 bit.
- Appropriate drill bit for pilot holes (if required by material).
- Safety glasses and gloves.
4.2 Material Preparation
Before driving the screws, ensure the material is clean, dry, and free from debris. For harder materials or to prevent splitting, it is recommended to drill a pilot hole. The diameter of the pilot hole should be slightly smaller than the screw's core diameter (excluding threads).
5. Installation Instructions
Follow these steps for proper installation of the TIMco Classic Hinge Screws:
- Select the Correct Bit: Insert a PZ1 screwdriver bit into your screwdriver or power drill. Ensure the bit fits snugly into the screw head to prevent cam-out.
- Position the Screw: Place the screw into the desired location, ensuring it is aligned straight with the material surface.
- Drive the Screw:
- For manual screwdrivers: Apply firm, steady pressure while turning clockwise.
- For power drills: Start at a low speed, applying gentle pressure. Increase speed as the screw engages, then reduce speed as the screw head approaches the surface to avoid over-tightening.
- Countersink: The double countersunk head is designed to sit flush with the surface. Continue driving until the head is level with or slightly below the material surface, without stripping the head or damaging the material.

Image 5.1: Side view of the TIMco Classic Hinge Screws packaging, illustrating screw dimensions.
6. Care and Storage
- Store screws in a cool, dry place to prevent corrosion, even with their corrosion-resistant plating.
- Keep screws in their original packaging or a suitable container to prevent loss and damage.
- Avoid exposure to harsh chemicals or extreme temperatures.
7. Troubleshooting Tips
- Screw Head Stripping:
Cause: Incorrect bit size, worn bit, excessive torque, or insufficient pressure.
Solution: Ensure you are using a new, correct PZ1 bit. Apply firm, consistent pressure. Reduce drill speed. If stripped, use a screw extractor tool.
- Screw Not Driving Straight:
Cause: Screw not aligned properly at the start, or material density variations.
Solution: Ensure the screw is held perfectly perpendicular to the surface when starting. For difficult materials, consider drilling a pilot hole.
- Screw Breaking:
Cause: Excessive torque, material too hard, or no pilot hole in dense material.
Solution: Reduce torque. Always drill appropriate pilot holes for hard materials. Ensure the screw is not binding.
- Poor Holding Power:
Cause: Pilot hole too large, material too soft, or screw not fully engaged.
Solution: Ensure pilot hole is correctly sized. For soft materials, consider a coarser thread screw or a different fastening method if pull-out resistance is critical. Ensure screw is driven to full depth.
8. Technical Specifications
| Specification | Detail |
|---|---|
| Model Number | 30016CLAHN |
| Brand | TIMCO |
| Size | 3.0 x 16 mm |
| Material | Carbon Steel |
| Exterior Finish | Nickel Plated |
| Head Style | Countersunk |
| Tool Tip Description | Cross-Recess No.1 (PZ1) |
| Thread Style | Right Hand, 40-degree deep single thread |
| Thread Coverage | Fully Threaded |
| Surface Hardness | Up to 750 HV |
| Number of Pieces | 200 |
| Item Weight | 3.53 ounces (100 Grams) |
| Product Dimensions (L x W x H) | 0.63 x 0.12 x 0.12 inches |
| Certification | CE Approved - EN ISO14592:2008 |
9. Warranty and Support
Specific warranty information for the TIMco Classic Hinge Screws is not provided in the product details. For warranty claims or technical support, please contact your retailer or the manufacturer, TIMco, directly through their official website or customer service channels.
Please retain your proof of purchase for any warranty or support inquiries.